How to Print a Perfect Photo for Your Locket: 5 Steps
Updated on
A locket is more than just a piece of jewelry; it’s a cherished keepsake that holds memories close to your heart. Lockets have been a timeless symbol of cherished memories, holding photographs that keep loved ones close to the heart. Whether you're capturing a special moment with family, a beloved pet, or a sentimental memory, printing the perfect photo for your locket is essential to preserving these intimate connections. However, creating a locket-sized photo isn't as simple as printing any image—it requires a careful selection process, resizing, and ensuring the highest quality so that even in miniature, the picture remains clear and meaningful.
In this guide, we'll walk you through the step-by-step process of printing a photo for a locket. From choosing the right image to enhancing iimage quality using AI tools, we'll ensure that your precious photo looks its best and fits perfectly into your locket. Let’s dive in!
Step 1: Choose the Right Photo for Your Locket
The first and arguably most important step is choosing the photo. Since lockets typically display small images, you need to select a picture that is meaningful and suitable for the smaller frame size.
How to Choose the Best Photo:
- Close-Up Shots: The best locket photos are close-up shots of your subject. Whether it's a portrait of a person, a pet, or even a landscape, avoid distant shots, as these lose detail when resized. Avoid overly detailed photos, as intricate patterns may not translate well to the small size of a locket.
- Simple Backgrounds: A simple, uncluttered background ensures that your subject stands out when the photo is shrunk to fit the locket.
- High-Resolution Images: Use high-resolution images (at least 300 DPI) to prevent pixelation when printed small. Check the original dimensions of the photo to ensure it can be resized without losing quality.
- Lighting and Composition: Ensure your photo is well-lit and in focus. Natural light often produces the best results.
Pro Tip: If you’re torn between a few photos, create a few different versions to compare how they’ll look in the locket before making a final decision.
Step 2: Resize Your Photo to Fit the Locket
Once you’ve selected the perfect photo, the next step is resizing it to fit your locket’s dimensions. Most lockets are small—typically ranging from 1 to 2 inches—so accuracy is key.
Steps to Resize the Photo:
- Measure the Locket: Using a ruler, measure the inside dimensions of your locket. Lockets come in various shapes, such as oval, round, and heart-shaped, so getting precise measurements is essential.
- Use Resizing Software: Open the photo in photo editing software like Adobe Photoshop or GIMP, and adjust the dimensions according to the locket’s size.
- Maintain Aspect Ratio: Be sure to maintain the aspect ratio to avoid distorting the image. Crop the photo if necessary to ensure that the subject remains centered and clear. Learn how to print 2x3" photos from iPhone
Many online tools also allow you to input custom dimensions and crop the image accordingly. Just make sure to measure your locket carefully for a snug fit.
Step 3: Enhance Photo Quality for Printing
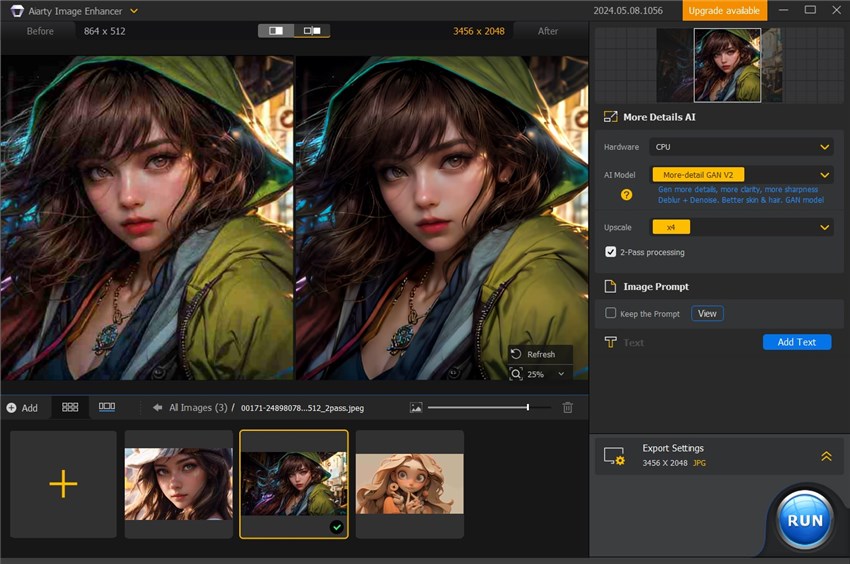
Since locket photos are small, any imperfections in the image, such as blur, pixelation, or noise, will become even more apparent when downsized. This is where Aiarty Image Enhancer comes into play. Enhancing the image quality before resizing it will ensure that even the tiniest details are preserved.

- 4-in-1 AI enhancer, denoiser, deblur, and upscaler for posters
- 3 AI models for any image type, incl. Midjourney & Stable Diffusion
- Generative AI enhancement up to 32K output with better details
- Intuitive UI with no artifacts, limitations, or quality loss
How Aiarty Image Enhancer Improve Photos:
- Improves Image Clarity: Aiarty can enhance clarity and sharpness, ensuring that your subject remains in focus, even when the image is printed at a smaller size.
- Boosts Resolution: If your image starts with a lower resolution, Aiarty can upscale it, enhancing the number of pixels for better detail.
- Enhances Colors and Contrast: Aiarty can also adjust brightness, contrast, and color saturation, making the photo pop with vibrancy—crucial when working with a small image.
- Sharpening: Apply a slight sharpening effect to enhance detail, especially for faces or important features.
- Noise Reduction: If the image has grain or noise, use noise reduction tools available in most editing software to improve clarity.
Aiarty Image Enhancer - Upscale Midjourney Images from 1024px to 4K/8K/32K
- Upscale locket images from 1024/2048px to 4K/8K/16K/32K.
- Automatically denoise, deblur, & depixelated images.
- Enhance & upscale any image for print and display.
- 3 AI models, 6.78 million images trained, optimized for GPU/CPU processing.
Step 4: Print the Photo on High-Quality Paper
Once your photo is resized and enhanced, it's time to print. The quality of the paper you use can significantly affect how your photo looks once placed in the locket.
1. Set the Right Dimensions:
- Resize your image in your editing software to match the locket's dimensions accurately.
2. Printer Settings:
- Adjust the printer settings for high-quality output. Select the appropriate paper type and quality.
- If using a home printer, ensure the paper is loaded correctly.
3. Conduct Test Prints:
- Print a test version on regular paper to check for sizing and clarity.
- Make adjustments if necessary before the final print.
4. Final Print:
- Print on your chosen photo paper once everything looks good.
If your printer prints blurry photos, check fixes here.
Also See: How to Print Photos from Google Photos, How to Print on Photo Paper
Step 5: Cut and Insert the Photo into the Locket
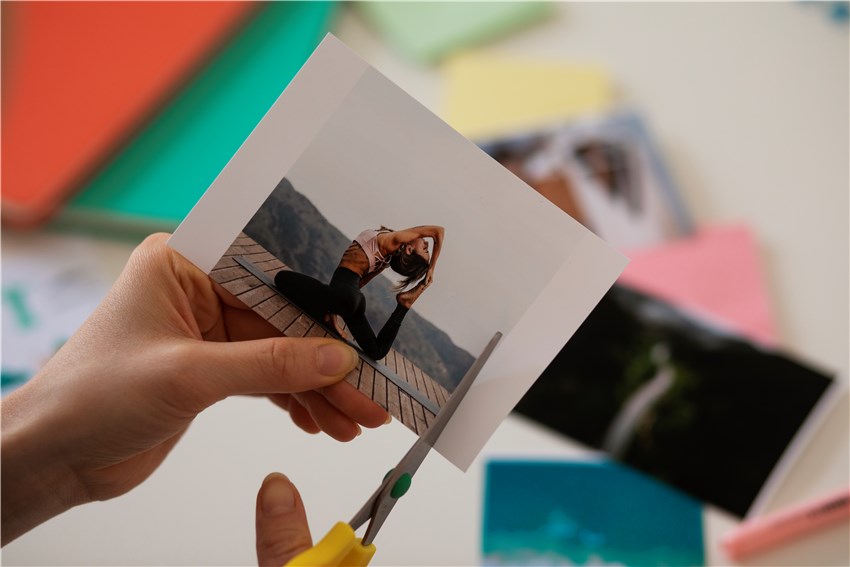
After printing the photo, the final step is to cut it to fit the locket. This step requires precision to ensure a perfect fit.
- Create a Template: Before cutting the photo, create a paper template that matches the shape and size of your locket. Use this template to outline the area on your printed photo.
- Use Precision Tools: A pair of fine scissors, a craft knife, or a hole punch designed for scrapbooking can help you make clean, accurate cuts. Avoid using large scissors, as they may tear the edges or cause uneven cuts.
- Insert Carefully: Once cut, carefully place the photo into the locket. If the locket has a protective covering or frame, make sure the photo sits perfectly behind it.
Pro Tip: Use tweezers to handle the tiny photo, ensuring you don’t leave fingerprints or smudges on the image.
Conclusion
Creating the perfect locket photo may seem challenging, but with the right approach, it's a rewarding way to preserve your most cherished memories. By following these steps - selecting a high-quality photo, resizing it to fit, enhancing its quality with Aiarty Image Enhancer, and printing it on the right paper - you’ll ensure that your locket photo looks flawless.