How to Fix Stable Diffusion Model Failed to Load Error
Updated on
You're ready to generate stunning AI images, but suddenly a frustrating message pops up: "Stable Diffusion model failed to load." This common error can halt your workflow instantly, especially if you're using platforms like Automatic1111, ComfyUI, or other local setups. Instead of diving into creativity, you're stuck trying to figure out what went wrong. The good news? This issue is usually fixable—and often faster than you think. In this guide, we’ll explore the key reasons behind the error, such as missing model files, incorrect paths, VRAM limitations, or version mismatches. More importantly, we’ll walk you through practical, step-by-step solutions to get everything back on track. Let’s troubleshoot it together and get your AI image generation flowing smoothly again.
Why Stable Diffusion Model Failed to Load
The Stable Diffusion model can fail to load due to several reasons:
- Insufficient RAM/VRAM: Stable Diffusion requires a significant amount of memory (at least 8GB VRAM) to load and run the model. If your system doesn't have enough available RAM or VRAM, it can lead to an "Out of Memory" error and the model failing to load.
- Compatibility issues: The error can occur due to compatibility issues between your system configuration (hardware, drivers, etc.) and the Stable Diffusion software. Outdated or incompatible drivers, especially for the GPU, can prevent the model from loading correctly. >> Check Minimum/Recommended GPU Requirements for Stable Diffusion
- Corrupted model files: If the downloaded Stable Diffusion model files are corrupted or incomplete, it can cause the "Model Failed to Load" error. If that is the case, redownloading the model files from a reliable source may resolve this issue.
- Incorrect installation/setup: Improperly installing or setting up the Stable Diffusion environment, such as missing dependencies or incorrect environment variables, can lead to the model failing to load.
- Disk space issues: Stable Diffusion requires a significant amount of disk space to store the model files and cache data. If there is insufficient disk space available, it can prevent the model from loading properly.
To resolve the error, we have curated the top 6 ways below.
How to Fix Stable Diffusion Model Failed to Load Error
1. Update the graphics driver
Keeping your graphics driver up-to-date is essential for maintaining compatibility, stability, and performance when using Stable Diffusion. The driver acts as the interface between the hardware and software, so an outdated or buggy driver can prevent the model from loading correctly on the GPU. Follow the steps below to update your graphics driver and fix the Stable Diffusion model failed to load error:
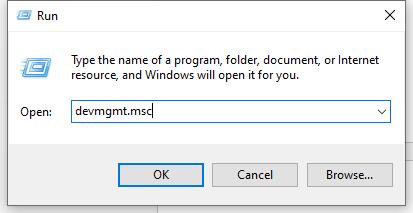
Step 1. Click Windows Logo + R, and enter devmgmt.msc in the Run box to enter the Device Manager panel.
Step 2. Find and expand the 'Display adapters' section, right-click on your graphics card and select 'Update driver', and choose 'Search automatically for drivers'.
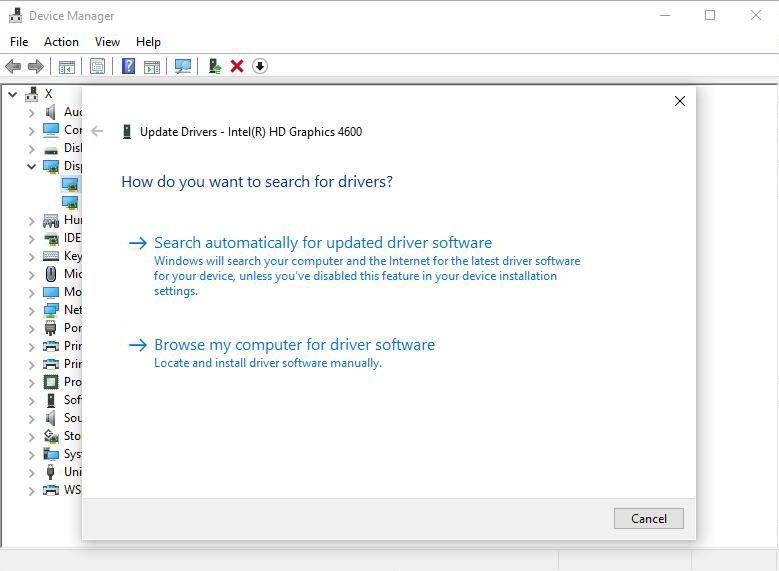
Step 3. Wait for Windows to find and install the latest driver for your graphics card.
Once the driver update is complete, restart your computer, and launch Stable Diffusion to check if the model loads correctly.
2. Edit the webui-suer.bat file
Another solution is to modify the 'webui-suer.bat' file. By modifying the command line arguments in the webui-user.bat file, you can adjust Stable Diffusion's memory usage, enable support for different model formats, disable certain checks, and ensure that all required dependencies are installed correctly. See below how to fix the Stable Diffusion model failed to load:
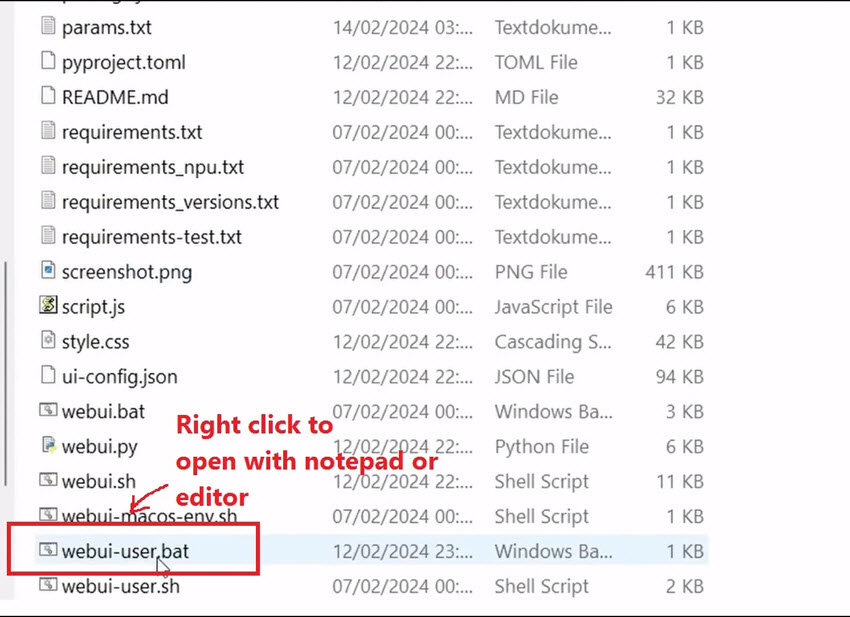
Step 1. Open File Explorer on your Windows computer. Navigate to the directory where you installed Stable Diffusion. Open the Stable Diffusion folder > find and open stable-diffusion-webui > webui-user.bat file.
Step 2. Right-click on the file, and select Open, and add the following line to the batch file:
set COMMANDLINE_ARGS=--disable-safe-unpickle
Step 3. After adding this line, the webui-user.bat file should look similar to:
@echo off
set PYTHON=
set GIT=
set VENV_DIR=
set COMMANDLINE_ARGS=--disable-safe-unpickle
call webui.bat
Step 4. Save the changes to the file.
The --disable-safe-unpickle argument disables certain safety checks that may be preventing the model from loading correctly, especially when using custom or modified models. When you run the webui-user.bat file after making this change, Stable Diffusion will start with the --disable-safe-unpickle argument, which could potentially resolve the "model failed to load" error.
3. Increase the RAM
If you find your Stable Diffusion unable to load correctly, try increasing the RAM. Increasing RAM provides Stable Diffusion with the necessary memory resources to successfully load and run the large AI models required for image generation, mitigating issues related to model size, GPU memory limitations, memory fragmentation, and additional memory requirements. Here is how:
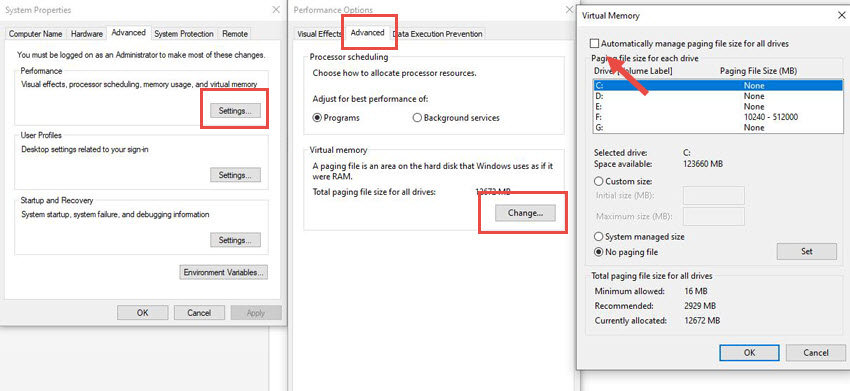
Step 1. Press Windows + S to open the Search tab, type View advanced system settings, and click on the result to open the Advanced system settings panel.
Step 2. Switch to the 'Advanced' tab, and click on 'Settings' under the Performance section. Then go to the 'Advanced' tab, click on the 'Change' button, and uncheck the box labeled "Automatically manage paging file size for all drives".
Step 3. Select the drive where you have installed Stable Diffusion. Choose the "Custom size" option. Based on your system's RAM, set the Initial size (MB) to 1.5 times your RAM amount, and the Maximum size (MB) to 3 times your RAM amount. For example, if you have 8 GB (8192 MB) of RAM, you can set the Initial size to 12288 MB and the Maximum size to 24576 MB. Click "Set" to apply the changes. Restart your computer for the changes to take effect.
Once finished, open Stable Diffusion to see if the error is fixed.
By increasing the virtual memory (paging file) size, you are allocating more system resources for Stable Diffusion to utilize, which can help mitigate issues related to insufficient memory when loading and running large AI models.
4. Remove the huggingface folder
On top of increasing the virtual memory, another solution you can work with to fix the Stable Diffusion model failed to load error is to remove the huggingface folder. Removing the huggingface folder essentially resets the model download and loading process, allowing Stable Diffusion to fetch fresh and complete model files from the source. Follow the steps below to learn how:
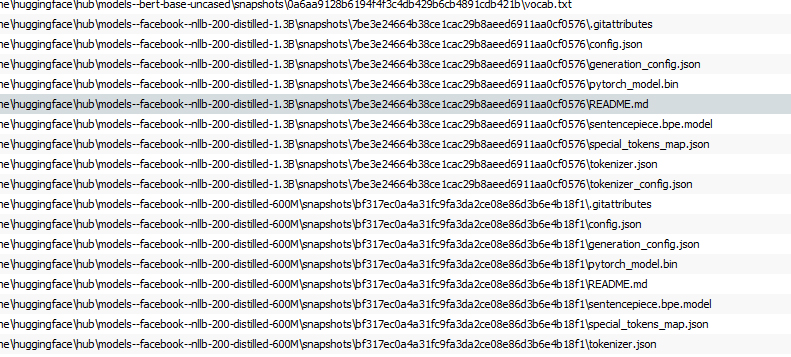
Step 1. Press Windows logo + E to open the File Explorer, and in the address bar, enter the following path, and replace the 'Username' with your actual user name:
C:\Users\Username\.cache\huggingface
Press Enter to open the huggingface folder located in the .cache directory.
Step 2. Press Ctrl + A to select all files and folders within, and press Delete to remove the selected items.
Step 3. Close File Explorer after the folder is empty. Restart your computer, launch Stable Diffusion, and check if the error is resolved.
5. Delete Python and pip folders
By deleting the Python and pip folders, you are essentially resetting the environment, clearing cached data, resolving potential version conflicts, and ensuring a clean installation of the required dependencies and packages. This can help resolve issues related to corrupted or misconfigured environments, permission problems, or conflicts caused by cached data or temporary files, allowing Stable Diffusion to load the models correctly.
Step 1. Press Windows + R to open Run. Type %appdata% and press Enter. This will open the AppData folder for your user account.
Step 2. In the AppData folder, look for any folders related to Python or pip, such as:
- Python
- Python\Python36
- Python\Python37
- Python\Python38
- Python\Python39
- Python\Python310
- pip
Step 3. Select any Python or pip folders you find and press the Delete key to remove them.
Step 4. Next, open the Temporary Files folder by entering %temp% in the address bar of a new File Explorer window. In the Temporary Files folder, look for any cache folders related to Python or pip, such as:
- pip-cache
- pip-install-xxxxx (where xxxxx is a random string)
Step 5. Select any cache folders you find and press the Delete key to remove them. After deleting the Python, pip, and cache folders, restart your computer for the changes to take effect.
By following these steps, you will remove any existing Python installations, pip packages, and cached data related to Python and pip from your system. This can help resolve issues caused by corrupted or outdated installations, and ensure a clean environment for a fresh installation of Stable Diffusion and its dependencies.
6. Check for antivirus or firewall interference
Your antivirus or firewall might be mistakenly blocking Stable Diffusion or its model files, preventing them from loading. To check this, temporarily disable your security software (usually via its system tray icon or settings, looking for options like "Turn off protection"), then try loading the Stable Diffusion model again. If it works, immediately re-enable your antivirus/firewall and add Stable Diffusion's installation and model folders to its "exclusion" or "whitelist" settings to allow it to run properly without further interference. If disabling it doesn't solve the issue, re-enable your security software right away and explore other troubleshooting solutions.
Bonus: Upscale SD Artworks for the Best Images Quality
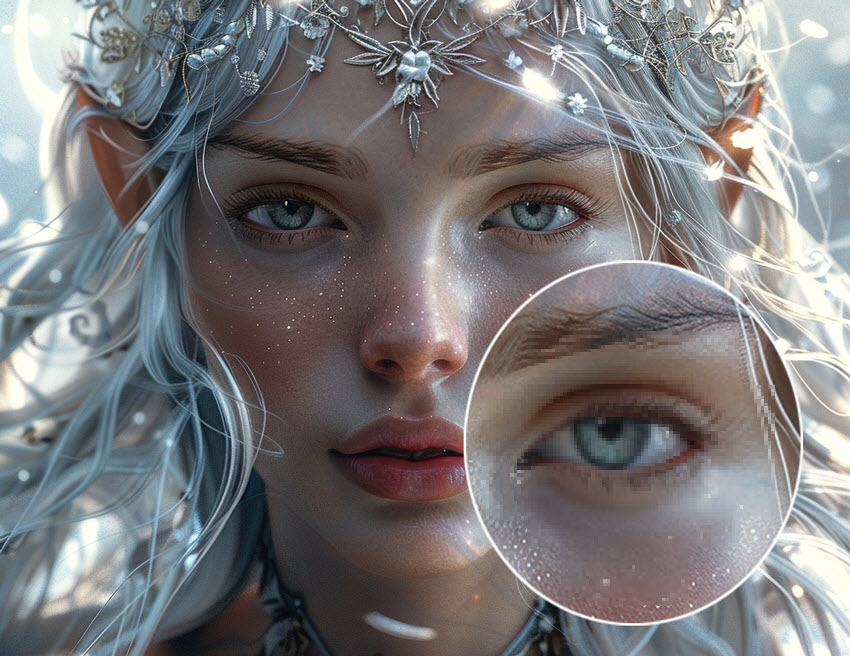
While Stable Diffusion allows for stunning image generation, ensuring your artwork remains crisp and detailed for future use or large-format displays is crucial. Aiarty Image Enhancer provides the perfect solution, offering intelligent lossless upscaling with the capability to reach resolutions as high as 32K. This advanced tool doesn't just enlarge your Stable Diffusion creations; it actively enhances them by automatically addressing common issues like blur, noise, and digital artifacts. By intelligently generating new details, Aiarty ensures that your artwork maintains its integrity and visual richness, even when viewed at incredibly large sizes. Future-proof your Stable Diffusion creations with the exceptional upscaling capabilities of Aiarty Image Enhancer.
Aiarty Image Enhancer - Best for Stable Diffusion/Midjourney/AI-Gen Images
- One-stop AI image enhancer, denoiser, deblurer, and upscaler.
- Use deep learning tech to reconstruct images with improved quality.
- Upscale your AI artworks to stunning 16K/32K resolution.
- Deliver Hollywood-level resolution without losing quality.
- Friendly to users at all levels, and support both GPU/CPU processing.
You May Also Like
Rico Rodriguez is an experienced content writer with a deep-rooted interest in AI. He has been at the forefront of exploring generative AI tools like Stable Diffusion. His articles offer valuable insights into the world of AI, providing readers with practical tips and informative explanations.