How to Fix Glare in Photos on iPhone/Android/PC/Online
Updated on
Glare, those pesky, unwanted reflections that can ruin a perfectly captured moment, is a common photography challenge. Forums are filled with photographers discussing their struggles with glare and sharing their tips for overcoming this issue. From simple adjustments in camera settings to advanced editing tech, there's a solution for every glare situation. Learn how to remove glare and refelection in photos with photo editing software.

Upscale and Enhance Photos/Images Easily with AI
- One-stop AI image enhancer, denoiser, deblurer, and upscaler.
- Use deep learning tech to reconstruct images with improved quality.
- Restore your old photos to stunning 16K/32K resolution.
- Deliver Hollywood-level resolution without losing quality.
- Friendly to users at all levels, and support both GPU/CPU processing.
Part 1. How to Fix Glare and Reflection [with Pictures]
Whether it's caused by sunlight, reflections, or other factors, glare can obscure details, create unwanted color casts, or even ruin an otherwise perfect shot. Fortunately, with the right tools, you can fix glare in Photos on PC, Android, iPhone, or online, each tailored to various types of glare and image scenarios.
#1. How to Fix Glare in Photos on PC with Photoshop
Photoshop is a powerful tool for removing glare from images, offering a wide range of features and techniques to address various types of glare. Its precision and control allow users to target specific areas affected by glare and apply adjustments with accuracy. The software's versatility makes it suitable for handling different glare scenarios, from subtle reflections to intense lens flares.
While Photoshop offers numerous benefits, it's important to note that it may require a learning curve for beginners. Additionally, removing glare in Photoshop can be time-consuming, especially for complex images or large areas of glare. The effectiveness of the process often depends on the user's skill and experience, and there is a risk of introducing artifacts or distortions if techniques are not applied carefully.
1. Lasso Tool and Content-Aware Fill
Lasso Tool and Content-Aware Fill can be a valuable tool for removing glare from images, especially when the glare is a distinct, well-defined object against a relatively uniform background.
- Click the Lasso Tool from the left side of your photo editing software's window (or press "L" on your keyboard).
- Carefully draw a circle around the area affected by glare.
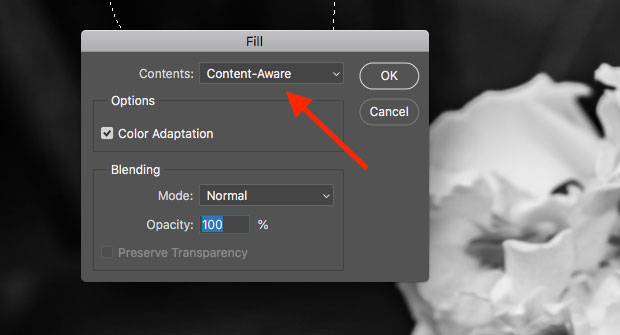
- Right-click on the selected area and choose "Fill." In the window that appears, select "Content-Aware" for the "Contents" option.
2. Dehaze Image in Camera Raw
If your photo has a hazy appearance, the Dehaze tool in Camera Raw can help reduce glare. Dehaze Image in Camera Raw is a powerful tool for enhancing images that suffer from haze or mist. It's particularly effective in situations where the overall clarity of the photo is compromised due to atmospheric conditions.
- Click "Filter" at the top menu and select "Camera Raw Filter."
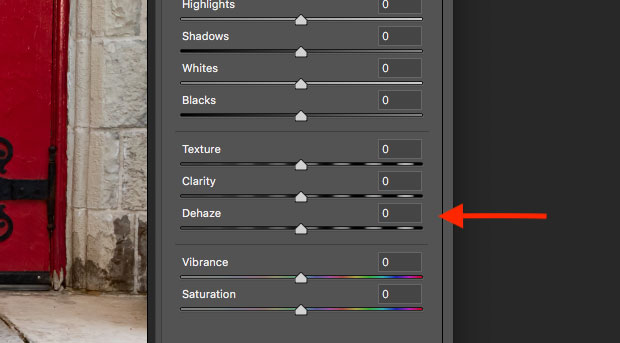
- Use the Dehaze slider to reduce the hazy effect. Experiment with other sliders as needed. Drag the Dehaze slider to the right to reduce the haze. The amount of adjustment will depend on the severity of the haze in your photo.
3. Clone Stamp Tool
The Clone Stamp Tool is a versatile tool in Photoshop that can be highly effective for removing lens flare and other localized glare from images. By cloning pixels from one area of the image to another, you can replace the glare with surrounding, unaffected pixels.
- Use the Zoom Tool (press "Z") and hold Alt/Option to zoom in on the affected area.
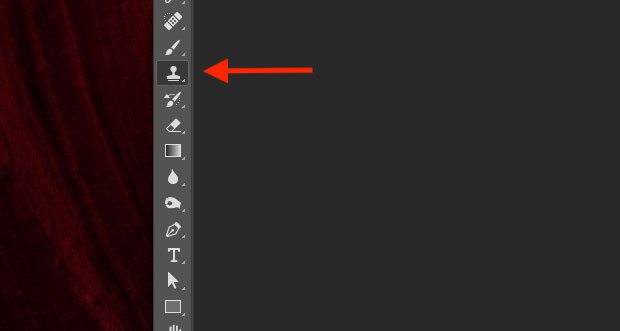
- Choose the Clone Stamp tool (press "S").
- Hold Alt/Option and click a nearby area without glare.
- Brush over the glare area, using the selected source point as a reference.
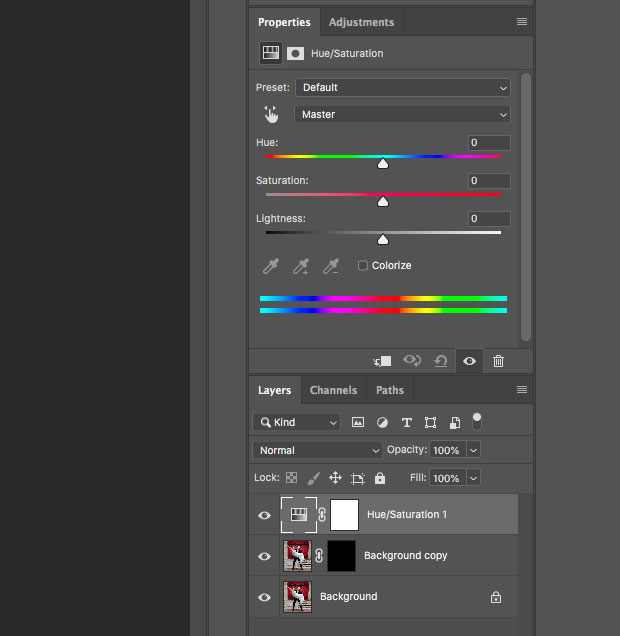
4. Adjustment Layers
Adjustment layers are a powerful tool in Photoshop that allow you to apply various effects and adjustments to an image without directly modifying the original pixels. This makes them ideal for targeting specific areas of glare and applying color corrections selectively.
- Click the Adjustment Layer button at the bottom of the layers panel.
- Choose "Hue and Saturation" from the menu.
- Use the eyedropper tool to select the glare's color, then adjust the Lightness slider to match the background.
- Create a mask for the adjustment layer and brush over the glare areas to apply the effect only to those areas.
#2. How to Fix Glare in Photos Online Free [Limited]
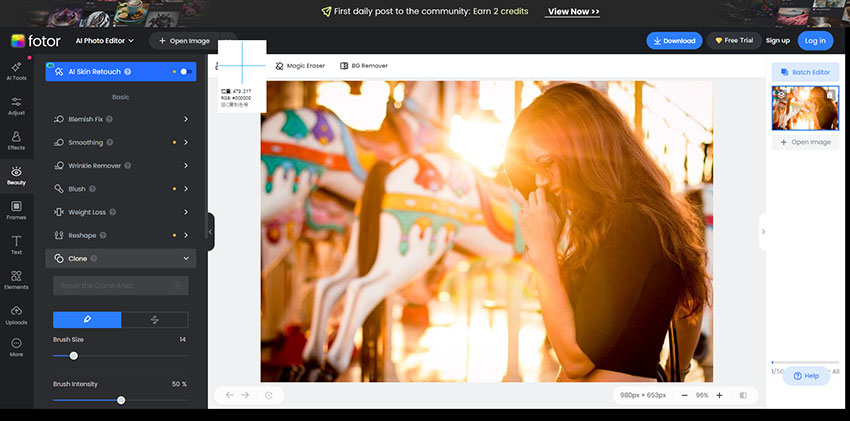
Online editing tools like Fotor offer solutions to remove glare and reflection in photos free online. Fotor's approach tackles glare through a combination of brightness and contrast adjustments and the clone stamp tool. The free version offers fewer tools compared to paid subscriptions. Not as powerful as dedicated editing software: For complex glare situations, advanced software might offer more precise solutions.
Step 1. Click the "Remove Glare from Your Photo Now" button on the Fotor website to open the photo editing interface. Click "Open Image" to select the photo you want to edit.

Step 2. Navigate to the "Beauty" tab and select the "Clone" tool.
Step 3. Carefully brush over the areas affected by glare. Use the clone stamp to replace the glare with a nearby, unaffected part of the image.
Step 4. Customize the brush size and intensity by sliding the corresponding sliders to achieve the desired level of correction. Once you're satisfied with the results, click "Save" to download your photo in either PNG or JPG format.
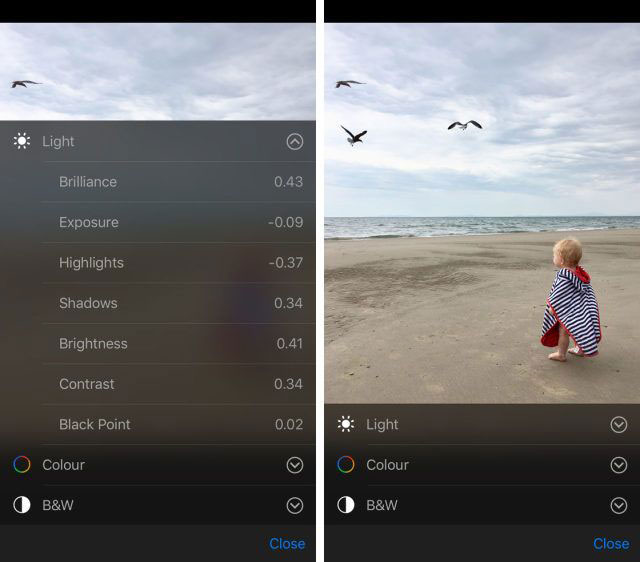
#3. How to Fix Glare in Photos on iPhone
If you've ever snapped a photo and found it ruined by glare, don't worry. Here's a guide to help you fix glares in photos on your iPhone with the built-in photo editing tools. Rember that a lower aperture (higher f-number) can help to increase depth of field and blur the background, which can reduce glare.
Step 1. Simply tap the "Edit" button and then the "Adjust" icon. From there, you can use the sliders to adjust the brightness and contrast.
Darkening the overall image can help to reduce glare, as it makes the bright areas less noticeable. However, be careful not to over-darken the image, as this can make it look dull or washed out.
Step 2. If the glare is caused by overexposure, you can try reducing the exposure. This will make the image darker, which can help to reduce the glare. However, be careful not to underexpose the image too much, as this can make it look too dark and lose detail.
Step 3. Adjust highlights and shadows. Adjusting the highlights and shadows can also help to reduce glare. By reducing the highlights, you can make the brightest parts of the image less intense. By increasing the shadows, you can bring out details that were hidden by the glare.
#4. How to Fix Glare in Photos on Android
If you're looking for a dedicated tool to tackle glare in your Android photos, PhotoDirector is a good option. PhotoDirector provides a variety of tools for editing photos, including tools for adjusting exposure, contrast, brightness, and color. The photo glare removal app includes a specific tool for removing glare, which can be helpful for fixing photos with strong reflections.
While the user initially praised PhotoDirector's features and glare removal capabilities, the recent changes to the business model and the inconsistency in the AI replace function have led to significant dissatisfaction. The introduction of a credit system and the requirement to pay for additional features have been particularly criticized, as this deviates from the original one-time purchase model.
Step 1. Open PhotoDirector and select the photo you want to edit.
Step 2. Select the "Glare Removal" tool: Tap on the "Tools" icon and select the "Glare Removal" tool. Use the sliders to adjust the size and strength of the brush. A smaller brush size is better for targeting specific areas of glare, while a larger brush size can be used to remove glare from larger areas.
Step 3. Brush over the areas of the photo that are affected by glare. The tool will automatically remove the glare. If necessary, you can adjust the strength of the glare removal tool or use other editing tools to fine-tune the results.
Step 4. Once you're satisfied with the results, save your photo.

Part 2. What Causes Glare in Photos
Glare in photos is caused by excessive light reflecting off surfaces. This can happen when the light source is directly behind or in front of the subject, or when the subject is reflective (like glass or water). Here are some more specific causes of glare.
- Direct sunlight hits a reflective surface, like glass or water, it can create a bright, distracting glare.
- Strong lights, such as flashbulbs or overhead lights, can also cause glare.
- Objects with shiny or polished surfaces, like glass, metal, can reflect light and create glare.
- Lens flare, a bright spot or halo in the image. This is more common in older lenses or when shooting into the sun.
- Camera settings. High ISO settings or wide apertures can sometimes increase the likelihood of glare.
- Lens quality. Lower-quality lenses may be more susceptible to glare due to internal reflections.

Part 3. Tips to Prevent Glare in Your Photography
Glare is a common photography issue that can significantly impact the quality of your images. It occurs when light reflects off of surfaces, creating a bright, distracting spot. To avoid glare in photos, try these strategies.
1. Adjust Your Angle
By positioning your camera below your subject, you can minimize the direct sunlight hitting the surface, reducing glare. This technique is particularly effective when dealing with reflective surfaces like glass or water. When shooting from below, the angle of the sunlight will be less likely to reflect directly into your lens, resulting in a clearer image.
Use a diffuser: If adjusting your angle isn't possible, a diffuser can help to soften the light and disperse it more evenly, preventing glare. A diffuser is a translucent material that is placed between the light source and your subject. It works by scattering the light, making it more diffuse and less likely to cause glare. Diffusers come in various shapes and sizes, from small handheld diffusers to large softboxes.
2. Control the Light
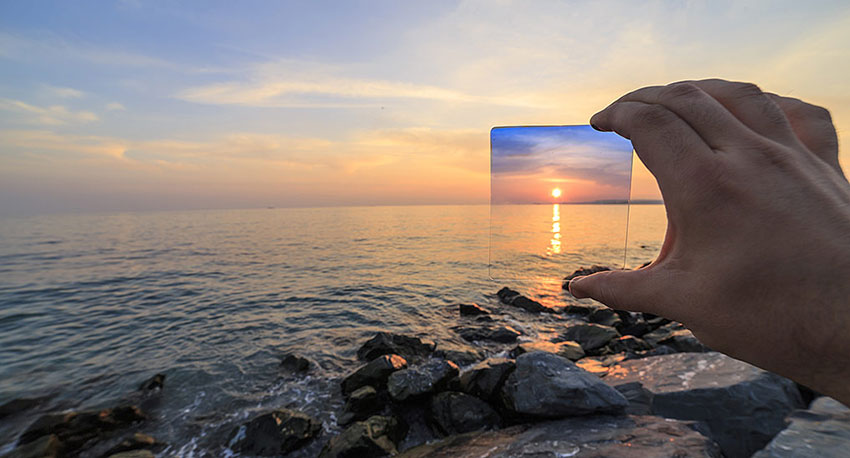
Use a polarizing filter. A polarizing filter is a specialized lens attachment that can significantly reduce glare caused by reflections from non-metallic surfaces like glass, water, and even shiny objects. By selectively blocking light waves that are polarized in a certain direction, a polarizing filter can reduce the amount of light that reflects off of surfaces, resulting in a clearer, more vibrant image. It's a valuable tool for landscape photography, especially when shooting near water or glass.
Avoid shooting directly into the sun. While shooting directly into the sun can create dramatic and visually striking images, it can also lead to glare and lens flare. If you must shoot with the sun behind your subject, use a lens hood to block out unwanted light and prevent glare. A lens hood is a simple accessory that fits over the end of your lens and helps to shield it from direct sunlight and other stray light sources.
3. Adjust Camera Settings
Lower your aperture. A lower aperture (higher f-number) will increase the depth of field, blurring the background and reducing the impact of glare. When you use a lower aperture, more of the scene will be in focus, making it less likely for distracting reflections to appear. This can be particularly helpful when shooting in bright conditions where glare is a concern.
Increase your ISO. A higher ISO setting allows for faster shutter speeds, which can help to freeze motion and reduce camera shake, both of which can contribute to glare. When you use a faster shutter speed, you're less likely to capture any unwanted movement that can blur the image and create glare. However, be mindful that increasing your ISO can also introduce noise into your image. So, find a balance between reducing glare and maintaining image quality.
 FAQs about How to Fix Glare in Photos
Glare is often caused by excessive light reflecting off surfaces. To prevent it, try adjusting your camera angle, using a diffuser, or employing a polarizing filter. If you're dealing with a reflective subject, consider using a flash to create more even lighting.
Lens flare is often caused by direct sunlight entering the lens. To avoid it, use a lens hood or adjust your camera angle. If you already have a photo with lens flare, you may be able to reduce it in post-processing using tools like the Clone Stamp or Spot Healing Brush. However, it's important to be careful not to introduce artifacts or distort the image.
This is likely due to lens flare. To avoid it, use a lens hood or adjust your camera angle. If you already have a photo with lens flare, you may be able to reduce it in post-processing using tools like the Clone Stamp or Spot Healing Brush.
Use a diffuser to soften the light and reduce reflections. You can also try using a reflector to bounce light onto the subject's face and create more even lighting.
You May Also Like
Brenda Peng is a seasoned editor at Digiarty Software who loves turning ordinary photos into extraordinary works of art. With years of experience behind the lens and in front of the computer, Brenda shares her passion for photography, image enhancement, and editing through easy-to-follow tutorials.