Editing text in Photoshop is a common task for designers, marketers, and anyone working with visual content. Whether you need to fix a typo, update information, or enhance the typography of a design, knowing how to edit text in Photoshop is crucial. However, many users face challenges such as selecting the correct text layer, adjusting fonts without breaking the layout, or modifying text while maintaining design consistency. Mastering the right techniques can streamline your workflow and ensure your text looks sharp and professional.
In this guide, we'll explore multiple methods to edit text in Photoshop and Photoshop Elements, step by step. We’ll also a best mate of Photoshop to further AI edit images without trouble. Let’s dive in!
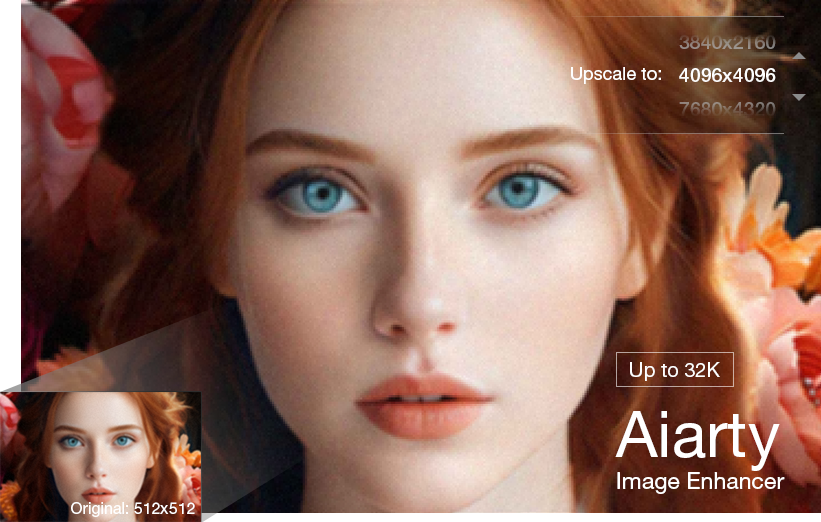
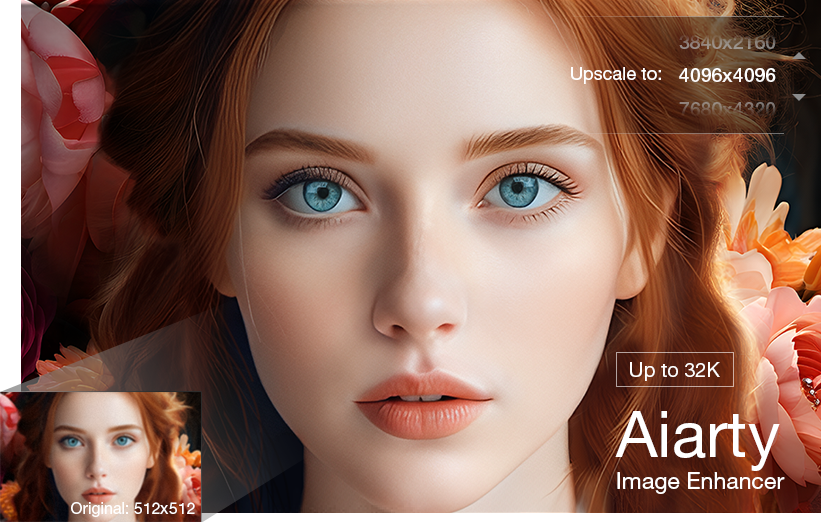
![]() Need AI Upscale, Denoise, Deblur & Enhance Images after Editing Text in PS?
Need AI Upscale, Denoise, Deblur & Enhance Images after Editing Text in PS?
Photoshop is a strong performer in editing text, but not the same story for image AI upscaling and quality enhancement. To upscale images 2X or 4X larger while reserving untouched quality, Aiarty Image Enhancer is your silver bullet!
- AI upscale images 2X-8X, up to 32K resolution at one click!
- More details generated for skin, hair, textures, lines, with more clarity restored.
- Denoise, deblur, sharpen texts, image objects to remove noise, artifacts, pixelation, etc.
- AI Face Restoration enhances faces to achieve optimal clarity while preserving lifelike details.
Download this Photoshop best AI mate to make images larger, clearer and sharper!
How to Edit Text in Photoshop/Photoshop Elements
To edit text in Photoshop, the first way appearing on your radar is to use the Type tool to select and edit text layers. Meanwhile, you're also allowed to use the options bar to change the font, color, and size of the text.
1. How to Edit Text in Photoshop Using Type Tool
Step 1. Run Photoshop on your computer. Open a photo or Photoshop document (PSD)
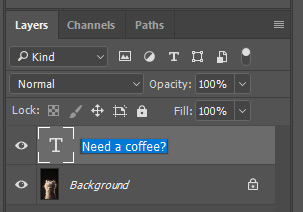
Step 2. Select the text layer. Double-click the layer icon in the Layers panel.
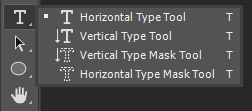
Step 3. Select the Type tool. Pcik up the Horizontal or Vertical Type tool in the Tools panel. Click the type layer in the Layers panel or click inside the text to select it automatically. Double-click the type layer thumbnail (T icon) in the Layers panel to edit, no matter which tool is active.
Step 4. Navigate to the desired location in the text, then:
- Click to set the insertion point.
- Alternatively, drag to select one or more characters for editing.
Step 5. Insert text as desired

Step 6. To Apply Changes to a Type Layer, do one of the following:
- Switch Tools: Select a different tool to save changes automatically.
- Select Another Layer: Click any layer in the Layers panel (this confirms edits and switches layers).
- Commit Button: Click the ✓ (Commit) button in the options bar.
- Press Esc: By default, Esc saves changes. (To disable this, go to Edit > Preferences > Type (Win) or Photoshop > Preferences > Type (Mac), then uncheck "Use Esc Key to Commit Text.")
- Click Outside the Text: Move away from the text (cursor turns into a pointer), then click to confirm.
2. How to Edit Text in Photoshop Elements Using Type Tool
Photoshop Elements is a user-friendly, entry-level photo editor designed for casual users, featuring guided edits and AI tools. In contrast, Photoshop is a professional-grade application with advanced features for detailed image manipulation. Therefore, for beginners, hobbyists, and casual users, you'd better stick with Photoshop Elements to edit text. Check the complete workflows below if you're unfamiliar with Photoshop Elements.
Step 1. Select the Horizontal Type tool or the Vertical Type tool (or select the Move tool and double-click the text). Alternatively, you can hit the text layer in the Layers panel under Expert mode.
Step 2. Click inside the text to activate the type layer. Either: Click again to position the cursor, or Drag to select existing text. Enter your new text.
Step 3. To finalize your text edits:
- Click the ✅ Commit button in the options bar
- Click anywhere on your image
- Switch to a different tool
That's it. Your job of editing text is done in Photoshop Elements. You can check the official Adobe PS Elements full guide to see more details about image editing. Or go direct to the targeted guide like curve text in Photoshop, outline text in Photoshop, etc.
3. How to Edit Text in Photoshop without Creating a New Layer
To edit existing text in Photoshop without creating a new layer, select the text layer in the Layers panel, then double-click the text on the canvas or double-click the text layer thumbnail (T icon). If you're new to Photoshop, check the more detailed breakdown below:
Step 1. In the Layers panel, click the text layer (marked with a "T" icon) to activate it for editing.
Step 2. Activate Edit Mode. Edit text by either:
- Canvas method: Double-click the text object
- Panel method: Double-click the layer's [T] icon
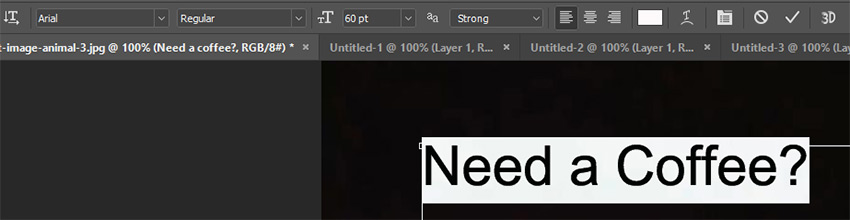
Step 3. When editing text (the cursor will blink): just start typing to change words. At the same time, use the top toolbar to pick new fonts, make text bigger/smaller, choose different colors or add other cool effects.
Step 4. Exit Edit Mode. Click anywhere outside the text box or press Ctrl/Cmd + Enter.
Conclusion
To edit text and change text color, font, size in Photoshop or Elements is damn easy. Just follow the above-mentioned steps to reach your goal with nary a hassle. However, things differ when it comes to upscale and enhance your image to 4K 8K with intact quality. Photoshop excludes the rookies. Honestly, only experts in most cases can easily apply Photoshop upscale and quality enhancement features into their images without wasting too much time or energy.
For beginners and causual users, you'd better resort to an even simpler way to 1-click upscale image 2X/4X/8X larger and meanwhile improve image quality to 4K/8K, even 32K without artifacts, noise, blur or pixelation. Aiarty Image Enhancer cuts the buck!
By courtesy of its advanced AI image enhancement models (More Detail GAN v3; AIGCsmooth V3), it intelligently analyzes and reconstructs blurry, pixelated, or soft-focus images. The system generates natural-looking details to transform low-quality photos into crisp, high-definition results - perfect for enhancing AI-generated artwork and recovering detail from heavily compressed JPEGs.
You May Also Like
This post was written by Brenda Peng who is a seasoned editor at Digiarty Software who loves turning ordinary photos into extraordinary works of art. With AI assistance for brainstorming and drafting, the post is reviewed for accuracy by our expert Abby Poole for her expertise in this field.