Cocktail Photography Made Easy: Tips for Beginners
Updated on
Cocktail photography is an art form that goes beyond just capturing drinks; it’s about telling a story through visuals. Cocktail photography captures visually stunning images of cocktails, usually for promotional, social media, or editorial use. The goal is to make the drink look appetizing evoke emotion and convey the essence of the drink's flavor profile through the image. Whether for a trendy bar menu, a cocktail recipe book, or Instagram, the image should convey the spirit of the drink invitingly and artistically.
In this guide, we’ll break down cocktail photography into easy steps that are perfect for beginners. It will include tips on lighting, styling, and even AI-enhanced post-processing for flawless results.
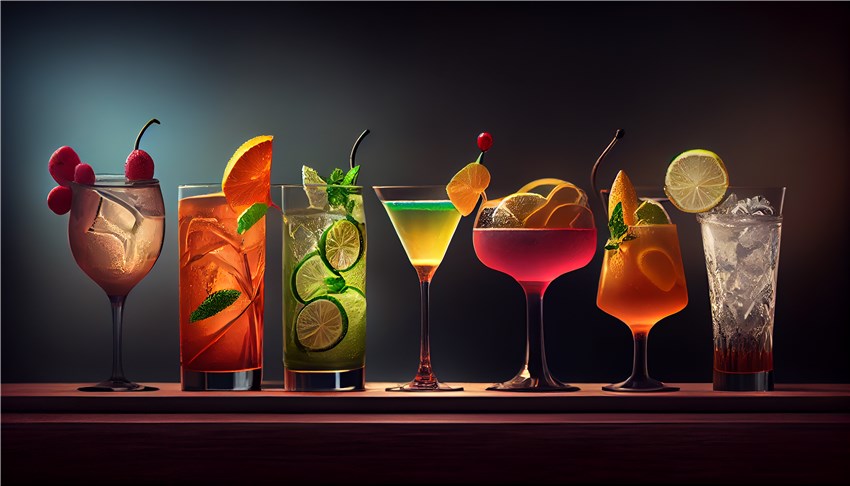
Part 1: Must-Have Tools for Stunning Cocktail Photography
Camera and Smartphone Recommendations
For beginners, you don’t need a high-end DSLR to get started with cocktail photography. Many smartphones, such as the latest iPhone models or Samsung Galaxy devices, are equipped with impressive cameras that can shoot in high resolution and produce detailed images.
However, if you're looking to get more serious, a DSLR or mirrorless camera with manual settings is ideal. Cameras with macro lenses are particularly useful for capturing intricate details like the condensation on a glass or the fine bubbles in a sparkling cocktail.
Lens Selection
Lenses play a huge role in how the final image turns out. For cocktail photography, a 50mm f/1.8 lens is a great choice for beginners due to its sharpness and ability to create a beautiful blurred background (bokeh). If you want to get close-ups, a macro lens will help you capture the fine details of garnishes, ice cubes, and condensation.
Lighting Equipment
Good lighting is the foundation of any great photo. Natural light works wonderfully, but if you're shooting indoors or at night, consider investing in a ring light or softboxes to create soft, even light. Position your light source at a 45-degree angle to the drink to avoid harsh shadows and create depth.
Part 2: Setting Up Your Cocktail Photography Studio at Home
Finding the Right Space
The key to successful cocktail photography is lighting, and this is best achieved with a good setup. Ideally, find a space near a large window for natural light. However, if natural light is insufficient, consider setting up a small studio with a softbox or LED light. Ensure that your background is uncluttered and visually appealing. A clean, minimalist backdrop can often make the drink pop more than a busy one.
Background Setup
The background plays an essential role in setting the mood of your cocktail photo. You can go for a simple wooden table, a dark cloth, or a marble surface to add texture. For more stylized shots, a vibrant cocktail in front of a contrasting background can create an eye-catching image.
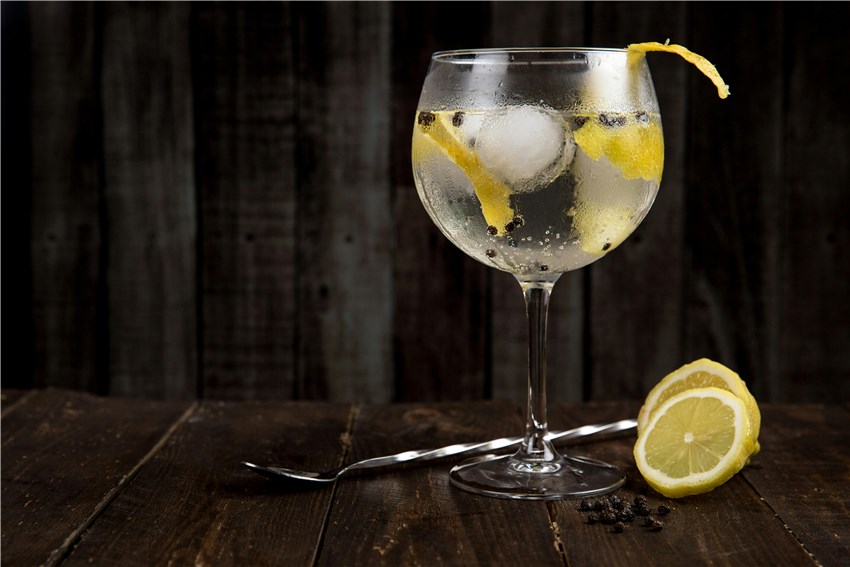
Part 3: Styling Your Cocktails for the Perfect Shot
Garnishes, Glassware, and Ice
Cocktail styling is crucial to making your drink look irresistible in photos. Start with fresh, high-quality ingredients and experiment with garnishes like citrus slices, herbs, or colorful straws. The right glassware can make a huge difference—opt for elegant, high-quality glasses that complement the cocktail’s aesthetic.
A common mistake in cocktail photography is neglecting the ice. Make sure your ice cubes are clear, as cloudy ice can ruin the aesthetic. Using larger ice cubes or spheres also adds a touch of elegance.
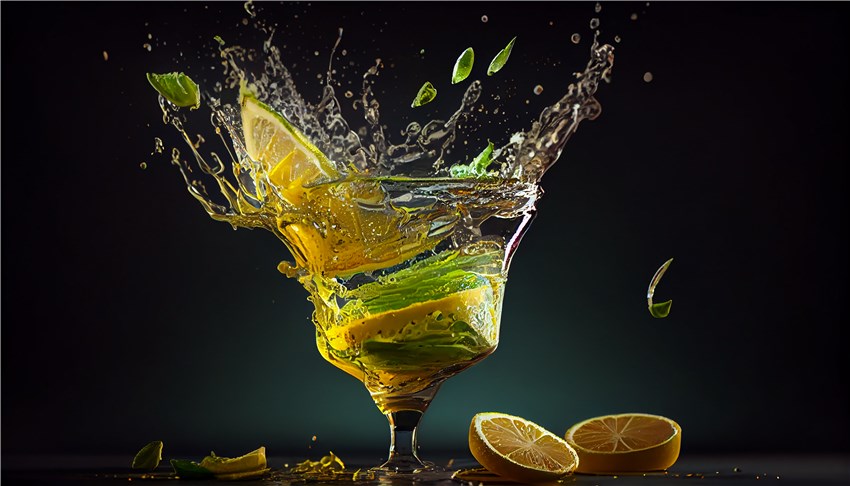
Creating the Right Setting
When styling cocktails, consider the mood you want to evoke. For a relaxing summer cocktail, soft light and minimal props work well. For a holiday-themed drink, bold colors, and festive props such as ornaments or candles can add flair.
Part 4: AI Tool for Removing and Replacing Backgrounds
While great styling and lighting are essential for your cocktail photos, editing plays an equally crucial role. Enter Aiarty Image Matting - a powerful AI tool designed to simplify and enhance the post-production process. Aiarty’s advanced features provide precise background removal, even for complex elements like transparent glassware, hair, fur, or intricate drink details.
With Aiarty, beginners and professionals alike can easily remove distracting backgrounds and create seamless, professional-looking images. Whether you're working with intricate details like the bubbles in sparkling cocktails or the fine edges of garnishes, Aiarty’s advanced alpha matting ensures that every element of the photo is preserved while the background is neatly removed.
- Accurate subject separation with transparent details and fine edges in a click
- Produce smooth, gradient-based alpha edges for natural background blending
- Obtain the original quality. Upscale/enhance images to maximize quality with AI
- Provide an AI-powered brush for quick, easy, and flexible manual adjustments
- Bulk processing. Run entirely locally to ensure user data privacy and security
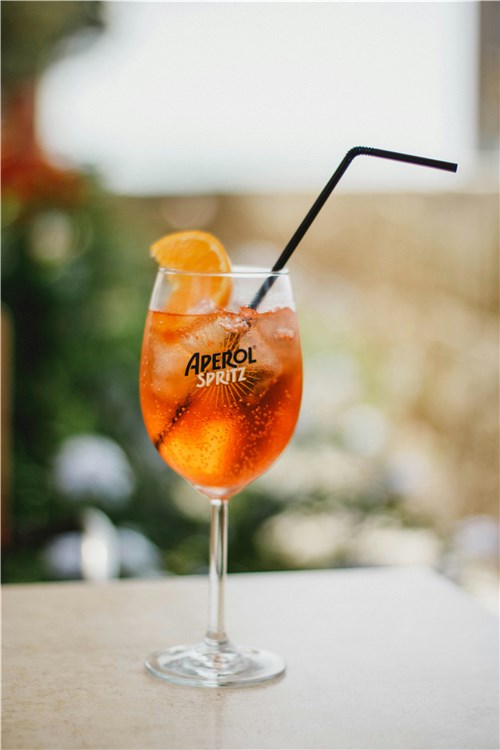
Part 5: Creative Techniques to Elevate Your Cocktail Photography
Using Reflections and Shadows
One of the most creative ways to add depth to your cocktail photos is through reflections. If you're shooting on a reflective surface like glass or polished wood, experiment with capturing the reflection of the drink to create a more dynamic composition.
Similarly, shadows can add drama and sophistication. Play around with light angles to see how the shadows fall on your cocktail and adjust accordingly.
Action Shots: Pouring, Stirring, and Garnishing
Action shots are a great way to showcase the cocktail-making process. Capturing a pour or stirring motion adds a sense of life to your images. For action shots, use a fast shutter speed to freeze the motion or opt for a slower shutter speed to create a sense of fluidity.
Part 6: Enhance Your Cocktail Photos with AI
Basic Adjustments
Once you’ve captured the perfect shot, it's time to refine it in post-production. Start with basic adjustments such as exposure, contrast, and sharpness. Ensure the colors of the drink pop without becoming unnatural, and tweak the lighting to bring out the best features of your cocktail.
AI Enhance with Aiarty Image Enhancer
Aiarty Image Enhancer is a game-changer for cocktail photography. This AI-powered tool allows you to effortlessly upscale your photos, preserving fine details while enhancing image resolution. Aiarty makes it simple to clean up edges, reduce image noise, and ensure the cocktail remains the focal point. Whether you're working with complex glassware or intricate garnishes, Aiarty's advanced features help maintain a seamless, polished look for your images.
Part 7: FAQs
What is the best lighting for cocktail photography?
Natural light works best, but if shooting indoors, use softboxes or LED lights to mimic natural sunlight. Ensure that your light source is positioned at a 45-degree angle to avoid harsh shadows.
How do I create a blurred background in cocktail photography?
To achieve a blurred background (bokeh), use a lens with a wide aperture (f/1.8 or f/2.8). Additionally, position your drink further from the background and closer to the camera.
What props work best for drink photography?
Simple props like coasters, napkins, citrus slices, or cocktail stirrers are great for adding depth and context to your shots.
Can I use my smartphone for cocktail photography?
Yes, many smartphones now offer high-quality cameras that can capture stunning cocktail photos. Use manual settings or third-party apps to control focus and exposure for the best results.
Conclusion
Cocktail photography may seem complex at first, but with the right tools, lighting, and a bit of creativity, you can capture stunning images of drinks that will impress anyone. By mastering the basics and leveraging tools like Aiarty Image Matting for post-production, you’ll be able to create cocktail photos that are crisp, professional, and visually engaging. Ready to step up your cocktail photography game? Start experimenting and elevate your drink shots today!

