7 Tips for Eye-Catching Drink Photography for Ads and Menus
Updated on
Drink photography not only showcases your product but also tells a story. From vibrant cocktails to frothy coffees, showcasing beverages with visual appeal can captivate your audience and boost sales. Consumers make purchasing decisions based on what appeals to their senses, and a well-crafted photo can evoke desire, hunger, or thirst in a way that words simply can't.
The Impact of Drink Photography
- Boost Sales: Studies show that people are more likely to purchase a product when they see a high-quality image of it. When it comes to drinks, the appeal of clear liquids, fresh garnishes, and crystal glasses often results in higher sales, particularly in the food and beverage industry.
- Branding and Recognition: Consistent, high-quality imagery helps build brand recognition and conveys professionalism, especially when your images are used for marketing campaigns, on menus, or across social media platforms.
In fact, recent surveys indicate that 80% of consumers say that product images influence their buying decisions. This statistic underscores the importance of mastering drink photography for your ads and menus. In this article, we'll explore seven effective tips to help you achieve eye-catching drink photography.
1. Perfect Your Lighting Setup
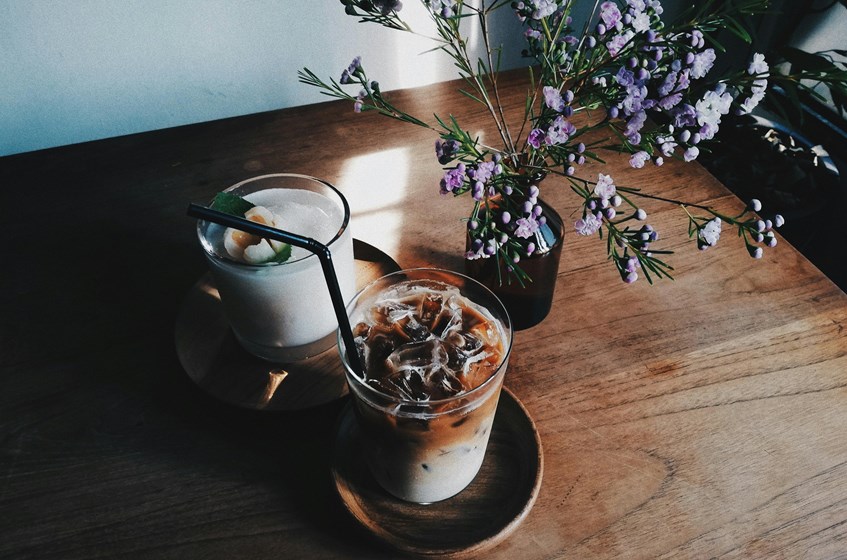
Lighting is the cornerstone of professional drink photography. Proper lighting not only defines the clarity and details of your drinks but also brings out the textures and colors that make your images pop.
Soft, Diffused Lighting
- Use softboxes or white curtains to diffuse light and avoid harsh shadows. This creates a clean, evenly lit image that highlights your beverage.
- Natural light is an excellent option for achieving a soft glow, especially near windows, but always use reflectors to balance the shadows.
Backlighting for Transparency
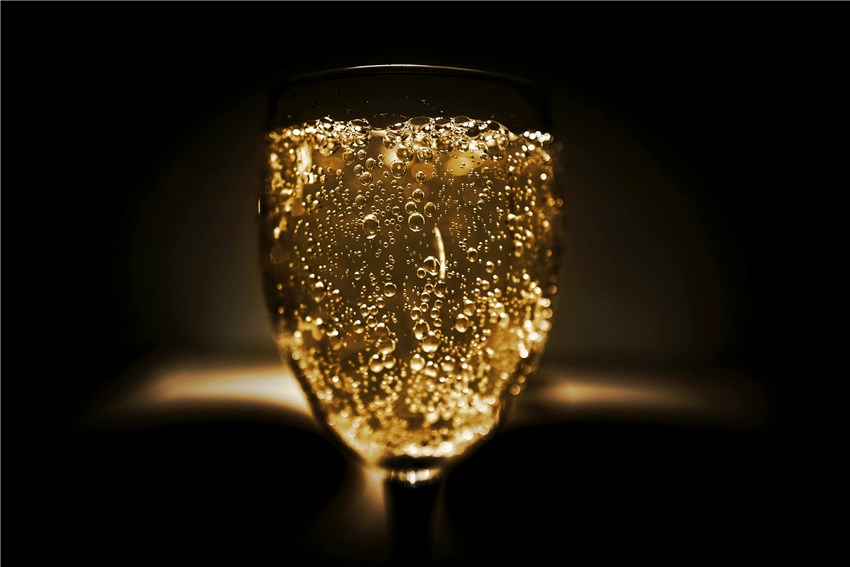
- Place the light source behind the drink to highlight its transparency and bring out details like bubbles or liquid layers.
- Combine backlighting with side lighting to emphasize texture while maintaining a natural glow.
Lighting Accessories
- Reflectors and bounce cards help redirect light into shadowy areas for a balanced look.
- A polarizing filter can reduce glare and reflections on glass surfaces for a clean finish.
💡 Pro Tip: Experiment with angles to control the highlights and shadows for different effects.
2. Choose the Right Props and Backgrounds
Props and backgrounds can make or break your drink photography. They set the scene, add depth, and complement your beverage.
Simple and Clean Backgrounds
- Opt for neutral tones like whites, grays, or wooden textures to keep the focus on the drink.
- Use marble or slate surfaces for a sophisticated, high-end look.
Props That Enhance the Drink
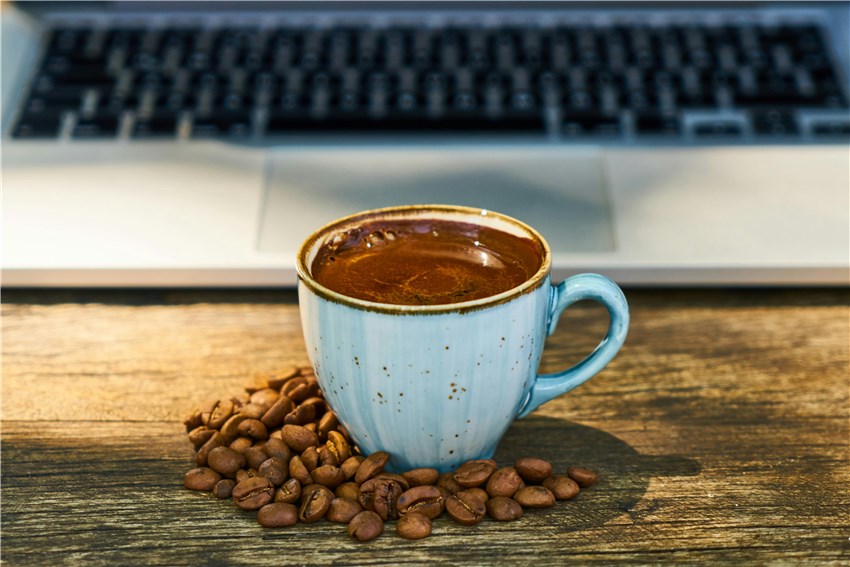
- Select props that tell a story, such as mint leaves for mojitos, coffee beans for lattes, or colorful straws for smoothies. Use glassware that complements the drink, ensuring it’s clean and free of smudges.
Color Harmony
- Match the color of the props with the beverage for a cohesive look.
- For vibrant drinks, use contrasting colors to make them stand out.
💡 Pro Tip: Don’t overcrowd the frame. Props should complement, not compete with, the drink.
3. Experiment with Camera Angles
Choosing the right camera angle is crucial to highlighting the best aspects of your drink. Different angles can create vastly different visual effects.
Popular Angles for Drink Photography
- Straight-On: Ideal for showcasing layered drinks or tall glassware. This angle emphasizes the height and structure of the beverage.
- 45-Degree Angle: A versatile angle that captures both the top and side details, perfect for cocktails with garnishes.
- Overhead Shot: Great for flat-lay arrangements when props, garnishes, or complementary items surround the drink.
Use the Rule of Thirds
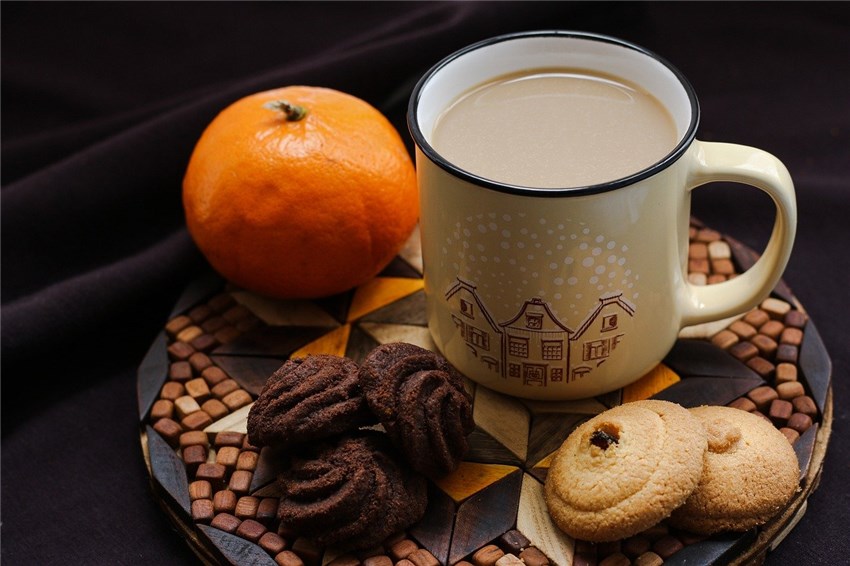
Position your drink slightly off-center in the frame to create a dynamic and balanced composition. This technique naturally draws the viewer’s eye to the subject.
💡 Pro Tip: Take multiple shots from different angles and review them to find the most visually striking perspective.
4. Style Your Drink to Perfection
A beautifully styled drink is essential for creating an appealing image. Attention to detail ensures that your beverage looks as good as it tastes.
Garnish Smartly
- Use fresh garnishes like herbs, fruit slices, or edible flowers to add color and texture.
- Avoid overloading the glass; a simple garnish often looks more elegant.
Enhance the Drink’s Presentation
- Use clear ice cubes for a polished look. For cocktails, crushed ice works well to create a tropical vibe.
- Add condensation to glasses by spraying a mixture of glycerin and water for a freshly chilled effect.
Layer the Ingredients
Pour liquids carefully to create distinct layers in cocktails. Use a spoon to pour denser liquids slowly to prevent mixing.
💡 Pro Tip: Style your drink quickly to keep ingredients fresh and vibrant during the shoot.
5. Use Professional Equipment or Maximize What You Have
While a professional setup yields the best results, you can achieve impressive shots even with minimal equipment.
Essential Gear for Drink Photography
- Cameras: Use a DSLR or mirrorless camera for superior quality. Pair it with a macro lens to capture intricate details.
- Tripods: Stability is key for sharp images, especially in low-light conditions or when using slower shutter speeds.
- Smartphones: Modern smartphones with high-resolution cameras can work wonders. Use manual controls or third-party apps to optimize settings.

Optimizing Settings
- Use a low ISO (100-400) to minimize grain and noise.
- Set a narrow aperture (f/8 to f/11) for sharpness and depth of field.
- Experiment with shutter speed to freeze motion or create blur effects.
💡 Pro Tip: Always shoot in RAW format for greater flexibility in post-processing.
6. Edit for Perfection
Post-processing transforms good photos into stunning visuals. Editing allows you to enhance colors, remove distractions, and perfect the image.
Basic Edits
- Adjust brightness, contrast, and saturation to make the drink pop.
- Use tools like Lightroom or Photoshop to fine-tune highlights and shadows.
Advanced Techniques with Aiarty Image Matting
In drink photography, one of the biggest challenges is achieving a clean, professional finish, especially when working with transparent glassware, intricate garnishes, or complex backgrounds. Aiarty Image Matting is an innovative AI-powered tool designed to simplify these tasks while delivering stunning results.
- Precision Background Removal: Aiarty can detect and separate the drink and its elements from the background with exceptional accuracy. Whether it’s a sparkling cocktail or a layered coffee, Aiarty ensures that every detail is preserved.
- Advanced Alpha Matting: This feature allows for clean edge detection, even in areas that are traditionally difficult to edit, such as transparent objects or reflective surfaces.
- Seamless Background Replacement: After removing the original background, you can replace it with a backdrop that enhances your drink’s appeal. For example, swap a plain white background for a rustic wooden texture or a tropical beach scene.
- Time Efficiency: Aiarty reduces the need for manual editing, saving you hours of meticulous work.
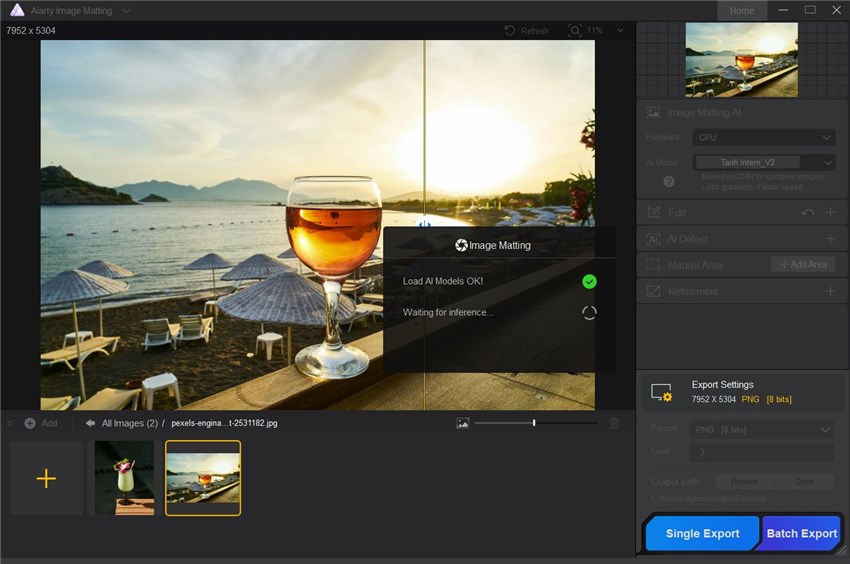
Watch the video tutorial to remove background using Aiarty Image Matting:
💡 Pro Tip: Keep edits subtle to maintain a natural and authentic appearance.
7. Add Motion and Texture
Dynamic elements like motion or texture can elevate your drink photography, making it more engaging and visually appealing.
Action Shots
- Capture splashes, pouring, or garnish drops in mid-air for dramatic effects.
- Use high shutter speeds (1/1000 or faster) to freeze the motion crisply.
Showcasing Textures
- Highlight bubbles in carbonated drinks by stirring gently just before the shot.
- Use lighting to accentuate condensation or frothy textures.
Adding Special Effects
- Add smoke for steaming drinks or mist for frosty beverages to evoke a sensory connection.
- Incorporate light trails or blurred backgrounds for a cinematic look.
💡 Pro Tip: Use burst mode to capture multiple frames and select the most dynamic shot.
FAQs
What makes a good drink photograph?
A good drink photograph combines excellent lighting, thoughtful composition, and attention to detail. It should evoke a sense of freshness and appeal to the viewer's senses.
How can I improve my drink photography skills?
Practice is key! Experiment with different lighting, backgrounds, and props. Analyze successful drink photographs for inspiration and learn from them.
Why is editing important in drink photography?
Editing allows you to refine your photographs, correct colors, and remove distractions. It can significantly enhance the overall quality of the image.
Can I use my smartphone for drink photography?
Yes, many smartphones have excellent cameras. Focus on lighting, composition, and editing to achieve great results.
What are some common mistakes in drink photography?
Common mistakes include poor lighting, cluttered backgrounds, and lack of focus on the drink itself. Always prioritize the drink and its presentation.
Conclusion
Creating stunning drink photography for ads and menus requires mastering lighting, props, angles, and styling while leveraging tools like Aiarty Image Matting for professional-grade editing like background replacement. By implementing these seven tips, you can elevate your beverage shots and captivate your audience with vibrant, eye-catching visuals. Are you ready to take your drink photography to the next level? Grab your camera, props, and garnishes, and let your creativity flow!

