Summary: This blog provides a step-by-step guide on how to take a professional headshot, covering essential aspects like lighting, attire, and background selection. For those seeking to effortlessly enhance their headshot, Aiarty is the perfect tool. With just a few clicks, Aiarty can help you refine the image, smooth out imperfections, and even replace the background, giving your headshot a polished, professional look.
In today's competitive world, a professional headshot is key to making a strong first impression. Whether for LinkedIn, a company website, or a portfolio, a high-quality headshot showcases your professionalism and personality. But how do you take one that truly reflects your best self? It's more than just equipment—it's about mastering lighting, posture, and expression. The right headshot highlights confidence, approachability, and expertise, helping you stand out. This guide covers essential steps and tips to create a headshot that looks professional and captures your unique character.
3 Common Mistakes When Taking a Professional Headshot – Are You Making Them?
- Relying only on your camera and ignoring lighting and posture can make your headshot look dull.
- Unprofessional or distracting backgrounds can ruin an otherwise great pose.
- Skipping high-definition details can result in a photo that doesn't stand out.
No worries! There's an easier way to transform your headshot into a professional masterpiece.
Transform your headshots and effortlessly swap backgrounds in seconds with Aiarty Image Matting. Whether you're refreshing LinkedIn photos, creating polished social media profiles, or perfecting professional portraits, get clean, studio-quality cutouts every time. Let your subject shine against any backdrop you choose.

What is a Professional Headshot
A professional headshot is a high-quality, focused portrait photograph that represents you in a professional setting. It is commonly used for business purposes, such as LinkedIn profiles, company websites, resumes, and portfolios. Unlike casual or personal photos, a professional headshot is meant to convey a sense of professionalism, competence, and approachability. It's not just about capturing your face; it's about showing your personality and style in a way that aligns with your career or professional goals.
What Makes a Professional Headshot
- High-Quality Image: A professional headshot should be clear and sharp, with no blurriness or pixelation. High-resolution images, whether taken with a DSLR or a smartphone, ensure that the photo appears crisp, even when zoomed in.
- Proper Lighting: Good lighting is essential for creating a flattering headshot. Natural light or soft artificial lighting should illuminate your face evenly, minimizing harsh shadows and highlighting your features. Avoid direct sunlight or overexposure.
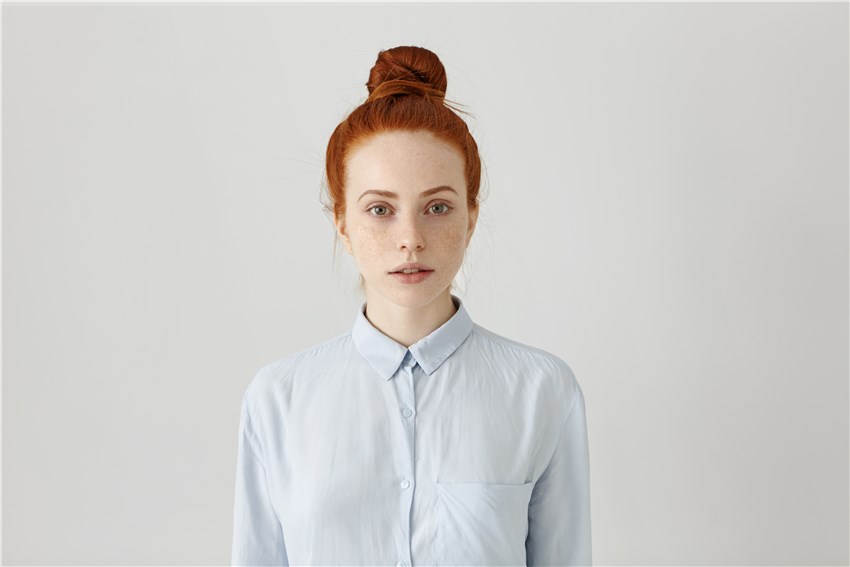
- Clean Background: A professional headshot typically has a neutral or plain background to ensure that the focus remains on the subject. Cluttered or distracting backgrounds can take away from the image's professionalism. Solid colors or simple outdoor backdrops often work best.
- Attire and Grooming: Your clothing and grooming should reflect your industry and profession. For most professional settings, business casual or formal attire works well. Hair should be neat, and makeup (if worn) should be subtle. Clothes should fit well and be wrinkle-free to create a polished look.
- Confident and Approachable Expression: The expression in your headshot is key to conveying the right message. A warm, genuine smile that shows confidence and approachability is ideal. A neutral or overly serious expression can make you appear stiff or unapproachable.
- Framing and Composition: A professional headshot is typically framed from the chest or shoulders up, with a small amount of space above the head. The composition should be balanced, with the subject facing forward or slightly turned to one side.
- Post-Processing: Light editing is common in professional headshots to enhance the image's clarity and color, smooth out minor imperfections, and adjust lighting. However, over-editing or excessive filters can detract from the authenticity of the photo.
A professional headshot should effectively communicate your personality while keeping the image crisp, clear, and polished, making it an essential tool for building your professional image.
How to Take a Professional Headshot
Taking a professional headshot doesn't have to be complicated. With the right approach, you can capture a photo that reflects your professionalism and personality. Follow these essential headshot photography tips and steps to ensure your headshot stands out for all the right reasons.
1. Choose the Right Location
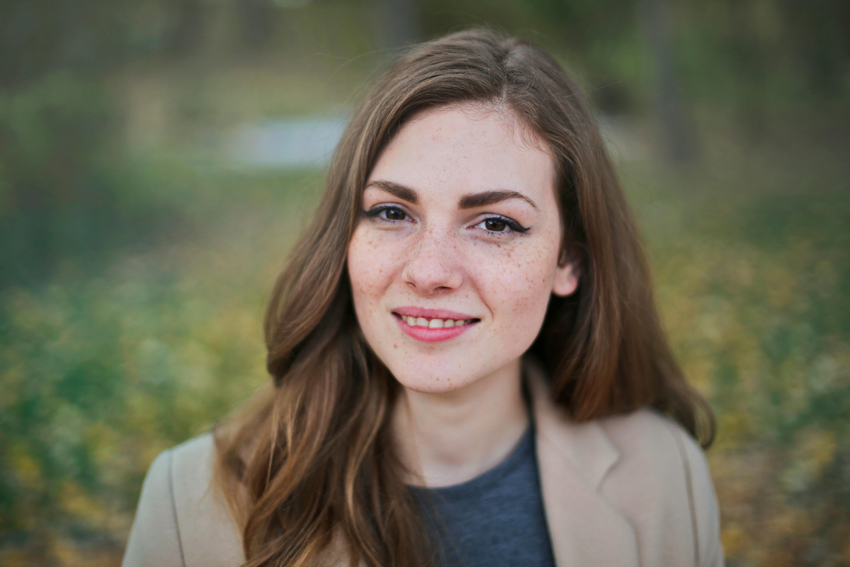
The location of your headshot directly impacts the final result. A well-chosen background enhances the subject, drawing attention to you, while a poor choice can detract from your message. Neutral or solid-colored backgrounds, such as soft whites, grays, or light pastels, are universally flattering and help keep the focus on you. These simple backdrops create a professional atmosphere without overpowering your image. If you prefer an outdoor setting, take advantage of natural light, which can create a soft, flattering effect. However, make sure the background is not too busy or distracting. A quiet park or garden works well, while bustling streets or crowded areas can take away from the professional tone of the shot.

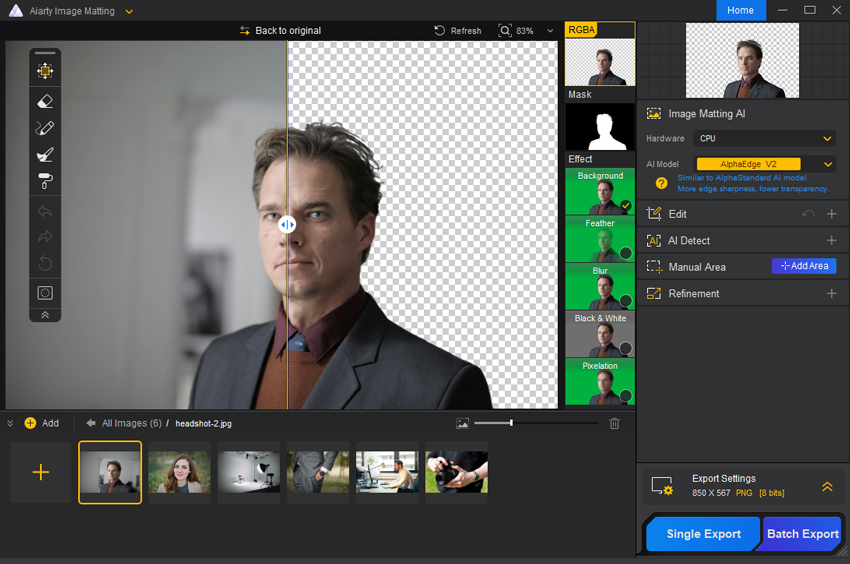
Choosing the right location is essential for a professional headshot, but what if you don't have access to the perfect background? That's where Aiarty Image Matting comes in. With this powerful tool, you can effortlessly replace the background of your photo, giving you the freedom to choose any setting you desire.
Core features of Aiarty Image Matting to make your headshot better:
- One-Click Background Replacement: Instantly swap busy or dull backdrops with professional, clean, or creative alternatives.
- Pixel-Perfect Edge Detection: Achieve natural-looking cutouts with seamless hair and detail preservation.
- Studio-Quality Results: Mimic high-end photography with crisp subject-background separation.
- Versatile Use Cases: Optimize headshots for LinkedIn, resumes, portfolios, or social media in seconds.
- Adaptive Lighting Adjustment: Automatically harmonizes subject lighting with new backgrounds for realistic edits.
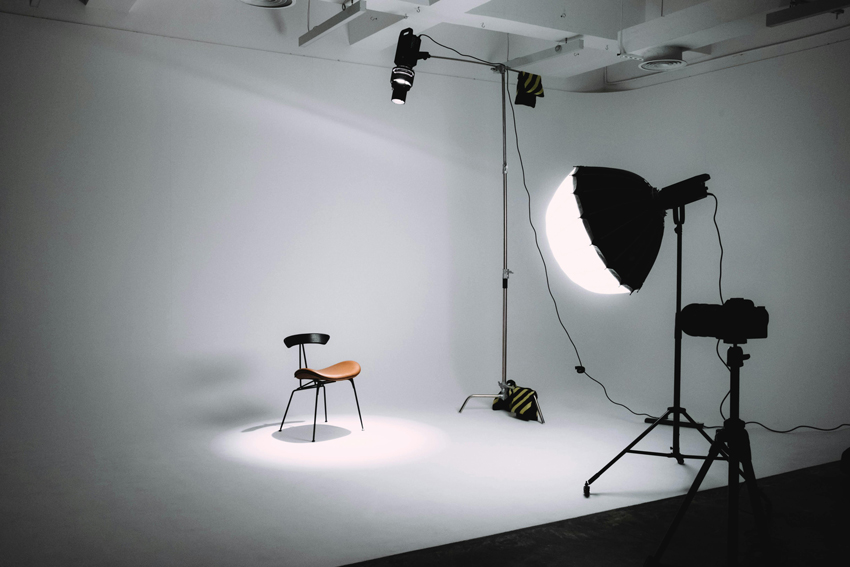
2. Set up Proper Lighting
Lighting is key to a professional headshot. Natural light offers a soft, flattering glow—position yourself near a window for even illumination, avoiding harsh sunlight. The golden hour, in the morning or late afternoon, provides the best warmth. Indoors or at night, a ring light ensures consistent, shadow-free lighting for a polished look.
3. Dress Professionally
Your clothing speaks volumes about your professionalism. The right outfit helps convey authority and trustworthiness while allowing your personality to shine through. When choosing what to wear, stick to solid colors instead of busy patterns. Neutral colors like navy, gray, or beige are great choices because they're flattering and exude professionalism. Bright or patterned clothes can distract from your face, which is the focal point of a headshot. Fit is also incredibly important—make sure your clothes are tailored to your body and free of wrinkles. Clothing that fits well will make you feel confident and look polished. You also want to make sure you're comfortable in your outfit so that you can relax during the shoot. The goal is to wear something that looks professional but also feels natural and true to your personal style.

4. Keep Consistency across Your Professional Brand
When taking a professional headshot, it's essential to ensure it aligns with your overall personal or business brand. Your headshot should convey the same message as the rest of your online presence, whether it's on LinkedIn, your website, or other professional platforms. Consider the style and tone of your brand before choosing your outfit, expression, and background.
For example, if you're in a creative field, a more relaxed, informal approach might work well, while a corporate job might call for a more polished and formal look. Keeping consistency in color tones, posture, and style will make your professional image appear cohesive and help you stand out as an authentic and trustworthy individual. This attention to detail will ensure your headshot is not just a photo, but an extension of your professional identity.
5. Perfect Your Posture and Body Language
Good posture is crucial in making your headshot appear professional. It not only communicates confidence but also makes you look more approachable. Stand or sit up straight with your shoulders back, avoiding any tendency to slouch. Slouching can make you appear disengaged or unsure, which is not the impression you want to create. Relax your shoulders to avoid any tension showing through your body language. A slight turn of your body towards the camera can add depth to the shot, giving it a more dynamic and flattering angle. It's important to keep your hands relaxed as well—whether they're placed naturally at your sides or lightly clasped in front of you. Avoid crossing your arms or using awkward poses, as these can make you appear closed off or uncomfortable. The goal is to convey calm confidence and approachability.

6. Focus on Facial Expression
Your facial expression is one of the most important elements of your headshot. A good expression can communicate professionalism and approachability, making you look confident without seeming too serious. The key to a successful headshot is a natural, genuine expression that represents who you are. A soft, warm smile is ideal, as it makes you appear friendly and approachable. Try not to force a smile; instead, let it come naturally to convey authenticity. Your eyes should also be engaged, as they help communicate your personality. A blank stare can make you seem distant or uninterested, so try to imagine you're in a conversation with someone, which will help your eyes connect with the camera. Be cautious of exaggerated expressions, such as overly wide smiles or overly intense gazes, which can make the photo appear inauthentic. A calm, relaxed expression is best for a professional headshot.
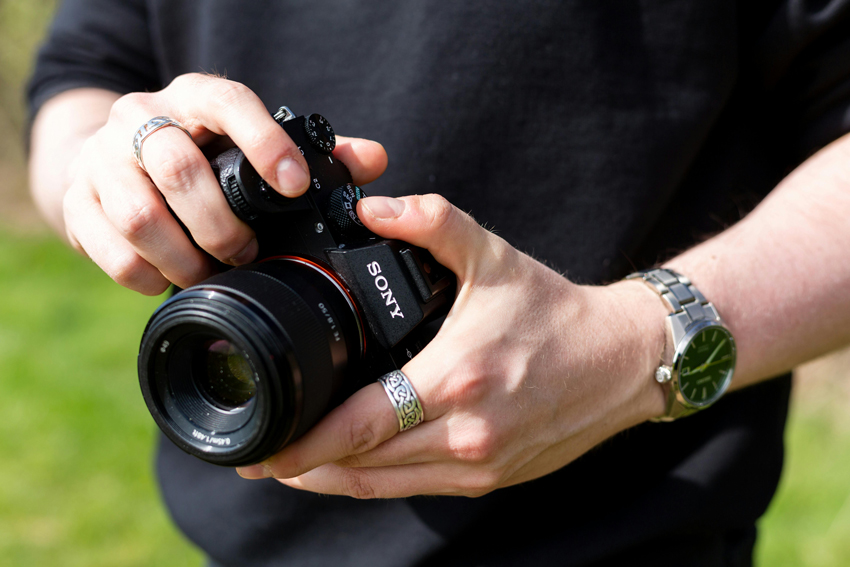
7. Use the Right Camera and Equipment
The equipment you use can affect the quality of your headshot. While you don't need to invest in a professional camera, choosing the right equipment will help you capture the best possible image. If you're using a smartphone, make sure to use the rear camera, which typically has higher resolution than the front-facing one. Enable grid lines on your phone's camera to ensure that the shot is well-aligned and follows the rule of thirds. If you have access to a DSLR camera, this can offer even more control over the image, particularly in terms of depth of field. A shallow depth of field allows the background to blur, ensuring you're the focal point. Regardless of the equipment you use, make sure your camera is stable. If you're taking the shot yourself, use a tripod or place the camera on a stable surface to avoid any blurry images caused by hand movements.
8. Edit and Enhance the Photo
Once you've taken your headshot, editing plays a crucial role in refining the image and ensuring it looks its best. Start by adjusting the brightness and contrast to bring out the finer details of your face and remove any harsh shadows or overexposed spots. These subtle adjustments can often make the difference between a flat image and one that looks vibrant and well-lit. You can also adjust the sharpness to ensure that the details of your face, such as the eyes and hair, appear crisp and in focus.
When editing, it's important to keep the changes natural—over-editing can result in a headshot that looks less authentic, so be mindful of retouching. Remove minor blemishes or imperfections, but avoid excessively smoothing out skin or altering your facial features. Remember, the goal is to enhance your natural beauty, not to make you look like someone else. Additionally, ensure that the crop is clean and balanced, leaving a small amount of space above your head while focusing on your face and upper torso.
Enhance Your Headshot with Aiarty Image Enhancer
For a seamless, professional finish, Aiarty Image Enhancer is an invaluable tool. It uses cutting-edge AI technology to quickly and automatically enhance your photo with one simple click. This tool sharpens your image, removing any blurriness and improving the clarity of the photo, ensuring that every detail from your facial features to your attire looks crisp and refined. Whether you're working with a slightly out-of-focus image or just want to ensure the highest quality, Aiarty's AI-powered enhancements ensure your headshot looks both polished and professional, effortlessly bringing out the best in your image.

Conclusion
Taking a professional headshot doesn't have to be a complex task. With the right preparation and attention to detail, you can easily create a polished image that reflects your personal or professional brand. From selecting the right attire and lighting to choosing the ideal background, every element contributes to your photo's success. If you want to take your headshot to the next level, leveraging advanced tools can help. With Aiarty, you can seamlessly replace backgrounds to match your style and enhance the clarity of your image, transforming it into a high-quality, professional portrait in no time. Whether you need to fine-tune the details or enhance your background, Aiarty simplifies the entire process.
You May Also Like
This post was written by Brenda Peng who is a seasoned editor at Digiarty Software who loves turning ordinary photos into extraordinary works of art. With AI assistance for brainstorming and drafting, the post is reviewed for accuracy by our expert Abby Poole for her expertise in this field.