Food Product Photography for Beginners: Step-by-Step Tutorial
Updated on
Food product photography is more than just taking pictures of food; it's about telling a story through visuals. High-quality food images can significantly impact consumer behavior, as studies show that appealing food photography can increase sales by up to 30%. Whether you’re a restaurant owner, food blogger, or e-commerce seller, great food product photography can elevate your brand and make your products more appealing to your audience.
In this tutorial, we'll cover everything from essential equipment to advanced techniques for styling and editing your food images. By the end, you'll be equipped with the skills to create professional-looking food photography that captures the essence of your dishes.
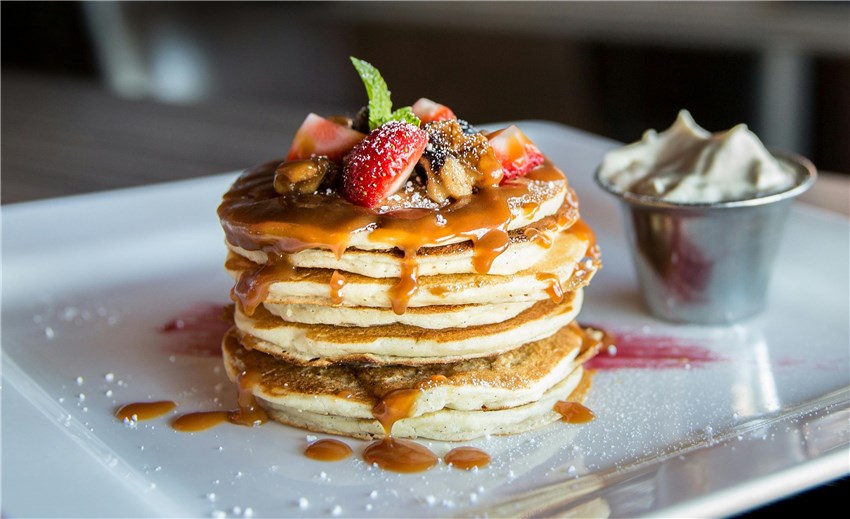
Part 1: Preparing Your Space and Equipment
Great food photography starts with a well-prepared environment. Before you even think about the camera, setting up your workspace and selecting the right equipment is key to taking best food product shots.
1. Lighting: The Foundation of Every Great Photo
Lighting is arguably the most important aspect of food photography. Natural light is your best friend, especially if you’re just starting. The goal is to capture the food in its most flattering form, so you need to avoid harsh shadows and unflattering glares.
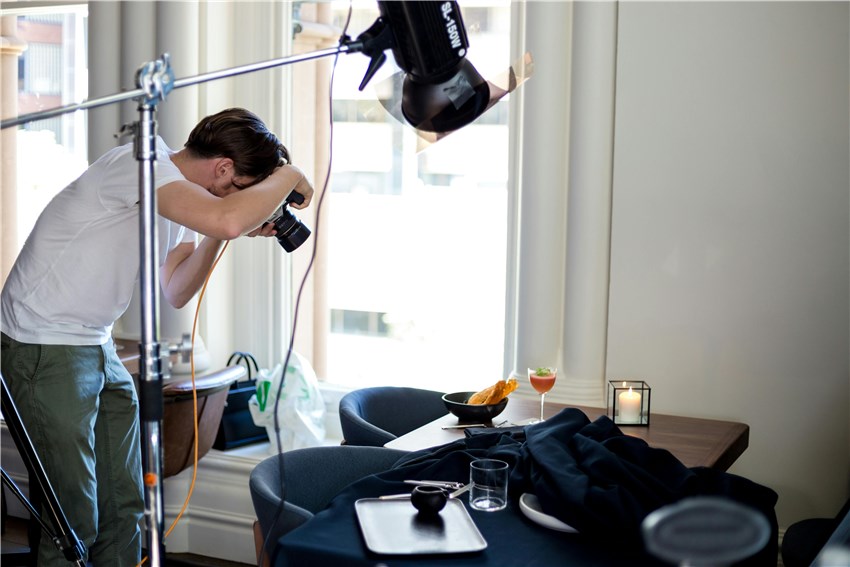
- Natural Light: Position your food near a window, but out of direct sunlight. Diffuse the light with a sheer curtain to soften it. This creates a soft, even light that highlights the textures and colors of the food.
- Artificial Lighting: If you’re shooting indoors or at night, consider investing in affordable artificial lights. Softboxes and LED panels are great options for creating a consistent and soft light. Position the light at a 45-degree angle to your food to achieve the best balance of light and shadow.
Related Search: How to Take a Photo without Shadow >>
2. Choosing the Right Equipment
While a DSLR or mirrorless camera is ideal for food photography, modern smartphones can still produce stunning results. Here’s what you’ll need:
- Camera: For beginners, smartphones with high-quality cameras (such as the iPhone 16 Pro Max or Samsung Galaxy series) can produce professional-looking images.
- Lenses: If you’re using a DSLR, a 50mm f/1.8 lens is a great starting point. It creates a shallow depth of field that blurs the background and makes the food stand out.
- Tripod: A tripod stabilizes your camera and ensures crisp, clear shots, especially in low-light conditions. For extra control, get a tripod with adjustable angles.
- Reflectors and Diffusers: Use a white reflector to bounce light back onto the food, reducing harsh shadows. A diffuser can soften natural or artificial light to create a more even exposure.
Part 2: Capturing the Perfect Shot
With your space and equipment set up, it’s time to focus on how to take the perfect shot. The process involves careful planning, food styling, and adjusting your camera settings for optimal results.
3. Planning Your Shot and Composing the Image
Composition plays a major role in how your food will appear in the final photo. Before you snap a photo, think about the following:
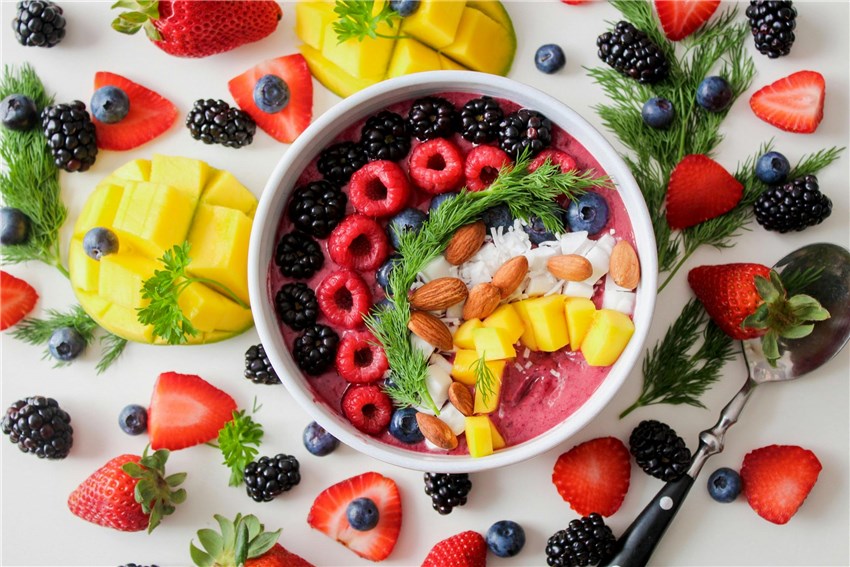
- Angle: The angle you shoot from can completely change the perception of the food. Overhead shots are great for flat-lay dishes like pizzas, salads, or cheese boards. Side shots are better for layered foods like burgers or desserts, highlighting texture and depth.
- Composition Techniques: Follow the rule of thirds to create balanced, visually appealing photos. Position the food off-center to make the shot feel dynamic and engaging.
- Framing: Consider the frame in which you place your food. Do you want to show the full dish, or are you focusing on specific details like a drizzling sauce or a slice of pie? Make sure your framing emphasizes the most important aspects of the food.
4. Styling Your Food for the Shot
Styling is where you can get creative. A beautifully styled dish can make all the difference in how your photo turns out.
- Garnishing: A sprinkle of fresh herbs, a drizzle of sauce, or a dusting of powdered sugar can elevate your food photography. Keep garnishes simple and relevant to the dish to avoid overwhelming the viewer.
- Plating: Clean, neat plating will make the food look more appetizing. Use plates with clean edges and avoid any spills or smudges. The way food is arranged can also convey its texture and temperature—stacking or layering can create depth, while minimalism can focus attention on a single element.
- Props: While the food should be the focus, props like cutlery, napkins, or cups can help tell a story. Use them sparingly, making sure they complement the food without overpowering it. For example, a fork beside a slice of cake can suggest indulgence, while a napkin adds a touch of elegance.
5. Camera Settings and Techniques for Beginners
Knowing how to adjust your camera settings is essential to achieving the look you want. While it may seem intimidating, once you understand the basics, it becomes second nature.
- Aperture: A wide aperture (low f-stop, such as f/2.8) helps create a shallow depth of field, which blurs the background and draws attention to the food. For wider shots, you may want a higher f-stop (f/5.6 or f/8) to keep everything in focus.
- Shutter Speed: A fast shutter speed (1/100 or faster) is essential for capturing crisp images, especially when shooting handheld. If you're using a tripod, you can afford to slow the shutter speed to allow more light into the camera.
- ISO: Keep the ISO as low as possible (100–400) to avoid graininess. If you’re in a low-light setting, you can increase the ISO, but be careful not to go too high, as it can lead to noise in your photos.
Part 3: Perfecting Your Photos with Editing and Post-Processing
After capturing the perfect shot, the next step is editing. Post-processing can enhance the colors, correct any exposure issues, and bring out the best in your food images.
6. Basic Editing Tips
The key to successful food photography editing is subtlety. You want to enhance the image without making it look overly edited.
- Adjust Brightness and Contrast: Tweaking the brightness and contrast helps bring out details in your food, especially if the image is too dark or too bright. Increase contrast slightly to make textures pop.
- White Balance: Correct the white balance to ensure that your food looks as natural as possible. If your food appears too warm (yellow or orange), cool it down, or if it looks too cold, warm it up slightly.
- Color Saturation: Enhance the colors of the food, but be careful not to overdo it. You want the food to look natural and vibrant, not artificially enhanced.
- Image Enhancement: Enhance your blurry, grain, or pixelated images without losing any quality or enlarge your images for printing or other usage.
7. Advanced Techniques with AI Tools
For those looking to refine their editing process, AI tools can be a huge help. Aiarty Image Matting offers advanced features for background removal and replacement, allowing you to isolate your food subject easily and place it against a different backdrop. This is perfect for beginners who want professional-looking images without investing hours in manual editing. With a few clicks, you can remove distractions from the background and make your food the focal point of the image.
- Accurate subject separation with transparent details and fine edges in a click
- Produce smooth, gradient-based alpha edges for natural background blending
- Obtain the original quality. Upscale/enhance images to maximize quality with AI
- Provide an AI-powered brush for quick, easy, and flexible manual adjustments
- Bulk processing. Run entirely locally to ensure user data privacy and security
8. Overcoming Common Challenges
Even the best food photographers face challenges. Here are some solutions to the most common problems beginners might encounter:
- Low Lighting: If you're working with low light, try using a higher ISO, or add additional artificial lighting to brighten up the scene.
- Harsh Shadows: If you're getting harsh shadows, soften the light with a diffuser or use a reflector to bounce light back onto the food.
- Messy Plating: Make sure to clean your plates and cutlery before photographing them. A messy presentation will distract from the food.
FAQs
1. Do I need a professional camera?
While a DSLR is ideal, many smartphones today have excellent cameras that can deliver impressive results with the right techniques.2. How can I improve my food photography skills?
Practice is key! Experiment with different angles, lighting, and compositions until you find what works best for your food.3. Can I use AI tools to enhance my photos?
Yes, AI tools like Aiarty Image Matting can help simplify the editing process, especially for background removal and isolation of food products.Conclusion
Food photography is both an art and a science. While it may take some practice to get the perfect shot, the right equipment, lighting, composition, and editing techniques will ensure your photos stand out. With these beginner-friendly tips and tools, you’ll be well on your way to creating visually stunning food product images that captivate and engage your audience.

