A Beginner's Guide to Turning Stable Diffusion Sketch to Art
Updated on
Stable Diffusion creates a world where your simple sketches transform into vibrant images. By feeding it text descriptions, even basic sketches, Stable Diffusion conjures stunning visuals tailored to your imagination. This innovative technology has sparked a thriving community on Reddit. Enthusiasts from all walks of life are buzzing with excitement, sharing their creations, sketch-based image generation. Whether you're a seasoned artist or a curious newcomer, this exploration into Stable Diffusion sketches will harness its creative potential.
How to Turn Sketches to Your Creations in SD
Stable Diffusion thrives on clear direction, and sketches is a good source for image generation. Here's how to do it. Try different methods, refine your prompts, and get the best sketch-based image generation with Stable Diffusion.
Step 1. Begin with basic sketches that capture the essence of your desired image. Focus on outlining the key elements like figures, objects, and the overall composition.
While adding details can help refine the final image, avoid getting bogged down in intricate details. Stable Diffusion can often fill in the gaps based on your prompt and artistic style. If your vision involves complex scenes, consider layering your sketch. This could involve separate sketches for foreground, background, and additional elements. Stable Diffusion can then combine these layers into a cohesive image.
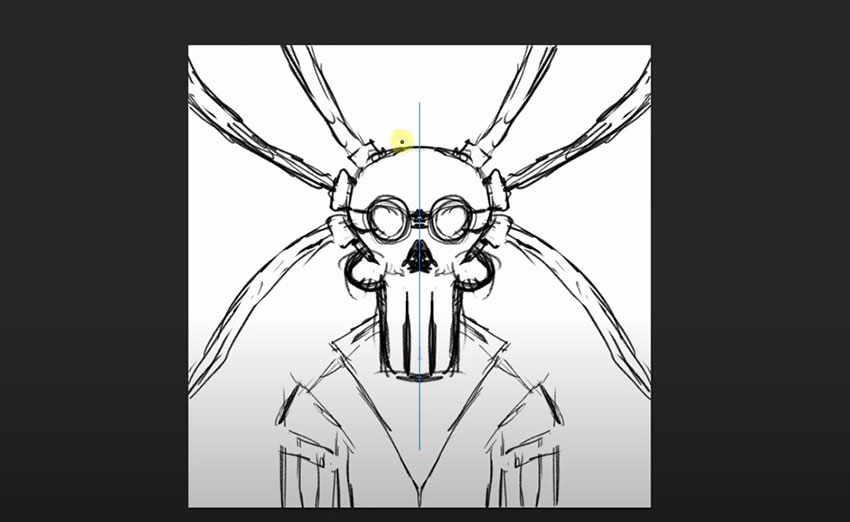
Use sketches to apply a specific artistic style to your image generation. Create a sketch in the desired style (e.g., impressionist brushstrokes) and use it alongside your main sketch and descriptive prompt. Stable Diffusion may then incorporate those stylistic elements into the final image.
Step 2. Combine sketches with prompts. Partner your sketch with a well-written prompt. Describe the desired style, colors, lighting, and any additional details that your sketch doesn't capture. The prompt bridges the gap between your artistic vision and the AI's interpretation.
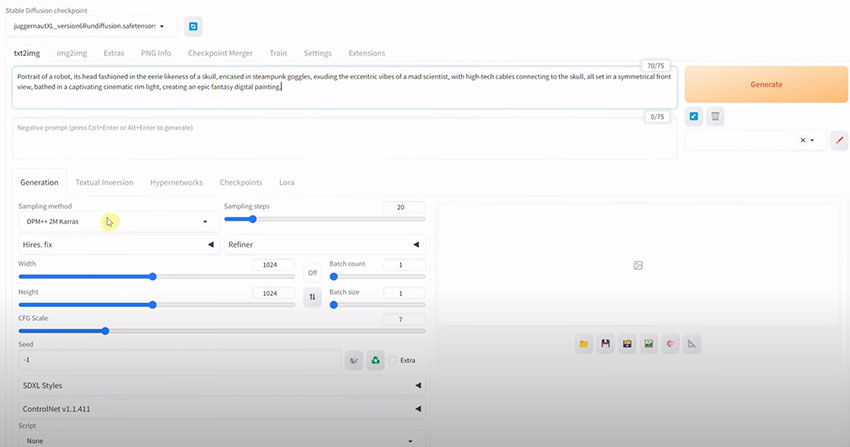
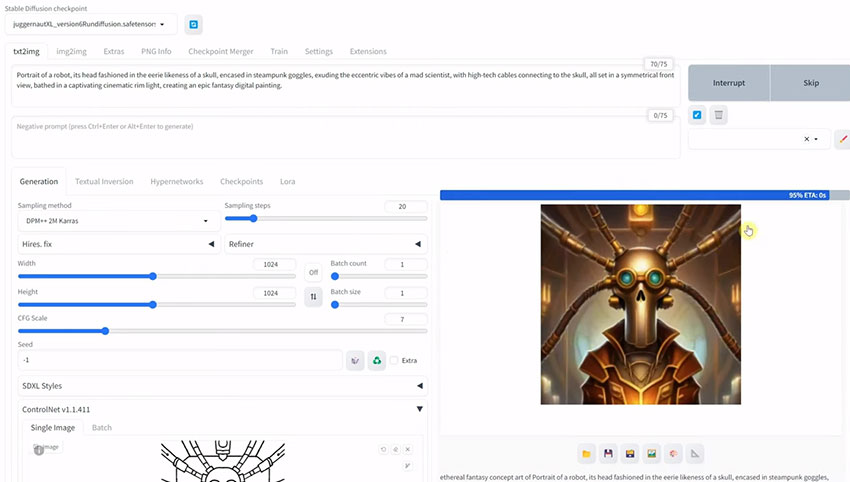
Feeling stuck? Include references to existing images within your prompt. This provides Stable Diffusion with additional visual cues, allowing it to generate artwork that aligns closely with your artistic style and subject matter. Don't be afraid to experiment! The initial results may not be perfect. Utilize Stable Diffusion's ability to generate variations based on your feedback. Refine your prompt based on what you like and dislike about the initial output, gradually guiding Stable Diffusion towards your desired outcome.
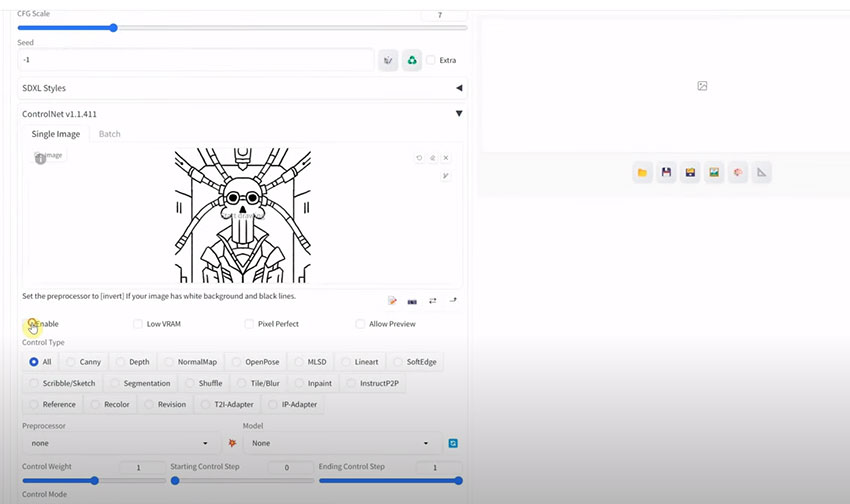
Step 3. For complex scenes with multiple elements, consider segmenting your sketch. This involves creating separate sketches for different objects or regions of the image. Stable Diffusion can then combine these segmented sketches based on your instructions within the prompt.
Upscale Stable Diffusion Artworks
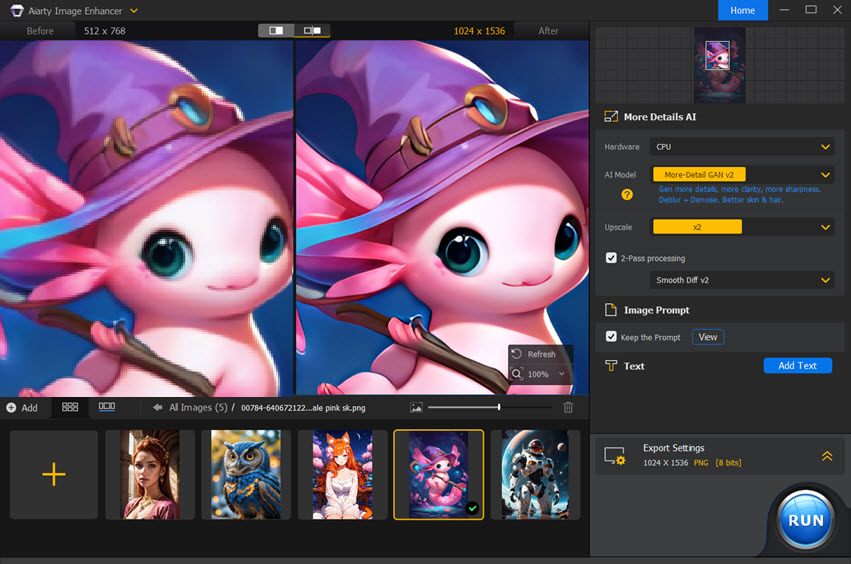
To elevate these generated images to new heights, try an AI image enhancer like Aiarty Image Enhancer. This tool specializes in improving image quality, adding detail, and enhancing overall visual appeal. By applying the best image enhancer to your Stable Diffusion outputs, you can significantly enhance clarity, sharpness, and color accuracy, transforming your creations into truly stunning masterpieces.
The combination of Stable Diffusion's creative potential and Aiarty's image enhancement capabilities offers an unparalleled workflow for artists and designers seeking to bring their sketches to life with exceptional quality.
Tips & Tricks for Stable Diffusion Sketch-based Image Generation
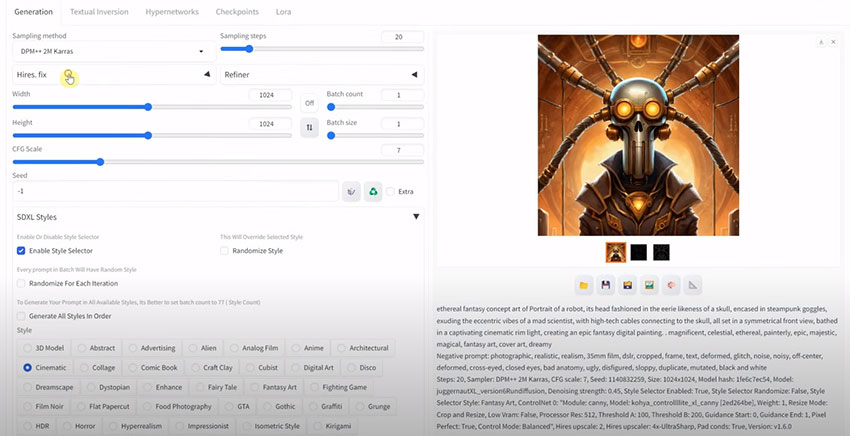
The magic of sketch-based image generation in Stable Diffusion lies not just in the sketch itself, but also in the power of the prompt. Your prompt acts as a bridge, translating your artistic vision into a language the AI understands. This section equips you to craft compelling prompts, unlocking the full potential of Stable Diffusion. By mastering the art of crafting compelling prompts, you empower Stable Diffusion to interpret your vision with exceptional accuracy.
1. Build the Foundation: Craft Clear and Concise Prompts
The first step is mastering the art of writing clear and concise prompts. Imagine giving detailed instructions to an artist. Here are some key strategies.
Describe the Scene: Clearly describe the elements you want to see in the final image. This includes figures, objects, the environment, and any specific details that are crucial for your vision.
Embrace the Power of Words: Paint a picture with words! Use descriptive language to evoke the desired atmosphere, lighting conditions, and overall mood of the image.
Style Matters: Specify the artistic style you're aiming for. Do you want a photorealistic image, a classic painting, or something more abstract? Guide Stable Diffusion by referencing specific artistic styles or artists whose work resonates with your vision.
2. Advanced Techniques: Polish Your Prompts
Once you've mastered the basics, explore these advanced prompt techniques to further refine your creations
Style Transfer with References: Incorporate references to existing art pieces within your prompt. This allows Stable Diffusion to analyze the style and incorporate it into your final image, essentially applying a specific artistic style to your sketch.
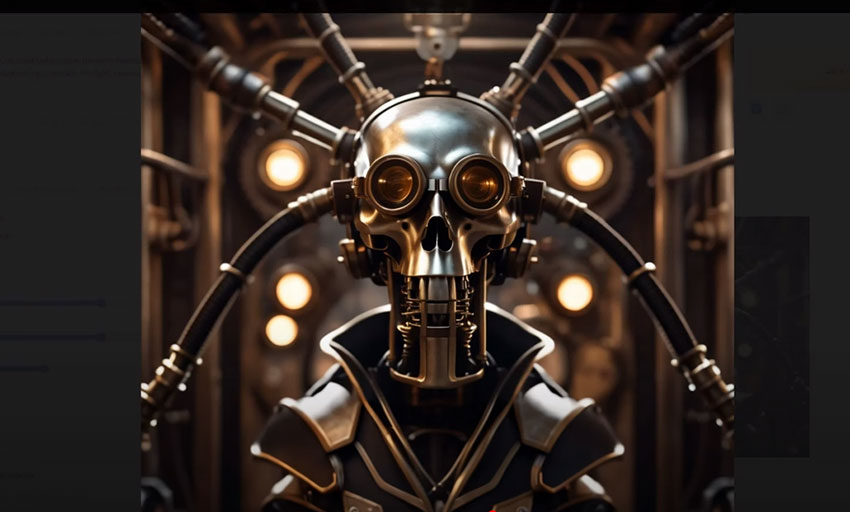
Composition Control: Guide the overall arrangement of elements within the image. Use keywords like "center composition" or "rule of thirds" to influence the placement of subjects and objects within the final image.
Evoking Emotions: Art is about more than just visuals. Craft your prompts to evoke specific emotions. Words like "peaceful," "dramatic," or "joyful" can subtly influence the overall mood of the generated image.
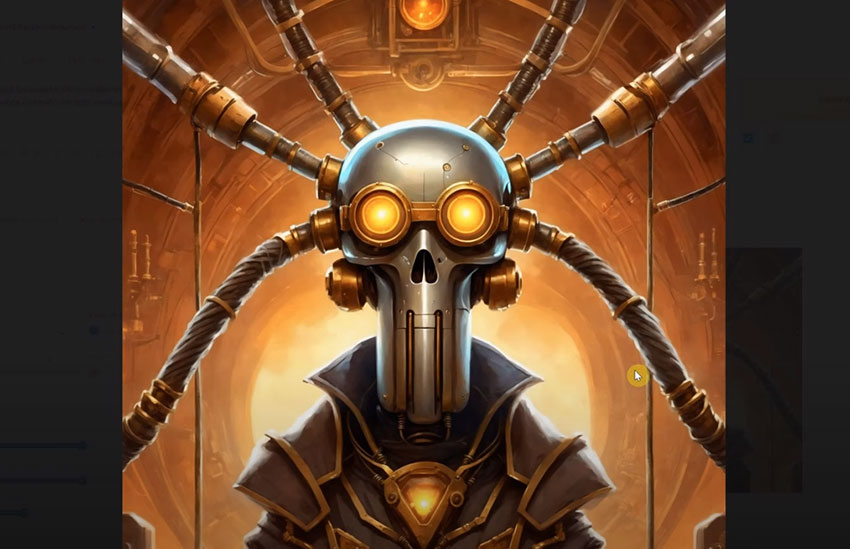
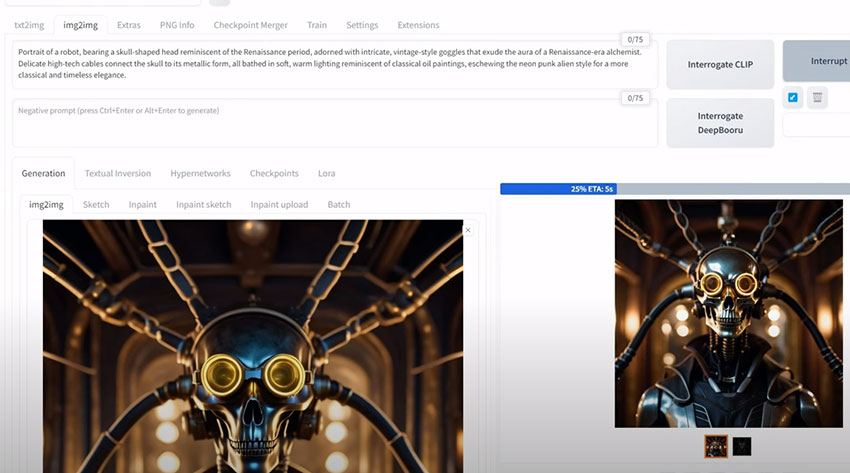
Detailed prompts: Depict a robot with a skull-like head and intricate goggles, resembling a Renaissance alchemist. The robot's metallic body should be connected to the skull by delicate wires, and the overall atmosphere should be warm and inviting, reminiscent of a classic oil painting.
3. Stable Diffusion Prompts Examples
Here are some examples to spark your creativity and illustrate the power of prompts in Stable Diffusion.
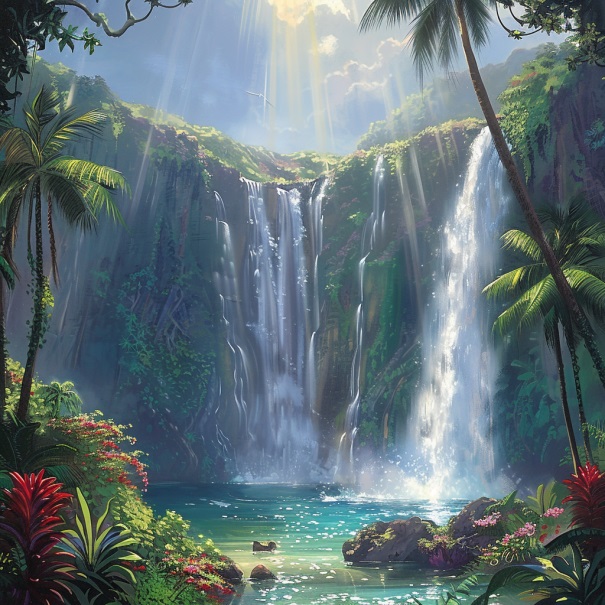
Photorealistic Landscape
Sketch: A simple line drawing of a mountain range with a winding river flowing through a valley.
Prompt: A photorealistic landscape painting of a majestic mountain range bathed in the warm light of a setting sun. A winding river reflects the vibrant colors of the sky, flowing through a lush green valley.
Dreamlike Fantasy Scene
Sketch: An outline of a mystical forest with a lone figure cloaked in a blue robe standing at the edge of a clearing.
Prompt: A dreamlike fantasy scene depicting a mystical forest bathed in an ethereal glow. Bioluminescent mushrooms illuminate the path of a lone figure cloaked in a flowing blue robe, their face obscured by a hood. Butterflies with iridescent wings flutter around them, and a sense of wonder and mystery permeates the atmosphere. Style: Inspired by the works of Simon Stålenhag.
Pop Art Portrait
Sketch: A basic sketch of a person's face with bold lines and exaggerated features.
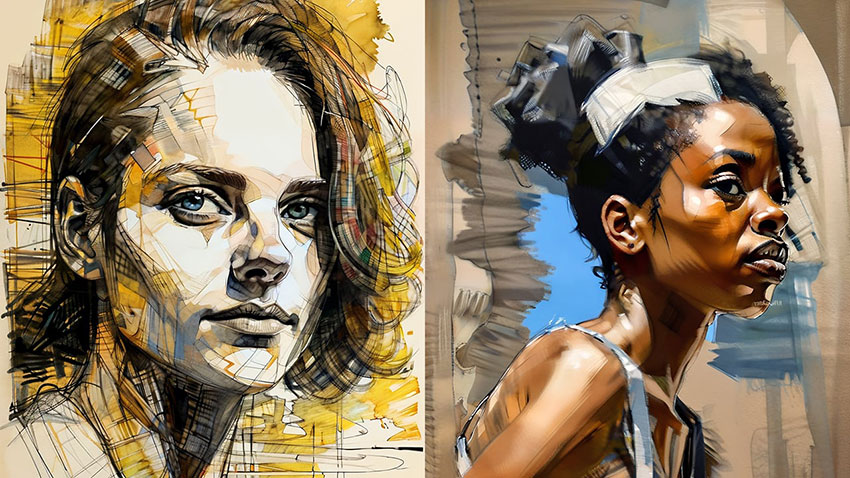
Prompt: A vibrant pop art portrait of a person with bold outlines and expressive eyes. Use a limited color palette of primary colors (red, yellow, blue) with contrasting black and white elements. Style: Inspired by the works of Andy Warhol.
Classic Oil Painting Still Life
Sketch: An outline of a fruit bowl filled with various fruits (apples, grapes, pears) resting on a table.
Prompt: A classic oil painting still life depicting a rustic wooden table adorned with a overflowing fruit bowl. The sunlight casts a warm glow on the various fruits (apples, grapes, pears), creating a sense of abundance and texture. Style: Inspired by the Dutch Golden Age masters.
Eerie Cyberpunk Cityscape
Sketch: A cityscape outline with towering buildings reaching towards the sky, featuring neon signs and flying vehicles.
Prompt: A dark and gritty cyberpunk cityscape at night. Towering skyscrapers pierce the polluted sky, illuminated by neon signs advertising futuristic technologies. Flying vehicles weave through the air, casting long shadows on the rain-slick streets. Style: Inspired by the works of Syd Mead.
Stable Diffusion Sketch vs. Inpaint: What’s the Difference
While they might seem similar at first glance, understanding their distinct functionalities is crucial for maximizing your creative potential. Directly, Stable Diffusion doesn't have a built-in sketch function. It's primarily designed to generate images from text prompts.
The Power of Sketch to Art in SD
While Stable Diffusion doesn't have a native sketch function, you can effectively use it to transform sketches into detailed images. One method is Img2Img, where you upload your sketch and then refine it using detailed text prompts. This approach allows Stable Diffusion to enhance your sketch based on your descriptions.
For more advanced users, ControlNet offers greater precision. By using sketches as control inputs, you can guide the image generation process more accurately, resulting in images that closely align with your original sketch.
The Magic of Inpaint
Inpaint takes a different approach. Instead of generating an entirely new image, it focuses on modifying an existing one. Think of it as a digital brush that lets you selectively add or modify details within an image. Perhaps you have a damaged photo with a missing section. Inpaint allows you to seamlessly reconstruct that missing area, breathing new life into your treasured image.
Want to add a whimsical detail to your existing image? Inpaint lets you do just that. Imagine adding a vibrant bird to a scenic landscape or placing a hidden message within a painting. Maybe you want to adjust the color palette of a specific object in your image. Inpaint allows for targeted modifications, letting you refine specific details and personalize your existing artwork.
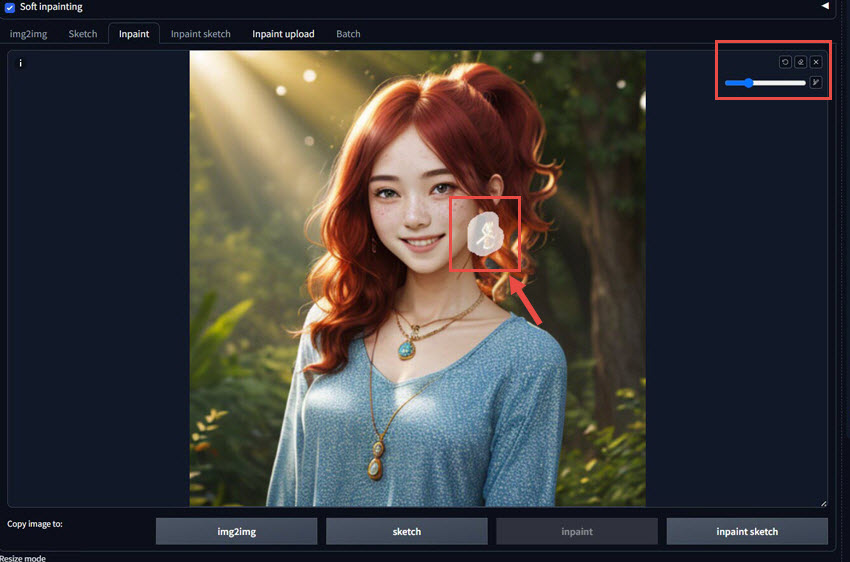
In essence, sketch allows you to create a new image from a basic outline, while inpaint focuses on manipulating and refining existing images. By understanding these differences, you can choose the best tool for your artistic needs, unlocking the full potential of Stable Diffusion's creative capabilities.