Midjourney Weighted Prompts Guide: How to Use Weights to Tweak Your Midjourney Prompts
Updated on
Within the world of AI art generation, Midjourney empowers users to transform text prompts into stunning visuals. But like any powerful instrument, unlocking its full potential requires mastering its subtleties. One such nuance lies in weighted prompts. This feature allows users to prioritize specific elements within a prompt, shaping the generated image to better match their artistic vision. This article explores the concept of weighted prompts, their impact, and how to effectively utilize weights within Midjourney.
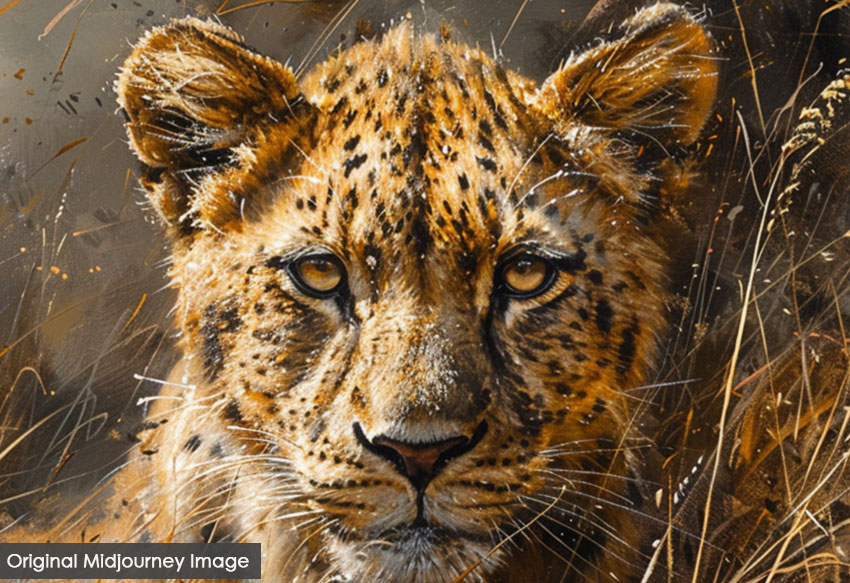
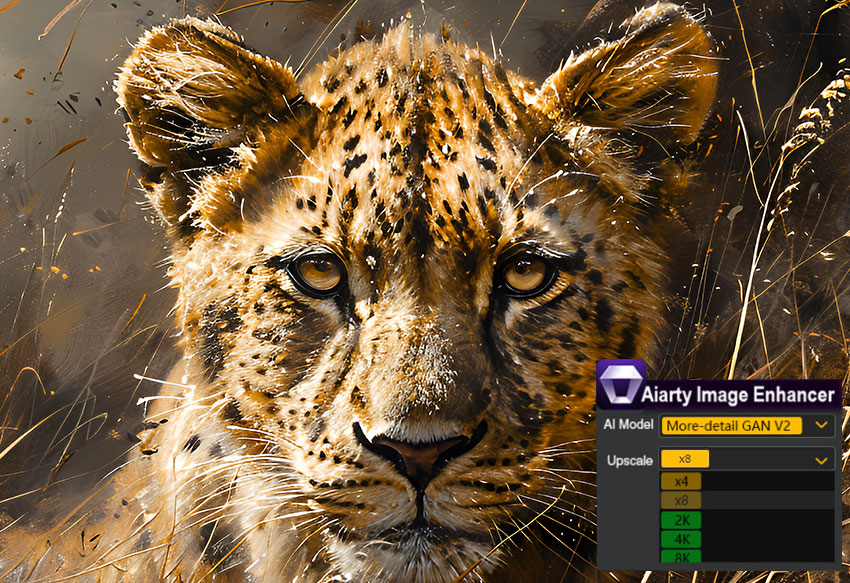
FYI: Midjourney can generate and upscale your images with a maximum resolution of 2048px. If you want to upscale your images generated by Midjourney weighted prompts to 4K/8K/16K or higher for print or display, you can try Aiarty Image Enhancer.
Understanding Weighted Prompts
In Midjourney, the default weight is 1.0, meaning that without any adjustments, all elements are considered equally important. However, Midjourney weighted prompts provide a mechanism to prioritize certain aspects of a prompt over others. By assigning weights, users can instruct the AI to emphasize or de-emphasize specific elements, thus guiding the creative process more precisely.
Separating multiple prompts
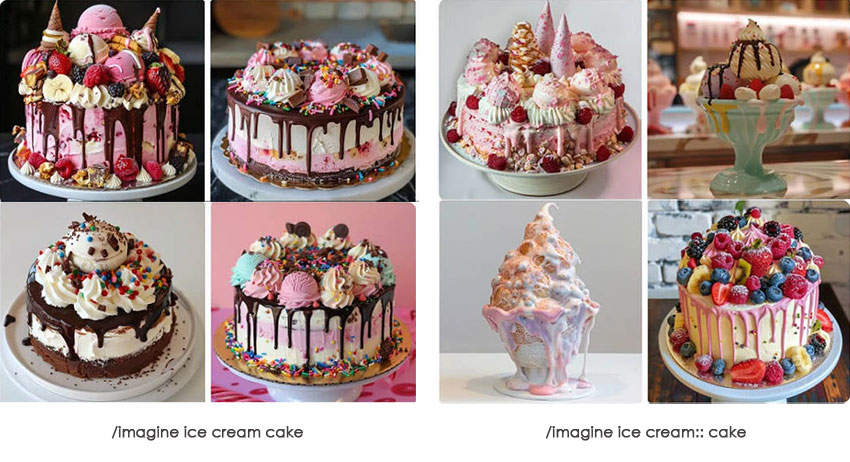
Firstly, separating a prompt with a double colon ("::") acts like a separator in Midjourney, instructing the program to consider each section as a distinct element. Without it, the program interprets the entire prompt as a single idea.
For instance, “ice cream cake” results in a dessert that combines ice cream and cake. However, “ice cream:: cake” breaks down the prompt into “ice cream” and “cake”, allowing Midjourney to generate a unique image of ice cream and cake.
Adding weights to our prompts
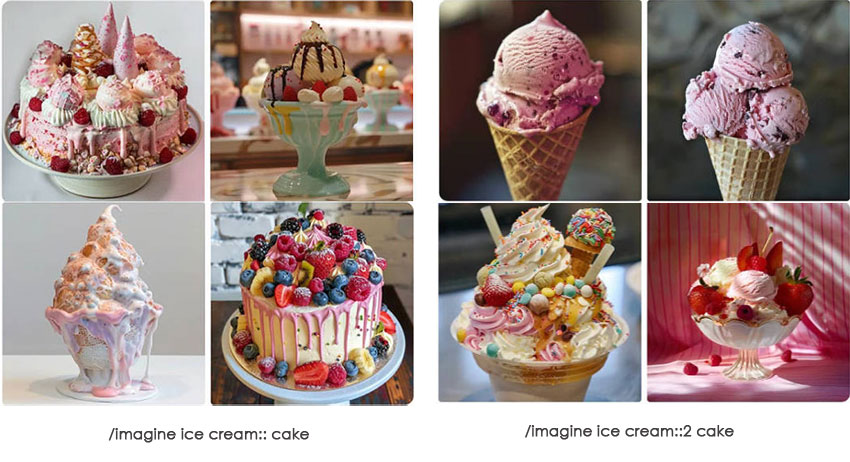
Following the double colon ("::"), you can add a number to define how much emphasis Midjourney places on that specific element within the prompt – that what we call weight in Midjourney prompts. It allows you to fine-tune the results.
For example, “ice cream:: cake” created an image of a mix of ice cream and cake. However, changing the prompt to “ice cream::2 cake”, the weight of "ice cream" doubles compared to "cake." This instructs Midjourney to prioritize ice cream with a cake as a smaller, secondary element in the scene.
Negative Midjourney weighted prompts
Negative Midjourney weighted prompts are employed to de-emphasize or reduce the importance of certain elements. For example, a weight of ::-.5 would make an aspect less noticeable.
How to Craft Effective Weighted Prompts in Midjourney
Now let’s look at how to add weight to Midjourney prompts to emphasize or de-emphasize some aspects of the prompt more than others for better results.
1. Define the Core Elements
First, identify the key elements you want in your image. Make a list of these elements and decide which ones are most critical to your vision.
2. Assign Weights
Based on the importance of each element, assign appropriate weights. Positive weights should be given to elements you want to emphasize, while negative weights should be assigned to elements you wish to downplay.
3. Construct the Prompt
Format your prompt by appending the weights to each element. Use the double-colon (::) syntax to separate the element from its weight.
💬 A photorealistic close-up of a majestic lion's face::3, with piercing green eyes::2, and a flowing mane::1, the background is the vast prairie, bokeh --ar 4:3 --style raw --stylize 750
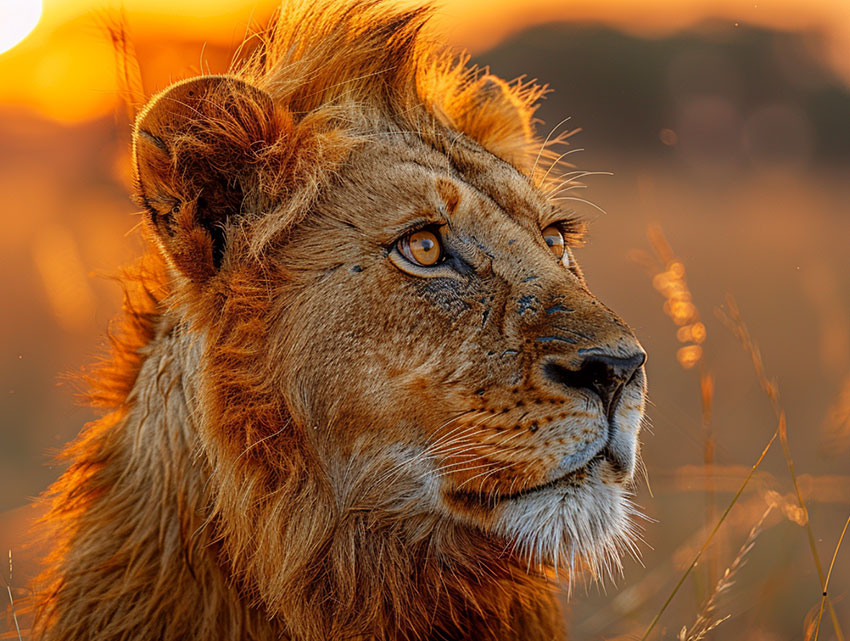
4. Generate image and refine your vision
Put your Midjourney weighted prompt following the /Imagine. Iteratively refine your prompts to achieve the perfect balance between subjects, styles, and details using the weighted prompts.
How to Use Image Weights in Midjourney
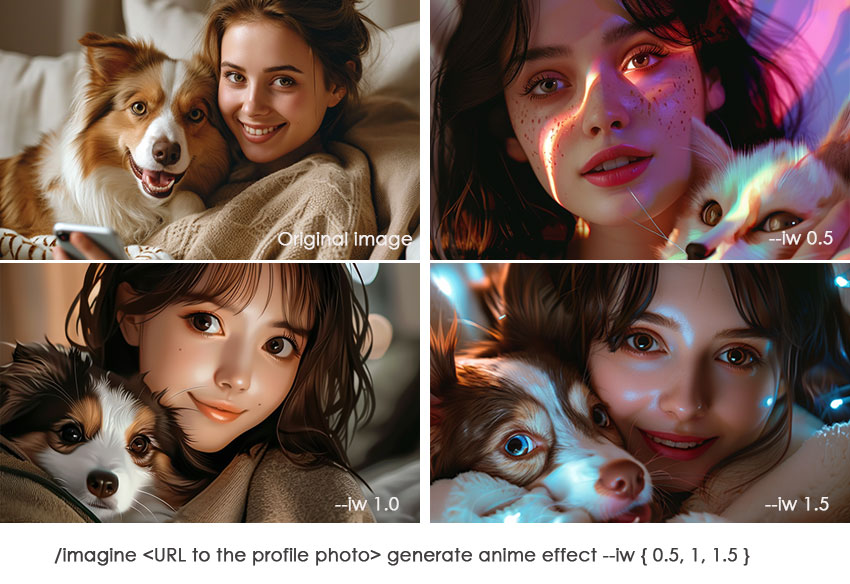
Besides adding weight in the text prompt, Midjourney also allows you to specify the weight of the image using --iw. It controls how important, or prominent, the provided image should be in the end result. The parameter image weight (--iw) accepts a value between 0-2, where 1 is default.
To showcase the result of different values, I use the very handy permutation prompt feature that looks like this:
💬 /imagine
Pro Tips for Mastering Midjourney Weighted Prompts
Besides adding weight to Midjourney prompts, here are a few tips for crafting weighted prompts for better control and direction over your generated Midjourney arts.
- Leverage Order: Elements placed earlier in the prompt hold slightly more weight by default. Combine this with numerical weights for ultimate control.
- Negative Weights: For even finer control, employ negative weights (e.g., "still life gouache painting:: fruit::-.5"). This instructs Midjourney to avoid specific aspects. While negative weights can be powerful, they should be used sparingly. Overuse can lead to images that lack coherence or feel incomplete.
- Combine with Other Midjourney Features: Weighted prompts can be combined with other Midjourney features such as --style, --stylize, and aspect ratios to create even more customized outputs.
- Keep Context in Mind: Ensure that the elements you are weighting are contextually related. Randomly assigning weights without considering the overall composition can result in disjointed images.
Some Examples of Effective Midjourney Weighted Prompts
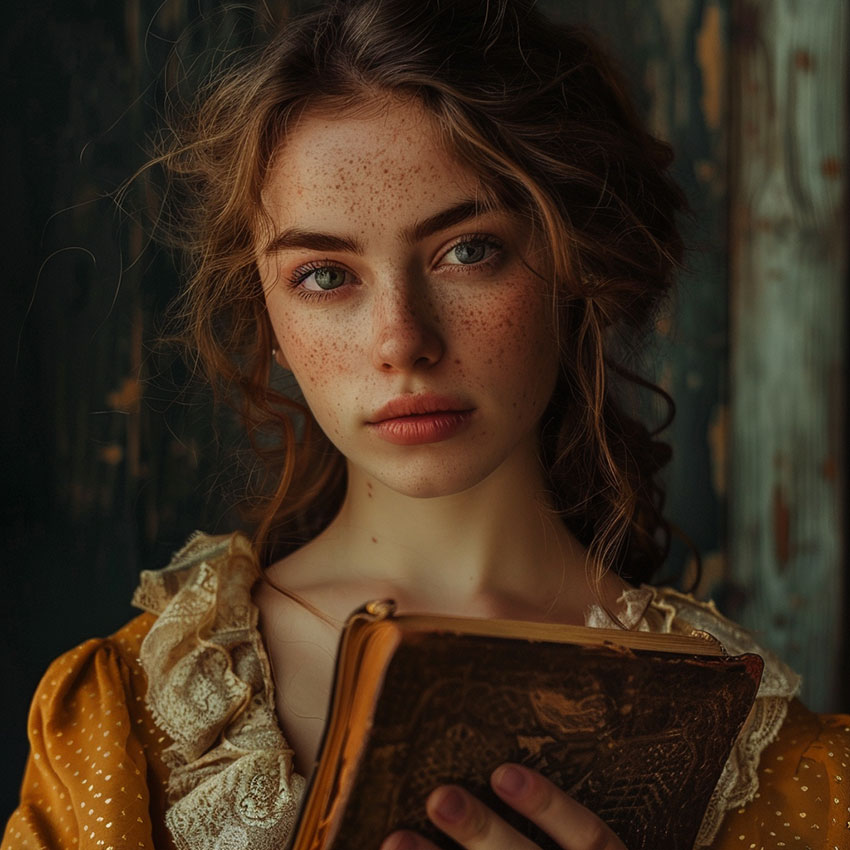
1. Detailed Character Portrait:
💬 A photorealistic portrait of a young woman with freckles::2, wearing a flowing green dress::1, and holding a book with a worn leather cover::2
This prompt prioritizes details like freckles (weight: 2) and the worn leather cover (weight: 2) while keeping the green dress a secondary element (weight: 1).
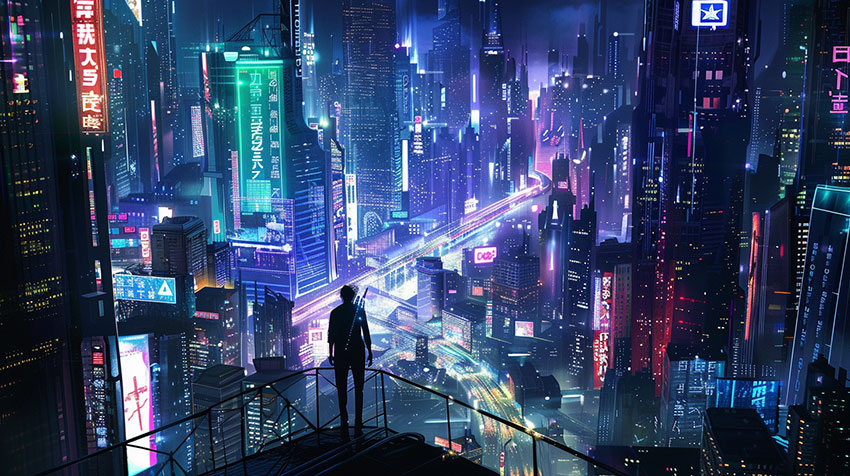
2. Cyberpunk Cityscape:
💬 A neon-lit cyberpunk cityscape at night::3, filled with towering skyscrapers and flying vehicles::2, with a lone figure silhouetted against the moon::1 --ar 16:9
The dazzling neon lights and futuristic city (weight: 3) are the primary focus. Flying vehicles add a dynamic element (weight: 2) while the lone figure remains a point of interest (weight: 1).
3. Macro Photography:
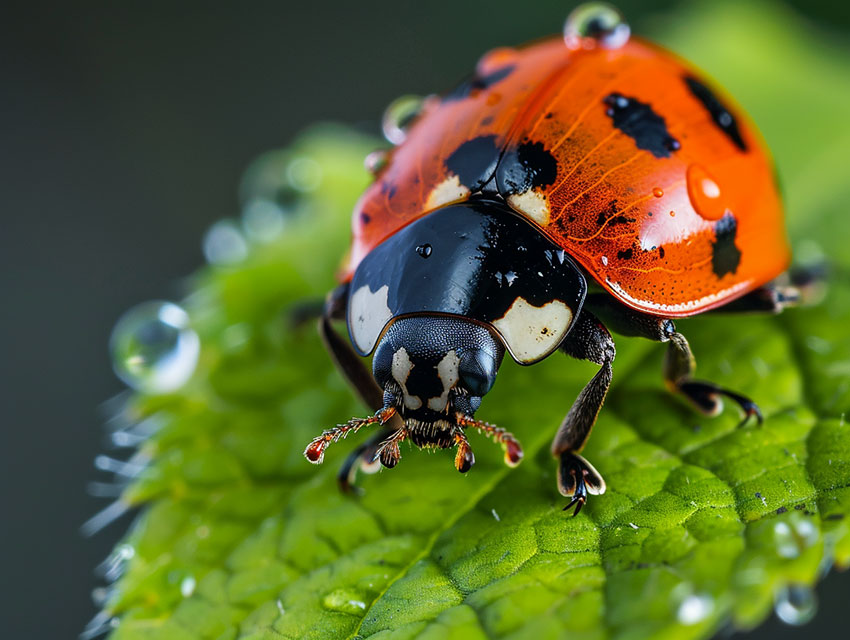
💬 A hyper-realistic close-up of a ladybug with tiny dewdrops clinging to its shell::3, perched on a vibrant green leaf with delicate veins::2 --ar 4:3
Here, the ladybug and its water droplets take center stage (weight: 3) with the detailed veins of the leaf adding a natural background element (weight: 2).
4. Atmospheric Sci-Fi Scene:
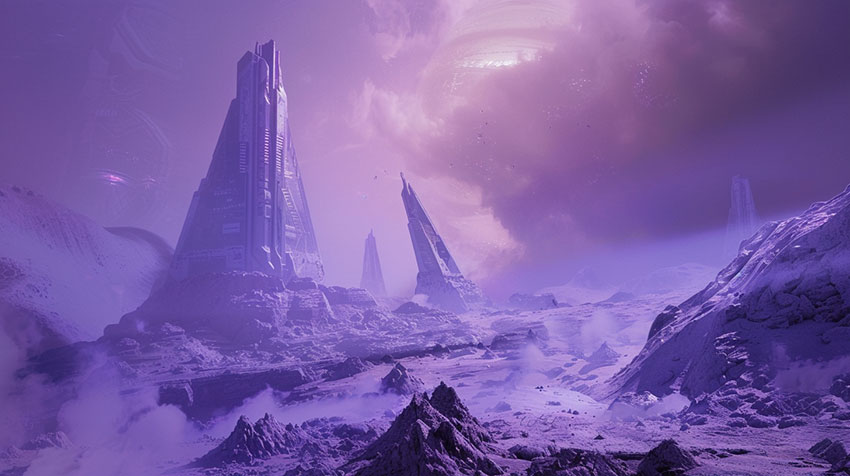
💬 A vast, desolate alien landscape with a crashed spaceship::2, shrouded in a thick purple fog::3
The eerie purple fog dominates the scene (weight: 3) with the crashed spaceship left as a point of discovery within the atmosphere (weight: 2).
Sum up:
Getting the hang of weighted prompts in Midjourney can really boost your creativity. It lets you guide the AI with more precision and get the art results you're aiming for. By learning how to set and adjust weights, trying out different mixes, and sticking to some good practices, you can unlock Midjourney’s full potential and produce amazing, unique images. Whether you’re an experienced artist or just starting out, weighted prompts are a great tool to have in your creative toolkit. Have fun creating!
After generating stunning weighted images in Midjourney, you can upscale the images to 4K, 8K, 16K, or higher for later modification or large-screen display. The tool you can use is Aiarty Image Enhancer – an AI-powered tool for upscaling image resolution to up to 32K and enhancing image quality without blur, noise, and pixelation.