Winter Photography Must-know Tips & iDeas
Updated on
Winter photography presents several unique challenges that can make capturing stunning images difficult. The harsh lighting conditions, low-angle sunlight and high contrast, cold temperatures, and the abundance of snow can prevent you from yielding breathtaking results. However, if you get some winter photography tips and ideas, you’re able to capture the unique beauty of winter landscapes and scenes.
Ready to capture the magic of winter? Follow these expert tips to take your winter photography to the next level. From finding the perfect composition to mastering the art of exposure, this guide has everything you need to create stunning images. So, grab your camera, bundle up, and let's explore the winter wonderland!
Get Noisy and Low-quality Winter photoshoots?
Winter photography can be challenging due to low light, lens flares caused by snow, and reduced camera performance in cold temperatures. These factors can often lead to noise, blur, or other artifacts in your photos. Fortunately, AI image enhancers like Aiarty Image Enhancer can effectively reduce these imperfections, helping you create stunning winter images.
Enhance Noisy Winter Photos to Stunning Shots
Aiarty Image Enhancer can effectively remove noise, blur, and pixelation from your winter photos. Its advanced AI algorithm is designed to handle various factors that can degrade image quality, including low light conditions, high ISO settings, underexposure, long exposure, and shutter speed. Any low-quality winter photos can be upscaled by 32K professional resolution. By intelligently reconstructing details, Aiarty can restore the original beauty and clarity of your winter images.
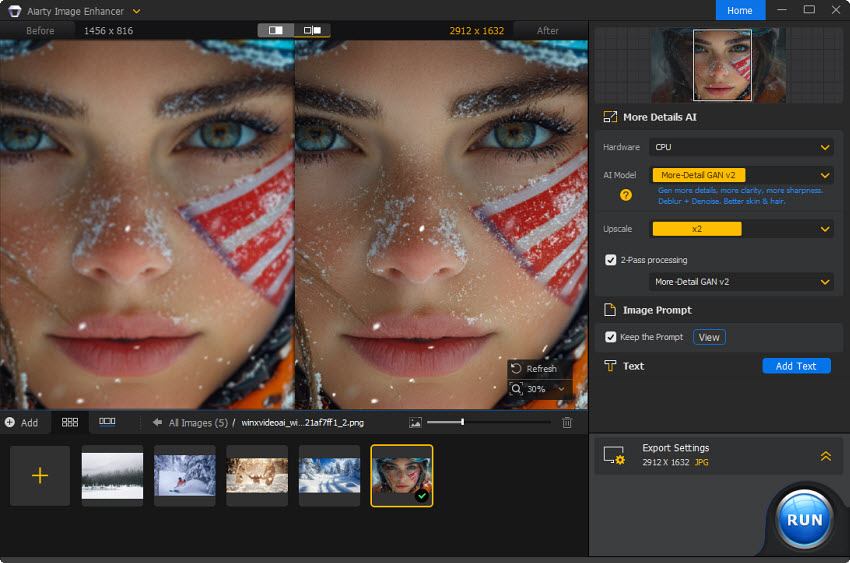
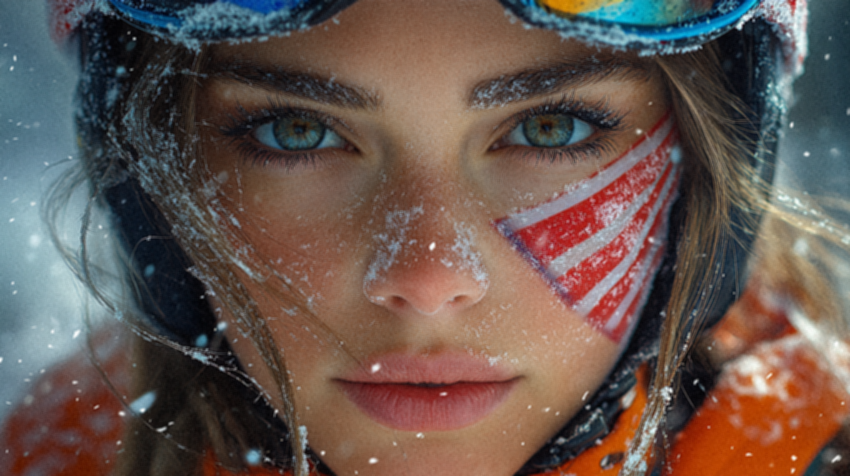
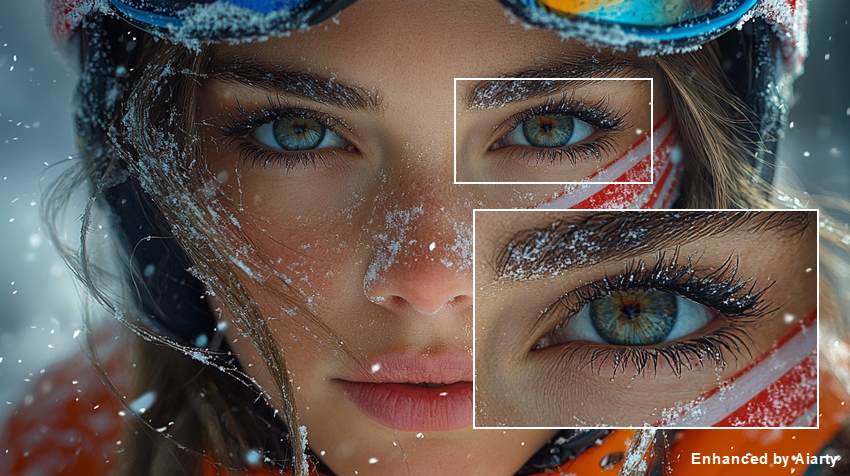
Before & After Comparison:
Compare the original winter photo to its 2x enhanced version by Aiarty Image Enhancer. Aiarty effectively removes blur and noise, dramatically improve overall clarity and restore stunning original details. With Aiarty, you can effortlessly transform imperfect winter photos into high-quality images suitable for printing or sharing.
Part 1. Preparation
Of course, compared to fix the imperfection of already captured wildlife photography, it's better to prevent image defects while shooting the wild animal photography. Let's explore some key points to help you capture more perfect wildlife photos.
1. Camera Suitable for Winter Photography
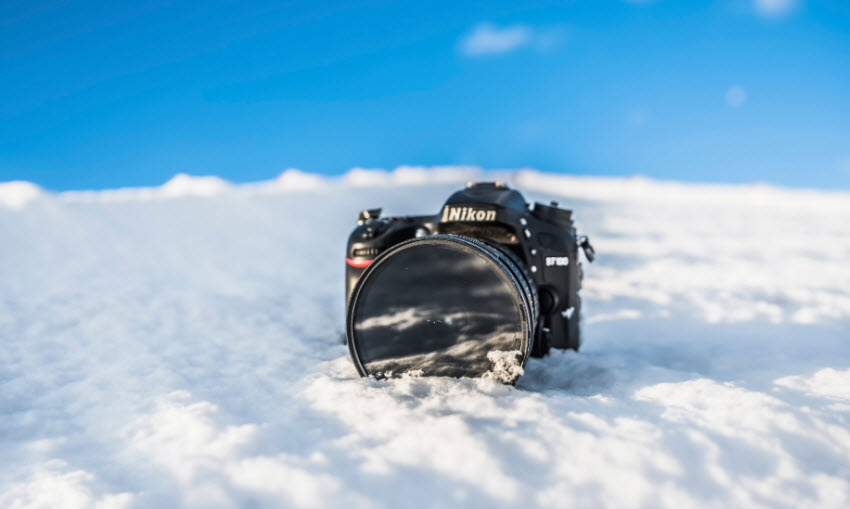
It’s important to choose a powerful and compact camera with a viewfinder for winter sports photography. While most cameras can handle freezing temperatures, some models, like the Lumix GH6 and Fujifilm GFX100, are designed for even more extreme conditions. Weather-sealed cameras provide added protection against moisture and dust, making them ideal for winter photography in challenging environments. But if you need to record in extremely cold conditions, here are some recommendations:
- Nikon D850 - operate in temperature of 32 to 104F, and humidity range of 85% or less
- Canon EOS 5D Mark IV -operate in temperature of 32 to 104F, and humidity range of 85% or less
- Lumix GH6 - operate in temperature of -10 to 40 degrees, and humidity range of 10-80%
- Fujifilm GFX100 - operate in temperature of 14 to 104F, and humidity range of 10-80%
- Olympus OM-D E-M1 Mark III - operate in temperature of 14 to 104F, and humidity range of 30-90%
2. Cold Weather Battery Tips
Cold weather in winter can significantly drain your camera batteries, less 50%-70% than normal usage, so it's essential to take precautions. Always carry extra batteries, as they may drain faster than usual in frigid temperatures. To combat this, keep spare batteries warm by placing them in your inner pockets or using a portable charger. Consult your camera manufacturer's specifications for information on battery performance in winter photoshoot.
If necessary, consider a battery grip can extend your shooting time by holding additional batteries. You can also use a solar-powered charger can be a valuable tool for recharging batteries in remote locations.
3. Protect Your Gear from the Moisture
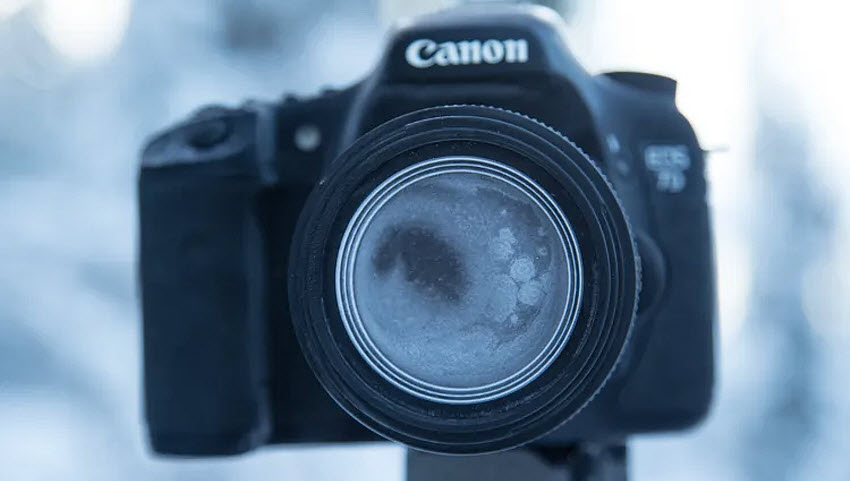
Photography in winter can be harsh on your camera equipment. To safeguard your gear from snow and moisture, you need to wipe off snow from your camera with a glove or towel before bringing it indoors. Do avoid sudden temperature changes by placing your camera in an airtight bag before entering a warm environment.
You’re suggested to use a weatherproof camera bag and cover your camera with plastic wrap during snowstorms. Don’t change lenses or breath on the camera while outdoors to prevent moisture buildup. By taking these steps, you can protect your gear and ensure optimal performance for the best winter photography.
4. Stay Warm
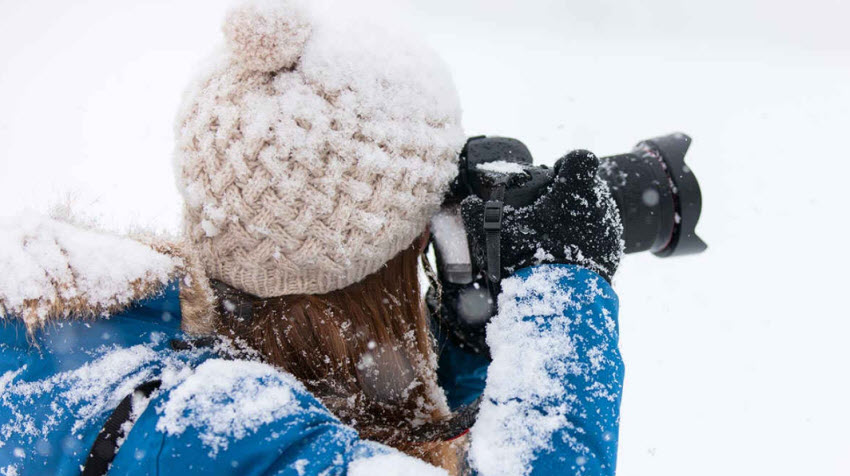
Winter photography can be challenging for both your equipment and yourself. You certainly don't want to have to end your winter photoshoot early because it's too cold, or catch a cold from being out in the cold for too long. By dressing appropriately and taking precautions against the cold, you can focus on capturing the beauty of winter landscapes without sacrificing comfort.
So prepare proper winter photoshoot outfits, especially for winter landscape, nature, or wedding photography. Invest in a warm winter coat, hat, scarf, and gloves with touchscreen compatibility to stay comfortable and maintain full control of your camera.
Part 2. Winter Photography Tips & iDeas
Increase Exposure Compensation
If your exposure is low in winter photography, your images will appear dark and underexposed. This is particularly problematic when photographing snow, as the abundance of white can trick your camera's meter into thinking the scene is brighter than it actually is.
To ensure the snow appears pure white, increase exposure compensation by +0.3 to +0.7 EV. If shooting in full manual mode, manually adjust your settings to achieve a slightly overexposed image. You can also capture three consecutive shots at different exposures to ensure you get the perfect winter photoshoot. Another trick is to combine multiple exposures into a single HDR image to capture a wider range of details.
Proper White Balance
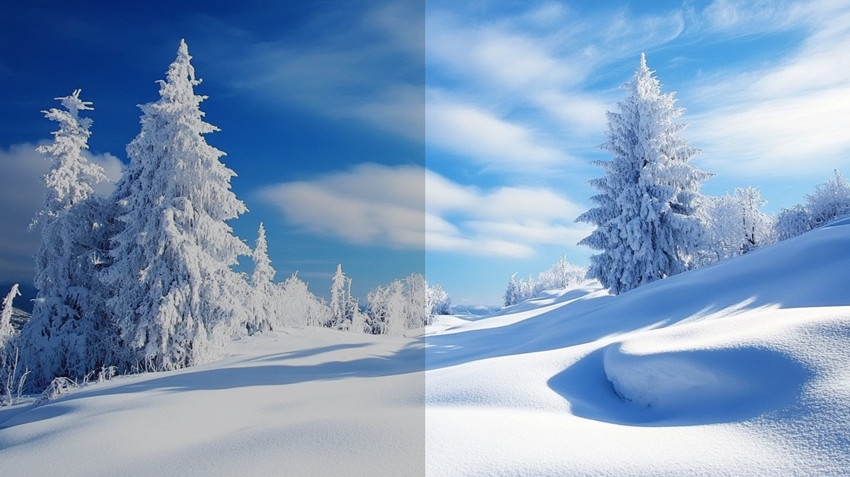
Achieving accurate white balance in winter photography can be challenging due to varying light conditions. While auto white balance is a good starting point, manually adjusting the white balance setting to "Shade" or "Cloudy" can often neutralize the bluish tint commonly associated with snowy scenes. To enhance your winter photography, consider using additional tools such as a circular polarizing filter to reduce glare and reflections, and an external flash to fill in shadows.
Post-processing can also be used to fine-tune white balance, but it's ideal to get it as close as possible in-camera. Experiment with different white balance presets, such as "Incandescent" or "Fluorescent," to compensate for various light sources and achieve the desired color temperature in your images.
Add Contrast
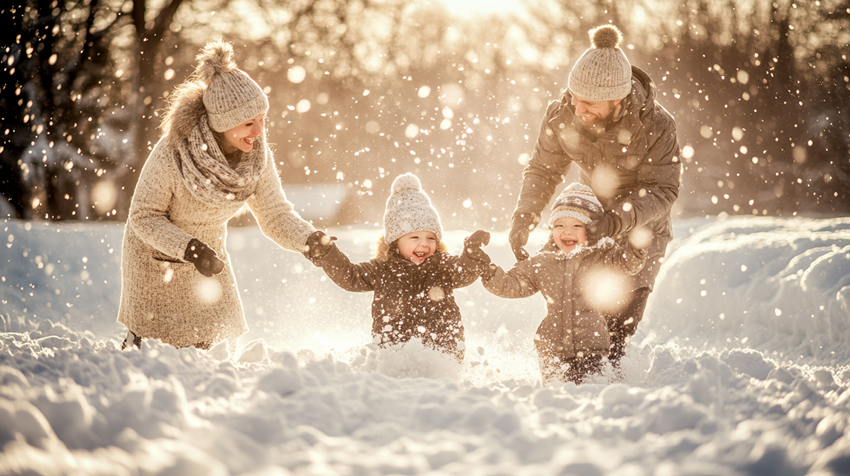
Winter landscape photography can often appear monochromatic due to the abundance of snow. To create more visually interesting photos, look for elements that provide contrast, such as a red barn, brightly colored objects, or a deep blue sky. Experiment with incorporating colorful elements into your compositions, like wearing a brightly colored jacket or framing your subjects with colorful trees. The unique color palette of snow-covered landscapes offers opportunities to capture stunning images, especially during sunrise and sunset when the snow reflects the vibrant colors of the sky. During post-processing, enhance your winter photoshoots by adjusting the blacks, contrast, saturation, and shadows.
Shutter Speed
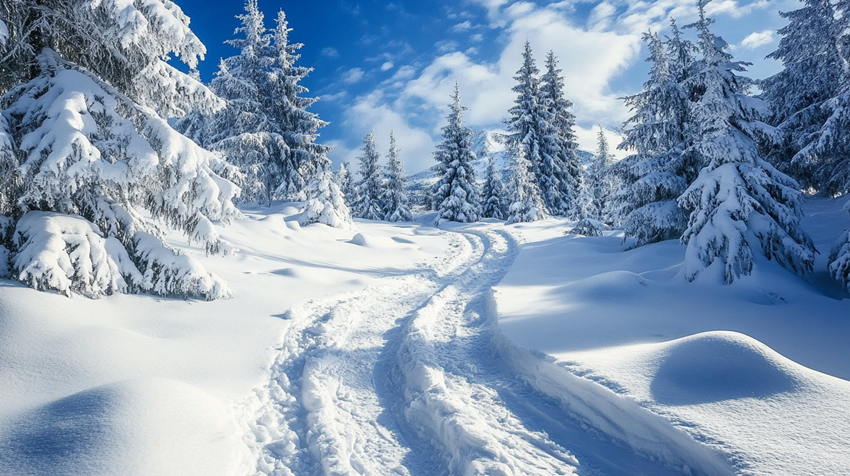
Shutter speed plays a crucial role in winter photography, allowing you to control the motion and appearance of falling snow. By experimenting with different shutter speeds, you can create a wide range of visually striking effects.
For capturing fast-moving elements, a fast shutter speed (e.g., 1/500 sec) is ideal. This will freeze the action, resulting in a sharp, crystalline image. If you desire a more ethereal and dreamlike effect, a slower shutter speed (e.g., 1/60 sec) can introduce a beautiful blur to falling snow. However, be cautious of motion blur in other elements of the scene, such as swaying tree branches.
To capture snowfall:
When photographing snowfall, using a fast shutter speed is crucial to capturing the delicate details of falling snowflakes. A recommended starting point is 1/250 sec, but higher shutter speeds can produce even more unique results.
- Flash: Using a flash can illuminate snowflakes, making them more visible in your frame. This works well when your main subject is close and clearly visible.
- Shutter Speed: For heavy snowfall or less visible subjects, try using a shutter speed between 1/30 sec and 1/125 sec without a flash. This can help capture falling snowflakes while maintaining a clear subject.

Best ISO
ISO determines your camera's sensitivity to light. A lower ISO (e.g., 100) is ideal for bright conditions, while a higher ISO (e.g., 400) is necessary for low-light situations. However, higher ISO settings can introduce more noise (graininess) to your images.
While the optimal ISO setting will depend on specific factors like the available light, desired shutter speed, and aperture, there are some general guidelines:
- Bright snowy landscape: ISO 100
- Winter snow+sunlight: ISO 64 to 100
- Winter snow+low light: ISO 400 to 600
- Cloudy winter day: ISO 200 to 400
- Northern lights: ISO 1600
- Winter night sky: ISO 800 to 3200
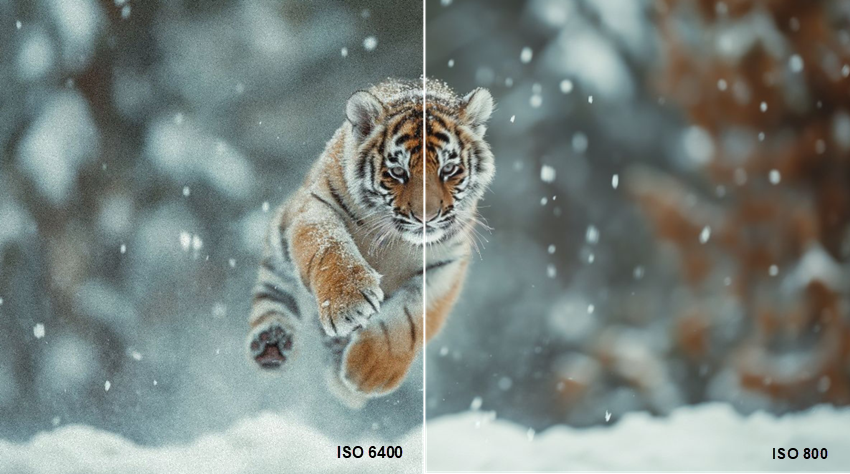
Winter photography in low light conditions often necessitates using high ISO settings, which can introduce noise and grain. If your photos are already affected by these artifacts, Aiarty Image Enhancer can effectively reduce noise and grain, resulting in cleaner images while preserving important details and avoiding unwanted artifacts.
Aperture Settings
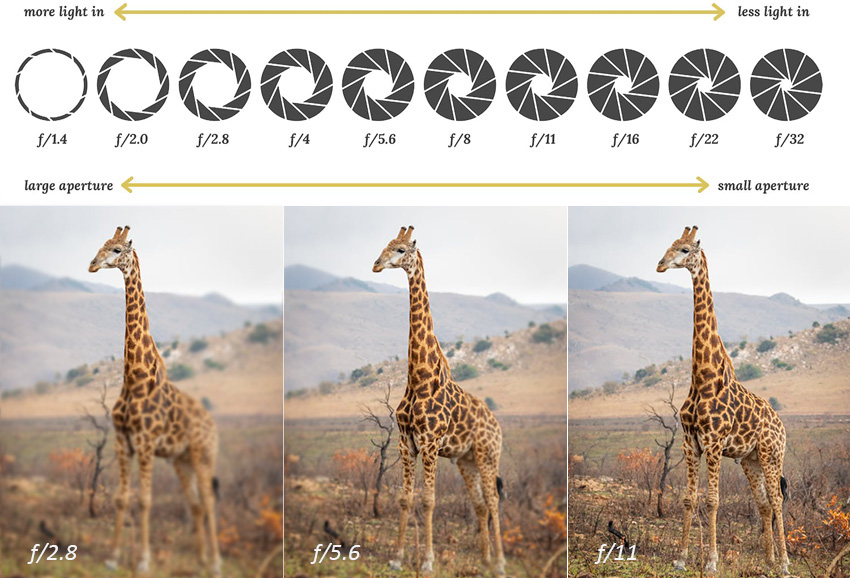
Aperture controls the size of the opening through which light enters your camera, affecting depth of field and overall exposure. A wider aperture (e.g., f/2.8) creates a shallower depth of field, ideal for isolating subjects, while a narrower aperture (e.g., f/16) creates a deeper depth of field, keeping more elements in focus.
Below are some recommended aperture settings for winter photoshoots. However, note that aperture works in conjunction with ISO and shutter speed to control exposure. If you adjust one setting, you may need to adjust others to maintain the desired exposure.
- Winter landscape photography: f/11 or higher for a deep depth of field.
- Winter action Photography: Use a wider aperture (e.g., f/4-f/7) for a balance of speed and depth of field.
- Winter wildlife photography: A wide aperture (e.g., f/2) helps isolate the subject from the background.
- Winter portraits: A wide aperture (e.g., f/2 or f/1.4) creates a beautiful bokeh effect.
- Long exposures: f/16-f/22 to allow longer shutter speeds for capturing light trails or other effects.
- Bright winter scenes: Use a smaller aperture (e.g., f/11-f/22) to control the amount of light entering the camera.
- Northern lights: An open aperture (e.g., f/1.8-f/4) for maximum light capture.
Seize the Golden Hours
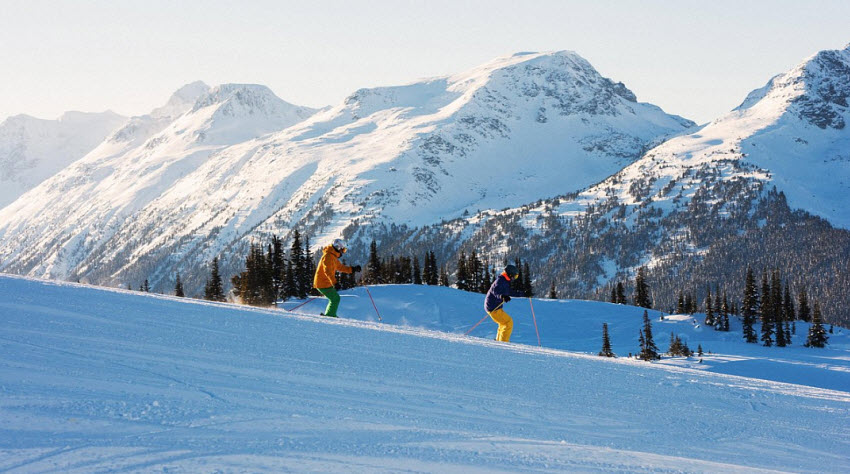
Winter offers stunning photographic opportunities, especially during the golden hours—the hour after sunrise and the hour before sunset. Unlike summer, winter sunrises occur later and sunsets happen earlier, providing a more manageable schedule for capturing these magical moments. The low sun during early morning or late afternoon creates dramatic shadows and contrasts, enhancing your photos. Adjust your schedule to maximize shooting time in optimal lighting conditions.
Part 3. Post-processing Tips for Winter Photography
Shoot in Raw Formats
Shooting in RAW format is a valuable asset for winter photography, as it preserves the full sensor data, providing exceptional detail and flexibility during post-processing. This is especially crucial in snowy scenes, where achieving correct exposure can be challenging due to the abundance of white.
RAW files offer unparalleled control over exposure, white balance, and highlight recovery, allowing you to fine-tune your images without sacrificing quality. Additionally, the wider color range captured in RAW format enables you to bring out the subtle hues and nuances of winter landscapes more effectively.
Enhance Details
Focus is a critical aspect of photography that cannot be fully corrected through post-processing alone. Unlike JPEGs, RAW images lack built-in sharpening, giving you complete control over the process. In addition, using higher ISO settings in low-light winter conditions can introduce noise. So you may need to apply noise reduction techniques in post-processing to minimize graininess while preserving details.
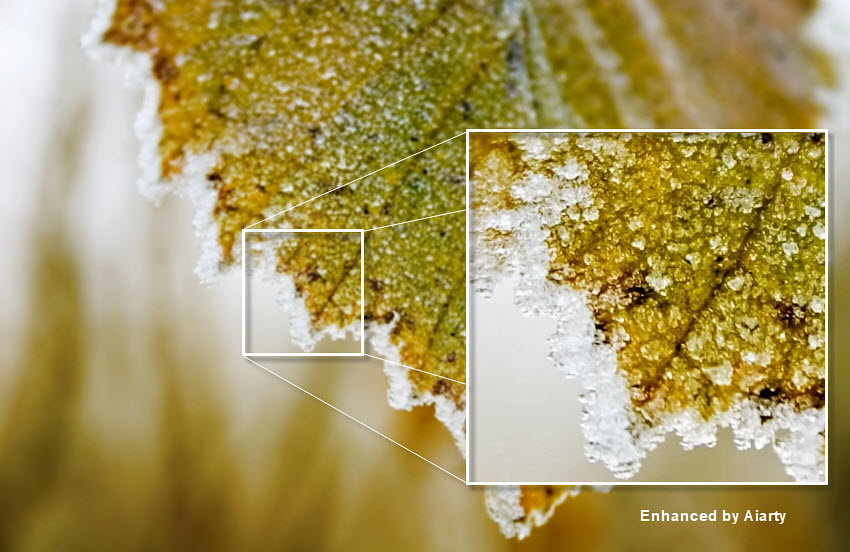
Aiarty Image Enhancer is a powerful tool for enhancing winter photos. It can effectively remove blur, noise, grain, pixelation, and other artifacts, restoring the original details and beauty of your winter photos. With its advanced AI algorithm, Aiarty can even upscale your winter photos to 32K resolution, making them perfect for printing or sharing.
Conclusion
Winter photography offers a unique opportunity to capture breathtaking landscapes and atmospheric scenes. By carefully preparing your gear, understanding the technical aspects of your camera, and mastering post-processing techniques, you can create stunning winter and snow photos that truly capture the essence of the season.
Start by ensuring your camera and lenses are well-protected from the cold and moisture. Invest in extra batteries and keep them warm, as cold temperatures can drain battery life quickly. To achieve the desired exposure, increase exposure compensation to account for the reflective nature of snow. Experiment with different white balance settings to create various moods and atmospheres. Don't forget to utilize the golden hours for the most dramatic lighting.
When editing your images, shoot in RAW format for maximum flexibility. Use post-processing software to enhance details, adjust contrast, and create a sense of depth.
