How to Be Photogenic: Tips and Tricks for Stunning Photos
Updated on
Have you ever wondered why some people always seem to look stunning in photos while others struggle to capture their best selves? It can be frustrating to scroll through social media and see friends effortlessly glowing in every snapshot, while you find yourself avoiding the camera altogether. The good news is that being photogenic isn't just a matter of genetics or luck - it's a skill that anyone can develop!
In this post, we'll explore practical tips and tricks that can help you enhance your photogenic qualities. From mastering your angles to perfecting your expressions, we'll cover everything you need to know to feel confident and look amazing in every shot. Whether you're preparing for a professional photoshoot, a family gathering, or just want to up your selfie game, these insights will empower you to embrace your unique beauty and shine in front of the camera.
Let's dive in this guide of how to be photogenic now!
Photos Are Low Quality (Pixelated, Blurry, etc)?
Elevate Your Photos to Crystal-Clear Masterpieces! Capturing shots can be challenging, often resulting in low-quality images due to many unexpected factors. Luckily, now you can easily enhance this with Aiarty Image Enhancer. This AI-driven image enhancer and upscaler uses deep-trained AI, allowing you to clear noise/blur and other imperfections in your photography while enhancing even finer details. Better yet, you can upscale your image to up to 32K stunning resolution for unparalleled clarity.


Part 1. Pre-Photo Preparation
Before stepping in front of the camera, it's essential to engage in some pre-photo preparation to ensure you look and feel your best. This involves focusing on your skincare routine, hair and makeup choices, and selecting outfits that flatter your body shape and skin tone. By taking the time to prepare, you'll boost your confidence and enhance your photogenic qualities.
Tip 1. Skincare Essentials
Having a consistent skincare routine is key to achieving a healthy, radiant glow that photographs beautifully. Start by cleansing your face with a gentle, non-irritating cleanser to remove any impurities. Follow up with a hydrating serum or moisturizer to plump and smooth your skin. Don't forget to apply sunscreen to protect your skin from harmful UV rays, which can cause premature aging and discoloration. Maintaining a healthy diet rich in antioxidants and drinking plenty of water can also contribute to a glowing complexion.
Tip 2. Hair and Makeup Tips
When it comes to hair and makeup, aim for a look that enhances your natural features without being overpowering. For hair, choose a style that flatters your face shape and stays in place throughout the shoot. If you're using hair products, avoid anything too heavy or shiny, as it can create an unwanted glare in photos. For makeup, opt for a natural, luminous look that evens out your skin tone and defines your features. Use a primer to create a smooth base, and set your makeup with a light dusting of translucent powder to minimize shine. Avoid heavy foundation or powder, as they can appear cakey in photos. Instead, focus on enhancing your eyes with mascara and a touch of eyeliner, and add a pop of color to your lips with a flattering shade of lipstick or gloss.
Tip 3. Wardrobe Choices
Selecting the right outfit can make a significant difference in how you appear in photos. Choose clothing that flatters your body shape and accentuates your best features. Avoid busy patterns or logos, as they can be distracting and take away from the focus on your face. Solid colors, especially those that complement your skin tone, tend to photograph better. If you're unsure about an outfit, take a few test shots and see how it looks on camera before the actual shoot. Remember to consider the occasion and the overall aesthetic you want to achieve, whether it's a formal event or a casual, laid-back vibe.
Part 2. Finding Your Best Angles
One of the most important aspects of becoming photogenic is discovering your best angles. Everyone has a unique face shape and features, and certain angles can be more flattering than others. By experimenting with different poses and perspectives, you can learn to highlight your best features and create a more dynamic, engaging image.
Tip 1. Experiment with Angles
Finding your best angles is a crucial step in enhancing your photogenic qualities. Different angles can dramatically alter how you appear in photos, so it's essential to experiment and discover what works best for you.
The first step to finding your best angles is to take a lot of selfies! Don't be afraid to try out various angles, from straight-on to slightly tilted. Experiment with different head positions, such as tilting your head to the side or slightly down. You can also try turning your body at a slight angle to the camera, rather than facing it head-on. This can create a more slimming and flattering effect.
Here are some specific techniques to help you find your most flattering angles:
1. High Angle Shots
Holding the camera slightly above your eye level is often one of the most flattering angles. This perspective can create a slimming effect and add definition to your features. To try this:
- Position the Camera: Raise your camera or smartphone above your head, angling it down toward your face. Aim for a position that feels natural and comfortable, typically about 7-15 degrees above eye level.
- Chin Forward: To avoid any double chin effect, slightly push your chin forward and down. This elongates your neck and creates a more defined jawline.
- Test Shots: Take several photos from this angle, adjusting the height and angle until you find the most flattering look.
2. Eye-Level Shots
While eye-level shots can sometimes appear flat, they can also be effective when done correctly. To make the most of this angle:
- Camera Position: Hold the camera directly at eye level, ensuring it's not too close to your face to avoid distortion.
- Slight Turn: Instead of facing the camera straight on, turn your body slightly to the side (about 30 degrees). This creates depth and dimension in the photo.
- Engage Your Eyes: Look directly into the lens with a relaxed expression. This helps convey confidence and connection in the shot.
3. Low Angle Shots
Low angle shots can create a sense of power and dominance, making you appear taller and more imposing. However, they require careful execution:
- Camera Below Eye Level: Position the camera below your chin and angle it upward. This can be particularly effective for full-body shots or showcasing outfits.
- Posture: Stand tall and maintain good posture to enhance the effect. Leaning slightly forward can also help elongate your body.
- Wardrobe Focus: Use this angle to highlight outfits or accessories, ensuring you're the tallest object in the frame.
4. Three-Quarter Angle
A three-quarter angle, where you position your body and face at a slight angle to the camera, can be very flattering:
- Body Positioning: Stand or sit at about a 45-degree angle to the camera. This helps create a more dynamic and visually interesting composition.
- Head Turn: Turn your head slightly toward the camera while keeping your body angled away. This adds depth and dimension to your face.
- Experiment with Expressions: Try different facial expressions to see how they look from this angle. A slight smile or a thoughtful gaze can yield stunning results.
5. Play with Distance
The distance between you and the camera can also affect how you appear:
- Selfie Stick or Tripod: If you have a selfie stick or tripod, use it to create distance between you and the camera. This can help avoid the exaggerated features that come from extreme close-ups.
- Experiment with Framing: Try framing yourself in different ways, such as including more of your surroundings or focusing closely on your face. This can change the overall feel of the photo.
Tip 2. Positioning Your Body
The way you position your body in front of the camera can make a significant difference in how you appear in photos. Proper body positioning not only enhances your overall look but also conveys confidence and poise.
Avoid standing with your weight evenly distributed on both feet, as this can create a stiff, unnatural look. Instead, try shifting your weight to one foot and angling your body slightly. This creates a more dynamic, relaxed pose. You can also experiment with different hand positions, such as resting one hand on your hip or placing both hands in your pockets. These small adjustments can make a big impact on the overall composition of the image.
Here are some detailed techniques to help you achieve flattering body positioning:
1. Shift Your Weight
One of the simplest yet most effective techniques is to shift your weight onto one leg. This creates a natural curve in your body, often referred to as the "S-curve," which is visually appealing and slimming.
- How to Do It: Stand with your feet shoulder-width apart. Choose one leg to bear most of your weight while the other leg remains slightly bent. This subtle shift creates a more dynamic pose and helps define your waistline.
- Avoid Stiffness: Be mindful not to lean backward or away from the camera, as this can create an awkward appearance. Instead, maintain a natural stance that feels comfortable.
2. Lean Forward from the Waist
Leaning slightly forward from the waist can enhance your silhouette and create a more flattering profile.
- Technique: Stand or sit up straight, then gently lean your upper body toward the camera. This action can help elongate your neck and create a streamlined look, reducing the appearance of a double chin.
- Chin Position: As you lean forward, slightly push your chin out and down. This positioning helps define your jawline and adds dimension to your face.
3. Create Distance Between Your Torso and Arms
When posing, it's common to instinctively press your arms against your body. However, this can create a wider appearance and look stiff.
- How to Avoid This: Instead of keeping your arms flat against your sides, create space by slightly lifting your arms. You can do this by placing one hand on your hip or resting it on your upper thigh. This positioning not only makes your arms appear slimmer but also adds a relaxed vibe to your pose.
- Natural Hand Placement: If you're posing with others, consider resting your hand on a friend's shoulder or back. This creates a more natural interaction and helps avoid awkward arm placements.
4. Angle Your Body
Facing the camera straight on can often appear flat and unflattering. Instead, try angling your body to create depth and interest.
- 45-Degree Angle: Position your body at about a 45-degree angle to the camera. This angle is incredibly slimming and adds visual interest to the composition.
- Shoulder Position: Angle one shoulder toward the camera while keeping the other shoulder back. This technique helps create a more dynamic and flattering silhouette.
5. Posture Matters
Good posture is essential for looking confident and photogenic. Slouching can make you appear less engaged and can detract from your overall look.
- Stand Tall: Imagine a string attached to the top of your head pulling you upward. Engage your core muscles and keep your shoulders back and down. This posture elongates your neck and creates a more elegant appearance.
- Relax Your Shoulders: Tension often accumulates in the shoulders, leading to a stiff look. Take a deep breath and consciously relax your shoulders before the photo is taken.
6. Use Props and Surroundings
Incorporating props or using your surroundings can enhance your body positioning and create a more dynamic shot.
- Lean Against Objects: If there's a wall or railing nearby, consider leaning against it. This can create a casual, relaxed look while also helping to define your body shape.
- Sitting Poses: When sitting, avoid slumping. Instead, sit at a slight angle with one leg crossed over the other and your hands resting comfortably on your knees or in your lap. This creates a more flattering line and can help elongate your legs.
Tip 3. Accentuating Your Features
Certain poses and angles can help accentuate your best features. For example, if you have a strong jawline, tilting your head slightly down and to the side can help define it. If you have high cheekbones, a slight smile and head tilt can help highlight them. Experiment with different expressions and angles to see which ones make you feel most confident and comfortable in front of the camera.
Here are some tips on how to accentuate your features for photogenic results:
1. Eyes
Your eyes are often the focal point of a photo, so make them pop! Use makeup to enhance your eyes, such as:
- Curling your lashes and applying a few coats of volumizing mascara
- Using a neutral eyeshadow palette to create a flattering eye look
- Lining your upper lash line with a thin line of eyeliner
Avoid overdoing it with heavy eye makeup, as this can look harsh in photos. Stick to accentuating either your eyes or lips, not both.
2. Lips
Wearing a flattering lip color is an easy way to enhance your look. Choose a shade that complements your skin tone and makes your teeth look whiter. Avoid matte lipsticks, as they can appear drying in photos. Instead, opt for a moisturizing formula with a subtle sheen.
If you prefer a more natural look, apply a tinted lip balm or gloss for a healthy, hydrated pout.
3. Cheekbones
Highlighting your cheekbones can create the illusion of a more sculpted face. Use a cream or powder highlighter on the high points of your cheeks, blending well to avoid harsh lines. Be careful not to overdo it, as too much highlighter can look shiny in photos.
4. Jawline
To define your jawline, use a matte bronzer or contour powder along the sides of your face, blending well into your hairline. This creates the illusion of a more chiseled look. Avoid applying contour directly under your chin, as this can accentuate any double chin.
5. Skin
Healthy, glowing skin is always photogenic. Develop a consistent skincare routine to keep your complexion looking its best. Drink plenty of water, get enough sleep, and eat a balanced diet rich in antioxidants. Use a primer and light foundation to even out your skin tone, and set with a translucent powder to minimize shine.
Tip 4. Practice Makes Perfect
Finding your best angles takes time and practice. Don't get discouraged if you don't nail it on the first try. Keep experimenting, and take note of which poses and angles make you feel most confident and comfortable. With practice, you'll develop a better understanding of your unique features and how to present them in the most flattering way possible.
Remember, the key to finding your best angles is to have fun with it! Experiment, play around, and don't be afraid to try new things. The more you practice, the more confident and photogenic you'll become.
Part 3. Perfecting Your Expression
Your facial expression can make or break a photo. A genuine, engaging expression can bring your images to life, while a stiff or forced look can detract from your overall appearance. Here are some tips and techniques to help you perfect your expression and capture your best self in every shot:
Tip 1. The Power of a Genuine Smile
A natural smile is often the most flattering expression in photos. Here's how to achieve it:
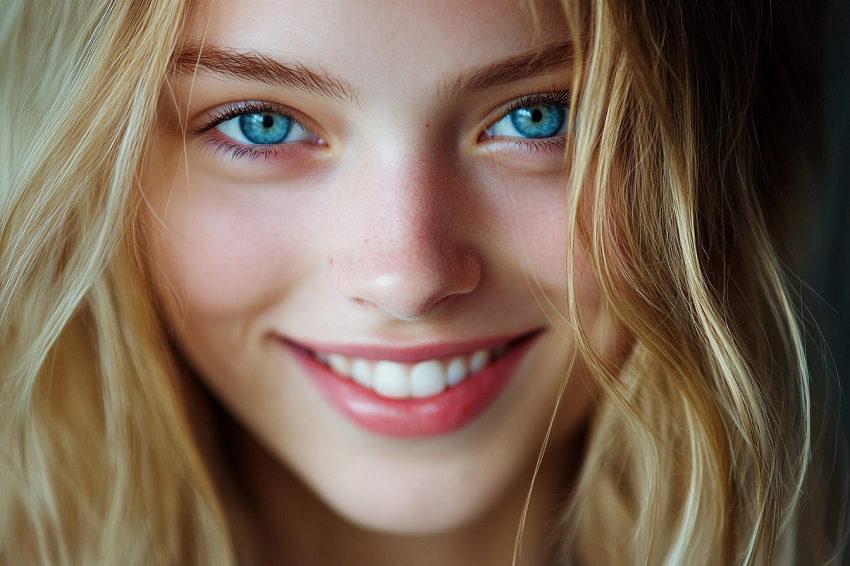
- Think Happy Thoughts: To evoke a genuine smile, think of something that makes you truly happy—whether it's a funny memory, a loved one, or a favorite place. This mental imagery can help create a smile that reaches your eyes.
- Practice in the Mirror: Spend a few minutes practicing your smile in front of a mirror. Notice how different smiles look and feel, and find the one that feels most natural to you.
- Engage Your Eyes: A genuine smile involves not just your mouth but also your eyes. When you smile, allow your eyes to crinkle slightly at the corners (often referred to as "smizing"). This adds warmth and authenticity to your expression.
Tip 2. Explore Different Expressions
While a smile is often the go-to expression, exploring a range of emotions can yield stunning results:
- Candid Moments: Sometimes, the best expressions come when you're not posing. Engage in conversation with friends or think of something amusing while the camera is snapping away. This can lead to genuine, candid shots that capture your personality.
- Practice Various Looks: Experiment with different expressions, such as a relaxed smile, a playful smirk, or a serious gaze. Take test shots to see how each expression translates on camera, and identify which ones you feel most comfortable with.
- Use Your Body Language: Your body language can enhance your expression. For example, leaning slightly forward while smiling can convey enthusiasm and engagement, while crossing your arms may suggest a more serious demeanor. Be mindful of how your body language complements your facial expression.
Tip 3. Relax and Be Yourself
Feeling comfortable and relaxed in front of the camera is essential for capturing authentic expressions:
- Breathe and Release Tension: Take a deep breath before the photo is taken. This helps reduce tension in your face and body, allowing for a more relaxed expression. Shake out your arms and shoulders to release any stiffness.
- Connect with the Photographer: If you're working with a photographer, establish a rapport with them. A friendly conversation can help ease nerves and create a more comfortable atmosphere, allowing your true personality to shine through.
Tip 4. Avoiding the "Deer in Headlights" Look
To prevent looking stiff or overly posed, keep these tips in mind:
- Don't Force It: Avoid forcing a smile or expression that doesn't feel natural. If you're not feeling it, it will show in the photo. Instead, try to engage in a lighthearted conversation or think of something amusing to elicit a genuine reaction.
- Take Breaks: If you're doing a long photoshoot, take breaks to relax and reset. This can help you avoid fatigue and maintain a fresh, engaging expression throughout the session.
Part 4. Lighting
Lighting is one of the most critical elements in photography and make your photogenic quality, as it can dramatically influence the mood, tone, and overall quality of your images. Understanding the differences between natural and artificial light, as well as how to utilize them effectively, can help you capture stunning photos.
Tip 1. Natural Light
Natural light is the light produced by the sun and is often considered the best option for photography due to its soft, flattering qualities. Here's how to make the most of it:
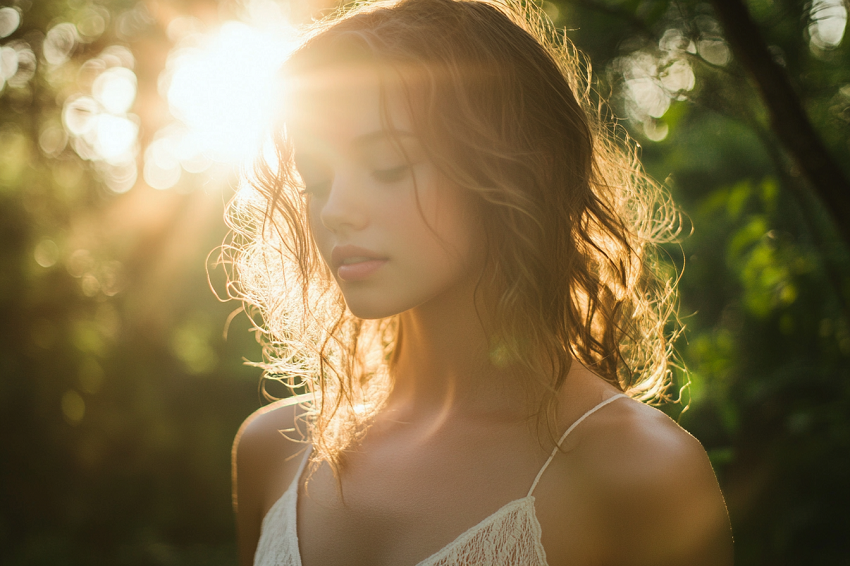
1. Benefits of Natural Light
- Softness: Natural light, especially during the golden hour, is diffused and soft, which minimizes harsh shadows and creates a warm glow on the skin.
- Color Accuracy: Natural light provides true-to-life colors, making your photos appear more vibrant and realistic.
- Accessibility: You can find natural light almost anywhere—outdoors, near windows, or even in shaded areas.
2. Finding the Best Spots for Shooting in Natural Light
- Outdoors: Look for open areas where you can take advantage of the sun's rays. The golden hour (the hour after sunrise and before sunset) is ideal for outdoor shoots, as the light is warm and flattering.
- Near Windows: If shooting indoors, position yourself near a window where natural light can flood in. North-facing windows provide soft, even light throughout the day, while south-facing windows can produce brighter light, especially at midday.
- Shade: If the sunlight is too harsh, find shaded areas (like under trees or awnings) to avoid direct sunlight. This can help create a more even light across your face and body.
- Reflectors: Use reflectors to bounce natural light onto your face. You can use a white sheet, a piece of cardboard, or a professional reflector to fill in shadows and illuminate your features.
Tip 2. Artificial Light
While natural light is often preferred, artificial light can also be effective, especially in low-light situations or when shooting indoors. Here's how to use artificial lighting effectively:
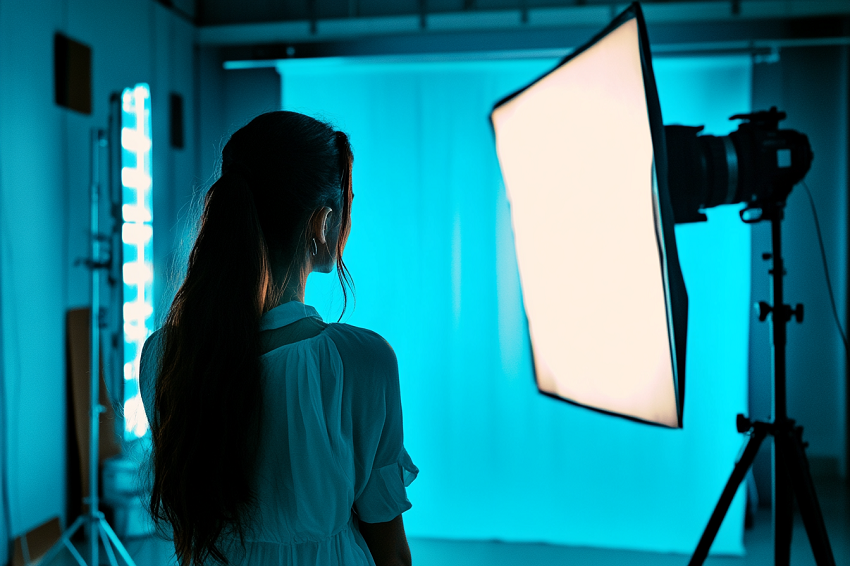
1. Benefits of Artificial Light
- Control: Artificial lighting allows you to control the intensity, direction, and color of the light, giving you more flexibility in your photoshoots.
- Consistency: Unlike natural light, which changes throughout the day, artificial light can provide consistent lighting conditions, making it easier to achieve the desired look.
2. Types of Artificial Light Sources
- Softboxes: These are large, diffused light sources that mimic natural light. They help soften shadows and create a flattering glow. Position a softbox at a 45-degree angle to your subject for optimal results.
- LED Panels: These lights are versatile and can be adjusted for brightness and color temperature. They are great for creating a well-lit environment without harsh shadows.
- Ring Lights: Popular among beauty and portrait photographers, ring lights provide even lighting and reduce shadows, making them ideal for close-up shots.
3. Softening Harsh Lights
- Diffusers: Use diffusers to soften harsh artificial light. A diffuser can be as simple as a white sheet or a professional diffusion panel placed between the light source and your subject. This helps create a more flattering, even light across the face.
- Bouncing Light: Instead of pointing the light directly at your subject, consider bouncing it off a wall or ceiling. This technique disperses the light and reduces harsh shadows, creating a more natural look.
- Adjusting Color Temperature: Be mindful of the color temperature of your artificial lights. Warmer lights (around 2700K-3200K) create a cozy, inviting atmosphere, while cooler lights (around 5000K-6000K) mimic daylight. Adjust your camera settings accordingly to match the light source.
Part 5. Choosing Background
The background of your photo is just as important as the subject itself. A well-chosen background can enhance your features and create a more compelling image, while a cluttered or distracting background can take attention away from you. Here's how to select backgrounds that allow you to shine and enhance your overall composition:
Tip 1. Simple and Uncluttered Backgrounds
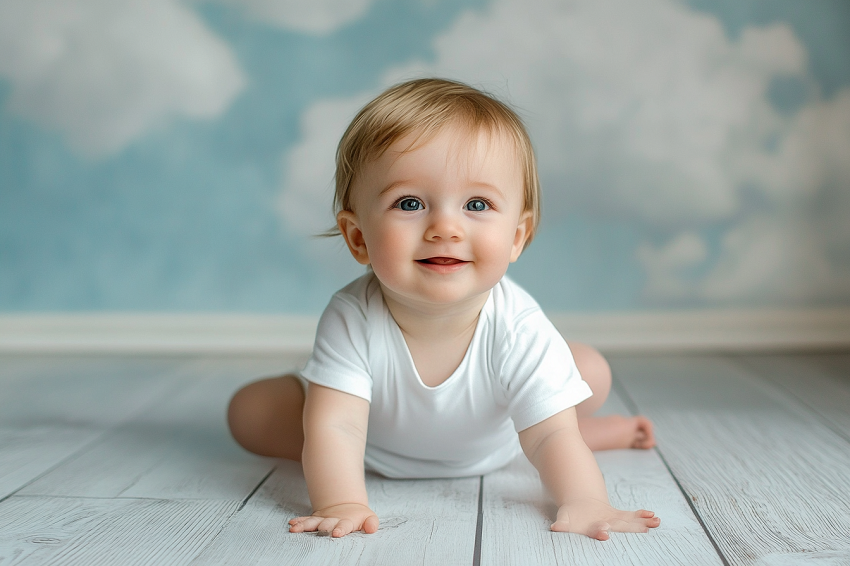
- Focus on the Subject: Opt for backgrounds that are simple and uncluttered. This means avoiding busy scenes that can overwhelm the viewer's eye. A plain wall, a soft gradient, or a natural landscape can provide a clean canvas that allows you to stand out.
- Neutral Colors: Backgrounds in neutral colors, such as white, gray, or beige, are often the best choices. They create a subtle contrast with your outfit and skin tone, ensuring that the focus remains on you.
- Natural Settings: When shooting outdoors, look for open spaces with minimal distractions. Parks, beaches, or fields can provide beautiful backdrops without competing for attention.
Tip 2. Interesting Textures and Colors
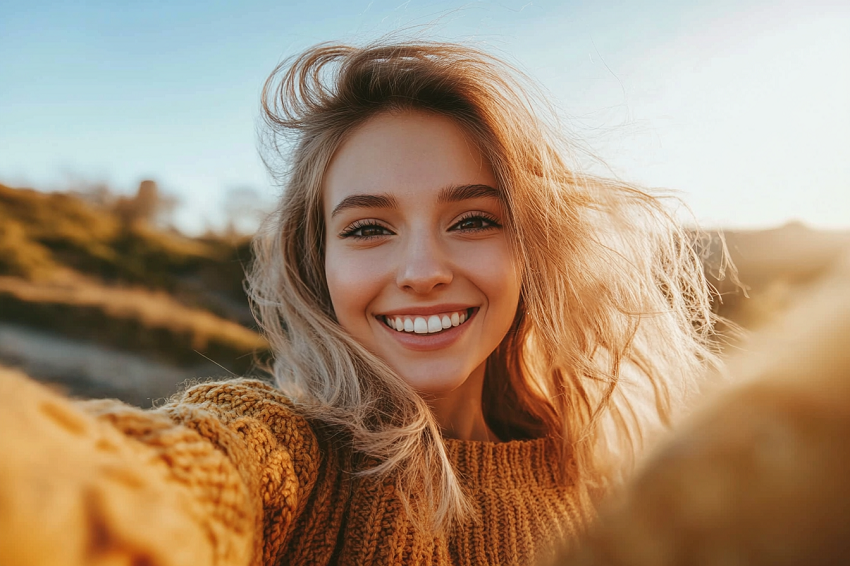
- Textures: Incorporating interesting textures can add depth and richness to your photos. Look for backgrounds with unique surfaces, such as weathered wood, brick walls, or stone. These textures can create visual interest while still keeping the focus on you.
- Colorful Elements: Bright, vibrant colors can enhance your photos, but it's essential to ensure they complement your outfit. Consider backgrounds with soft pastel colors or bold hues that create a pleasing contrast without overwhelming the image.
- Seasonal Colors: Take advantage of seasonal changes to find beautiful backgrounds. For example, blooming flowers in spring or colorful leaves in autumn can add a natural pop of color to your photos.
Part 6. Building Comfort and Confidence
Feeling comfortable and confident in front of the camera is crucial for capturing stunning photographs that reflect your true self. When you're at ease, your personality shines through, resulting in more authentic and engaging images. Here are some effective strategies to help you build comfort and confidence during your photoshoots:
Tip 1. Relaxation Techniques
1. Deep Breathing Exercises: One of the simplest and most effective ways to calm your nerves before a shoot is through deep breathing. Take a moment to close your eyes and inhale deeply through your nose, allowing your abdomen to expand. Hold the breath for a few seconds, then exhale slowly through your mouth. Repeat this process several times to help reduce anxiety and promote relaxation.
While breathing deeply, visualize yourself in front of the camera, feeling confident and relaxed. Picture the kind of photos you want to achieve, and imagine yourself enjoying the experience. This mental imagery can help set a positive tone for the shoot.
2. Light Stretching: Engaging in light stretching can help release tension in your body and promote relaxation. Focus on areas where you may hold stress, such as your neck, shoulders, and back. Simple stretches like neck rolls, shoulder shrugs, and gentle torso twists can help you feel more at ease.
Also Consider incorporating some light movement, like walking around or doing a few jumping jacks, to get your blood flowing and shake off any nerves. This can help you feel more energized and ready for the shoot.
Tip 2. Connecting with the Photographer
1. Building Rapport: Establishing a good rapport with your photographer is essential for creating a comfortable atmosphere. Whether you're working with a friend or a professional, take a few moments to chat before the shoot begins. This can help break the ice and ease any tension you may be feeling.
Communicate your ideas and preferences with the photographer. Let them know what you're comfortable with and any specific shots you'd like to achieve. Open communication fosters a collaborative environment, making you feel more at ease and in control during the shoot.
2. Trust and Collaboration: Trusting your photographer is key to feeling confident in front of the camera. If you feel comfortable, ask for their guidance on poses and expressions. A good photographer will provide direction and encouragement, helping you feel more secure in your choices.
Don't hesitate to ask for feedback during the shoot. Positive reinforcement from the photographer can boost your confidence and help you relax, knowing you're on the right track.
Conclusion
Becoming more photogenic is a journey that involves understanding and embracing your unique features, mastering the art of posing, and utilizing the right lighting and backgrounds. Throughout this guide, we've explored essential techniques from preparing your appearance and finding your best angles to perfecting your expressions and building comfort in front of the camera.
Remember, the key to looking great in photos is confidence. By practicing relaxation techniques, connecting with your photographer, and experimenting with different settings, you can create a positive experience that leads to stunning images.