8 Tips for Shooting Cosmetics Photography
Updated on
In the vibrant world of beauty and cosmetics, the visual presentation of products plays a crucial role in capturing consumer attention and conveying brand identity. High-quality cosmetics photography not only showcases the product but also tells a story, evoking emotions and desires that resonate with potential buyers. Whether you are a professional photographer, a beauty brand owner, or an enthusiast looking to elevate your skills, understanding the nuances of cosmetics photography can make all the difference.
In this blog post, we will explore practical and useful tips that will help you create stunning images that highlight the beauty and intricacies of cosmetic products. From mastering lighting techniques to choosing the right backgrounds and props, these insights are designed to enhance your photography skills and produce images that stand out in a crowded market. Let's dive into the essential tips for capturing the essence of cosmetics through your lens!
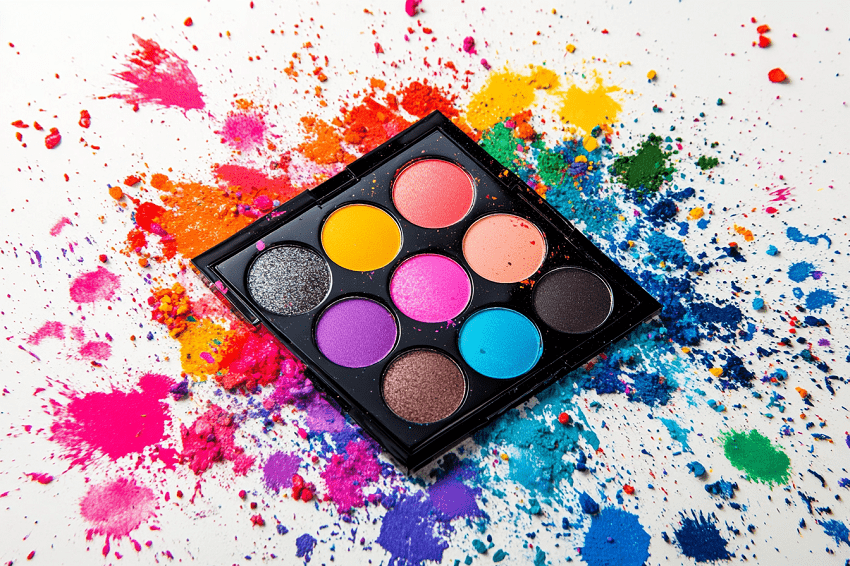
Cosmetic Photos Are Low Quality (Pixelated, Blurry, etc)?
Elevate Your Cosmetic Photos to Crystal-Clear Masterpieces! Capturing cosmetic photos can be challenging, often resulting in low-quality images due to many unexpected factors. Luckily, now you can easily enhance this with Aiarty Image Enhancer. This AI-driven image enhancer and upscaler uses deep-trained AI, allowing you to clear noise/blur and other imperfections in your cosmetic photography while enhancing even finer details. Better yet, you can upscale your image to up to 32K stunning resolution for unparalleled clarity.


1. Cleanliness is Key
In cosmetics photography, cleanliness is paramount. Ensuring that both the products and the shooting environment are spotless can significantly enhance the quality of your images. Before photographing, it's essential to clean each product thoroughly with a wet cloth, followed by polishing it with a dry microfiber cloth. This process removes dust, fingerprints, and any imperfections that could detract from the final image. A pristine appearance is crucial for effectively showcasing the product.
Wearing cotton gloves while handling products is another best practice to prevent leaving fingerprints or smudges on reflective surfaces like lipsticks and glass containers. This simple step can save you considerable time in post-processing.
Moreover, maintaining a clean and organized shooting area is vital. Dust particles can easily appear in photographs, making post-editing a tedious task. Taking a moment to tidy up before your shoot can minimize these nuisances. An orderly setup not only streamlines your workflow but also ensures that all items are easily accessible and arranged according to your shooting plan.
Finally, always keep a dry tissue or cloth on set for last-minute spot checks before taking your shots. This allows you to quickly address any last-minute dust or smudges. Being mindful of reflective surfaces in your studio setup is also important; clearing unnecessary shiny items can help minimize unwanted reflections during the shoot.
2. Technical Setup
A well-planned technical setup is crucial for achieving high-quality cosmetics photography. The right camera settings, equipment, and shooting environment can significantly impact the final image quality.
When it comes to camera settings, using an ISO of 100 is ideal for minimizing noise and ensuring clarity. A shutter speed of 1/125 seconds works well to capture sharp images, while an aperture of f/11 allows for a good depth of field, keeping the entire product in focus. If you find f/11 difficult to achieve due to lighting conditions, consider adjusting to f/5.6 or f/8, but be cautious not to go too wide, as this may result in a shallow depth of field that could blur important details.
Investing in quality lenses is equally important. Macro lenses are particularly useful for capturing fine details and textures of cosmetic products. For general shots, prime lenses with wider apertures can create beautiful bokeh, isolating the product against a blurred background. A 50mm or 85mm lens is recommended for capturing products on models or swatched on skin, as these focal lengths provide flattering perspectives.
Lighting is another critical component in your setup. A two or three-light arrangement using softboxes or diffusers can create soft, even lighting that minimizes harsh shadows and reflections. Continuous lighting or strobes with adjustable intensity allow for precise control over illumination, which is essential when working with reflective surfaces common in cosmetics.
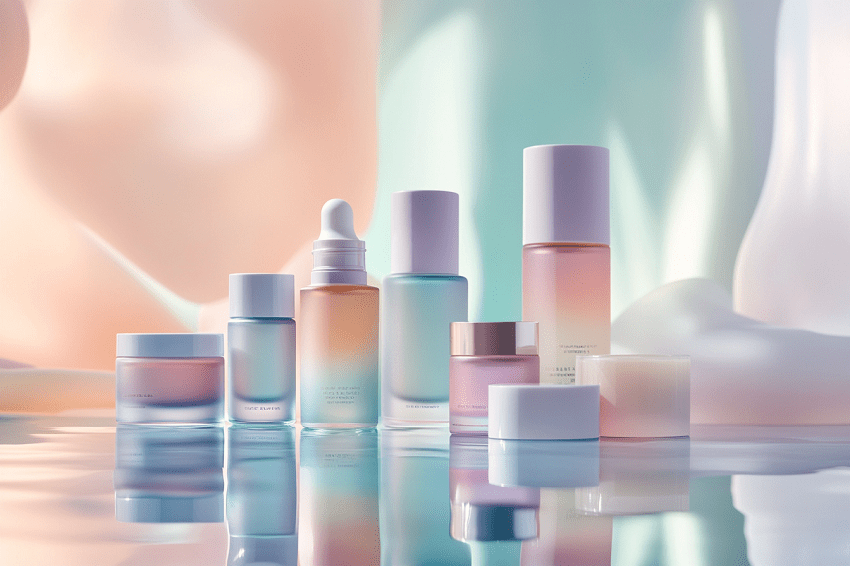
The backdrop you choose should complement the product without distracting from it. Clean, seamless backgrounds in white or pastel shades are safe choices that keep the focus on the cosmetics. Experimenting with different textures and colors can add creativity and align with the brand's aesthetic.
Before starting your shoot, ensure that all products are clean and free from dust or fingerprints. A microfiber cloth can help maintain a pristine appearance, which is especially important when shooting close-ups where imperfections become more noticeable.
Finally, consider using a remote shutter release to avoid camera shake when taking pictures. This technique ensures sharper images, particularly when using slower shutter speeds or when the camera is set up on a tripod.
By carefully planning your technical setup—focusing on camera settings, lens selection, lighting arrangements, backdrop choices, and product cleanliness—you can create stunning cosmetics photography that effectively showcases the beauty and intricacies of each product.
3. Master Your Lighting
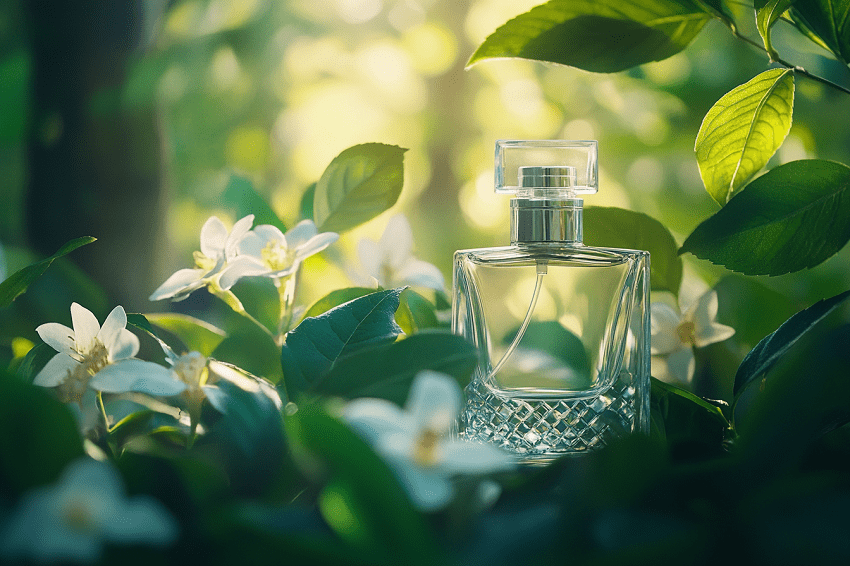
Lighting is one of the most critical aspects of cosmetics photography, significantly influencing the final image quality. Natural light can be a great asset, but it is not always reliable. Therefore, having a solid lighting setup is essential for achieving consistent results. Soft, diffused lighting is ideal as it minimizes harsh shadows and reflections, allowing the product to shine without distractions.
Using specialized lighting equipment, such as ring lights, can be particularly beneficial. For instance, an 18" Diamond Luxe III ring light provides soft, even illumination that helps to reduce blemishes and harsh shadows on models' faces, making it perfect for both product and model photography. Additionally, these lights work well for flat lay arrangements, ensuring that all elements are evenly lit.
Another versatile option is the Allurelite Lighting Kit, which features two LED light wands on one stand. This setup allows for quick transitions between editorial-style shoots and flat lays. Adjusting the light temperature is also crucial; warmer tones tend to flatter skin tones in model shots, while cooler temperatures work better for product-focused images.
For more control over your lighting, consider using softbox lighting kits. These kits allow you to set up multiple lights to achieve a balanced and professional look. A light tent can also be useful when space is limited, providing a controlled environment to shoot products without unwanted shadows or reflections.
Placement of lights is just as important as the type of lighting used. Elevating products on lightweight props can create a more dynamic composition and help them stand out in the frame. When shooting multiple products, adding height can enhance the overall presentation and give your images a high-end feel.
Experimenting with different angles and perspectives can also elevate your photography. Rather than sticking to conventional shot types, try capturing unique angles that showcase the product in an interesting way. Using mirrors or reflective surfaces can add depth and intrigue to your compositions.

4. Background Choices
The background you choose for cosmetics photography plays a pivotal role in the overall aesthetic and effectiveness of your images. A well-selected background can enhance the product's features, convey brand identity, and create a specific mood that resonates with your target audience.
A classic choice is a white background, which is commonly used in still life photography. This neutral color allows the tones of the product to stand out while contributing to optimal light diffusion. White backgrounds are versatile; they can be easily modified in post-production if necessary, ensuring that the focus remains solely on the product. However, it's essential to consider the brand's identity when selecting a background. For instance, a light blue background can evoke feelings of freshness and cleanliness, making it particularly suitable for skincare products.
Color can also be a powerful tool in cosmetics photography. For brands associated with nature or outdoor activities, using warm sandy tones or earthy colors can create an organic feel. Conversely, millennial pink might be ideal for brands targeting a youthful audience, conveying a playful and fun image. If your brand has an edgy or bold aesthetic, consider utilizing darker backgrounds or reflective surfaces to add depth and intrigue to your shots.
Incorporating textures into your backgrounds can further elevate your images. A linen backdrop paired with fresh citrus slices can evoke a summer vibe, while sequins or dark silk textures can set a more luxurious winter scene. This approach not only enhances visual interest but also aligns with seasonal marketing strategies.
Reflective surfaces can add sophistication and dimension to your photographs. By placing products on mirrors or shiny materials, you create an elegant effect that draws attention and adds depth to the composition. Experimenting with angles to capture reflections can lead to visually stimulating images that stand out.
Ultimately, the background should complement the product without overshadowing it. A clean and uncluttered backdrop allows viewers to focus on the details of the cosmetic item, while creative backgrounds can tell a story that resonates with the brand's message. By thoughtfully selecting backgrounds that align with both the product and brand identity, you can create compelling visuals that effectively communicate the essence of cosmetics through your lens.
5. Composition Techniques
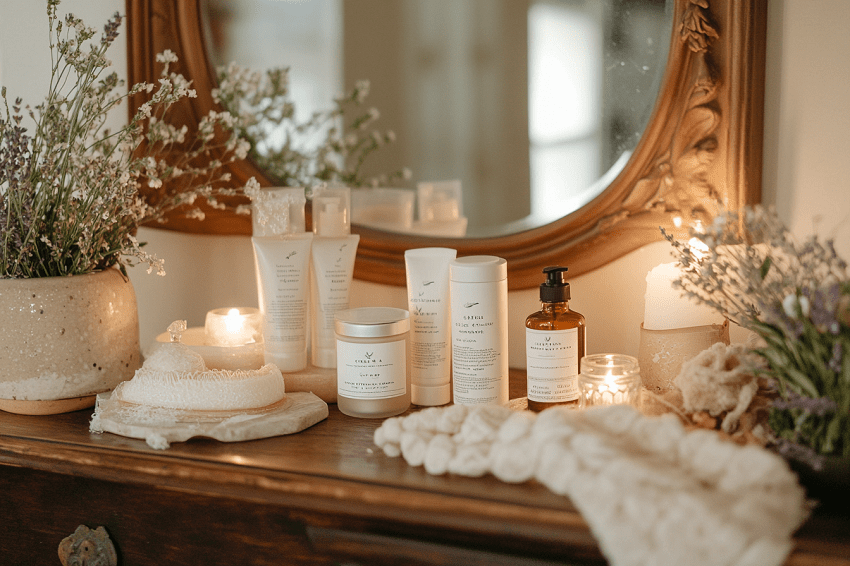
Effective composition is essential in cosmetics photography, as it can significantly enhance the visual appeal of your images. One popular technique is the minimalistic flat lay, which involves arranging beauty products in a clean layout against a plain background. This approach evokes elegance and sophistication by minimizing distractions, allowing the products to take center stage. Flat lay photography is particularly effective for showcasing multiple items from the same collection, emphasizing their complementary qualities.
In addition to flat lays, incorporating diagonal lines into your compositions can add dynamism and energy. Placing key elements along these lines creates a sense of movement, making the image more engaging. The rule of thirds is another valuable guideline; positioning the product near the intersections of these lines can draw the viewer's eye and encourage exploration of the entire frame.
Experimenting with unique angles and perspectives can also lend a fresh touch to your photography. Rather than sticking to conventional shots, try capturing products from unusual angles or heights. This creative approach can add depth and drama, making your images stand out. Using props strategically can further enhance these unique perspectives, adding layers of interest to the composition.
Dynamic arrangements are another effective technique. This involves creatively positioning beauty products and props in a visually compelling manner. The product should generally be centered or near the center of the frame, but varying heights and angles can create a more dynamic look. Consider using acrylic styling props to elevate certain items or position them at angles that break up the one-dimensional appearance often seen in flat lays.
Finally, don't hesitate to play with negative space. Leaving areas of empty space in your composition can create a sense of balance and focus attention on the product itself. This technique not only enhances visual appeal but also allows for breathing room within the image, making it feel less cluttered.
By employing these composition techniques—minimalistic flat lays, diagonal lines, unique angles, dynamic arrangements, and strategic use of negative space—you can create visually striking cosmetics photography that captivates your audience and effectively showcases beauty products.
6. Utilize Props Wisely
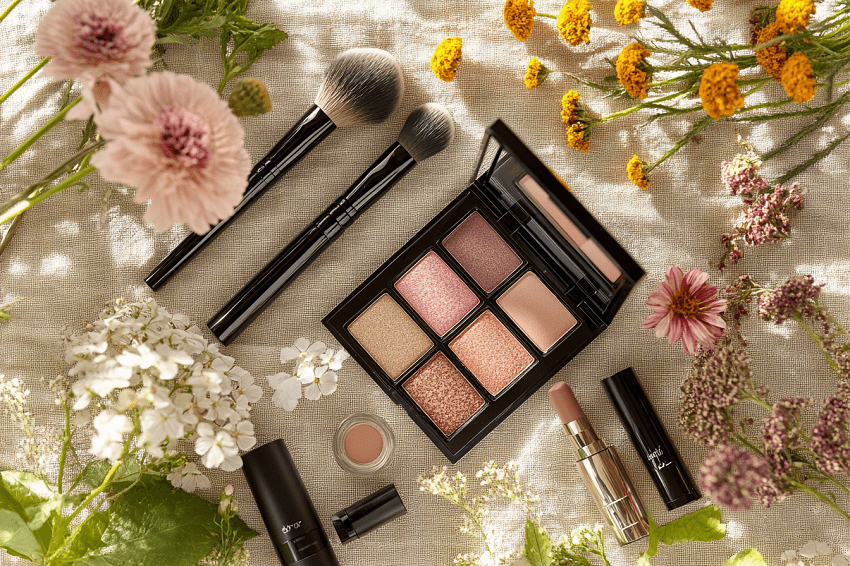
In cosmetics photography, props serve as essential tools that can elevate your images and enhance storytelling. Choosing the right props can add depth, interest, and context to your shots, making them more visually appealing and engaging for potential customers.
When selecting props, it's important to ensure they complement rather than overshadow the product. For instance, geometric risers or styling blocks can create layers and visual interest without drawing attention away from the cosmetics. These risers help elevate products, allowing for dynamic compositions that guide the viewer's eye through the image. Transparent styling blocks are particularly effective for flat lay shots, providing a sleek look while maintaining focus on the product.
Mirrors are another versatile prop that can add a unique dimension to your photography. They create reflections that not only enhance visual interest but also allow you to showcase multiple angles of a product in a single shot. This technique is especially useful for flat lay compositions, where mirrors can introduce depth and complexity.
Incorporating natural elements can also enrich your images. Fresh flowers, fruits, or even ingredients from the cosmetic products themselves—like pomegranate or mint leaves—can add an organic touch that resonates with customers. These elements not only beautify the scene but also provide informative layers that connect the product to its natural inspirations.
When using props, consider varying heights and groupings. Arranging items in odd numbers tends to be more visually appealing, drawing the viewer's eye around the image. Grouping props with different textures, colors, and shapes can create a harmonious composition that enhances the overall aesthetic.
However, simplicity is key; avoid overcrowding your frame with too many elements. Instead, focus on two or three key design elements that work well together in terms of color and texture. This approach allows the product to remain the hero of the shot while still providing context and interest through thoughtfully chosen props.
7. Editing Techniques
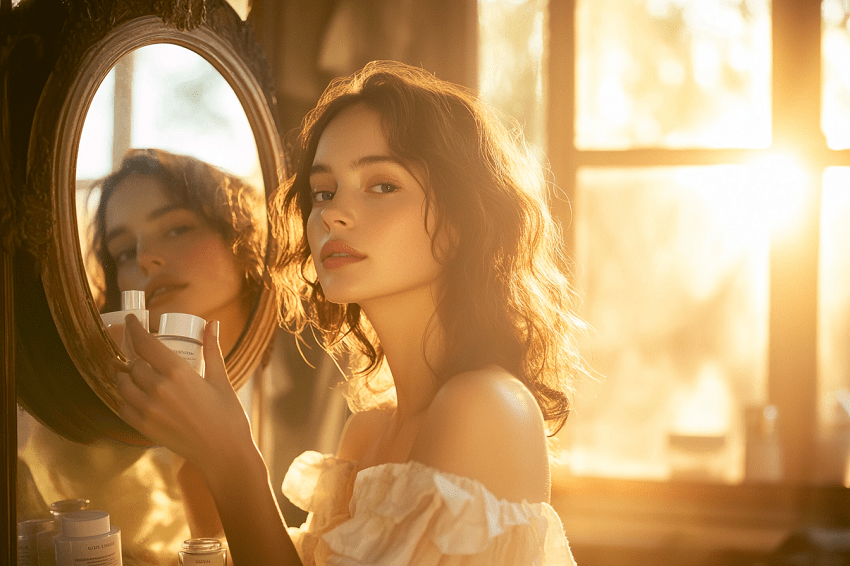
Editing is a crucial step in cosmetics photography that can transform your images from good to stunning. One of the most significant advantages of editing is the ability to shoot in RAW format, which captures unprocessed data directly from your camera's sensor. This format retains all the detail and dynamic range, allowing for extensive adjustments in post-production without compromising image quality.
When you shoot in RAW, you have the flexibility to make critical adjustments to exposure and white balance. Unlike JPEG files, which apply irreversible edits in-camera, RAW files allow you to tweak these settings freely during editing. For instance, if an image is underexposed or overexposed, you can recover lost details in the highlights or shadows, bringing your subject back to life. This capability is especially beneficial when dealing with challenging lighting conditions, such as backlit scenes or mixed lighting sources.
Editing software like Adobe Lightroom or Photoshop is essential for processing RAW files. These programs offer a range of tools that enable you to adjust exposure, contrast, saturation, and more with precision. The non-destructive nature of RAW editing means that any changes you make do not alter the original file; instead, the software simply records how the image should be interpreted. This allows for endless experimentation without the fear of losing quality.
One effective technique is to start with global adjustments before moving on to local edits. Begin by fine-tuning exposure and contrast to establish a solid foundation for your image. Once satisfied with the overall look, you can focus on specific areas using local adjustment tools. For example, if you want to enhance a product's shine or texture, targeted adjustments can help bring out those details without affecting the entire image.
White balance is another area where RAW files shine. Since they capture more color information than JPEGs, you can easily correct any color casts that may have occurred during shooting. This flexibility allows you to ensure that skin tones appear natural and that product colors are true to life.
Finally, always remember to export your edited images in a suitable format for their intended use. While JPEGs are common for web use due to their smaller file size, TIFFs offer higher quality for printing purposes. By understanding the nuances of editing and utilizing RAW files effectively, you can create captivating cosmetics photography that truly showcases the beauty and intricacies of your products.
8. Experimentation is Crucial
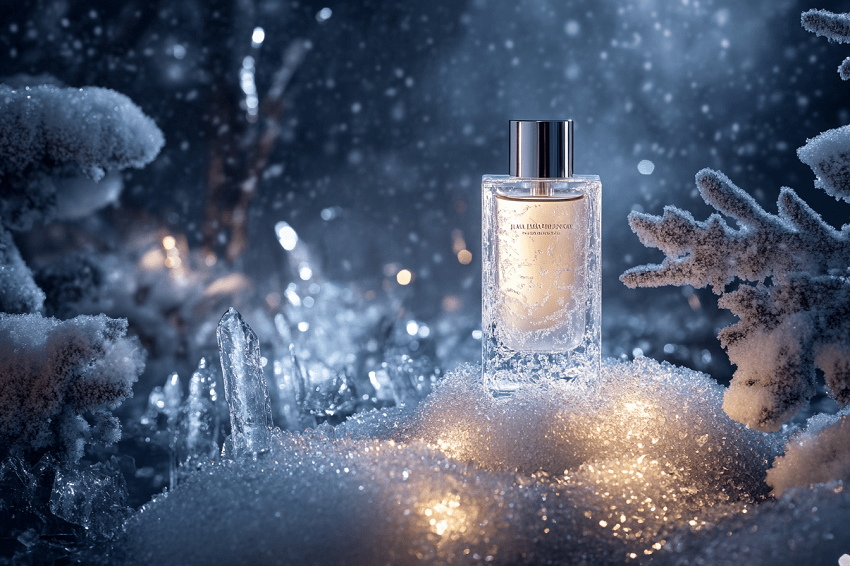
Experimentation is a vital component of cosmetics photography, allowing photographers to push creative boundaries and discover unique approaches that can set their work apart. One effective way to explore this creativity is through macro photography, which captures extreme close-ups of beauty products. This technique highlights intricate details, textures, and colors that often go unnoticed, providing viewers with a captivating perspective that draws them in.
Using a macro lens is essential for this type of photography. Lenses with focal lengths between 100mm and 150mm are particularly effective, as they allow you to focus closely on the product while maintaining sharp detail. These lenses can showcase the fine craftsmanship of makeup products or the unique features of skincare items, creating a mesmerizing effect that captivates the audience.
In addition to macro shots, experimenting with lighting techniques can yield stunning results. By adjusting light angles and intensities, you can create captivating shadow patterns that emphasize the texture of the product. This approach not only adds visual interest but also enhances the tactile qualities of various surfaces, making them stand out in your images.
Another area for experimentation is composition. Trying different angles and perspectives can lend a fresh and artistic touch to your photography. For instance, capturing products from above can provide a unique view that differs from traditional side-on shots. Incorporating props in unexpected ways can also enhance your compositions, adding layers of depth and context that enrich the overall image.
Don't shy away from using multiple products in a single shot. Cosmetics photography often allows for an array of items to be featured together, showcasing collections or complementary products in an engaging manner. This not only creates visual interest but also tells a more comprehensive story about the brand and its offerings.
Lastly, consider the role of digital editing in your experimentation process. Post-production allows you to refine your images further, enhancing colors and textures while maintaining the integrity of the original shot. Experimenting with editing techniques can lead to new styles and aesthetics that resonate with your audience.
By embracing experimentation in various aspects—macro photography, lighting, composition, product arrangements, and editing—you can create stunning cosmetics imagery that captures attention and elevates brand storytelling. This willingness to explore will not only enhance your skills but also ensure your work remains fresh and innovative in a competitive market.
Conclusion
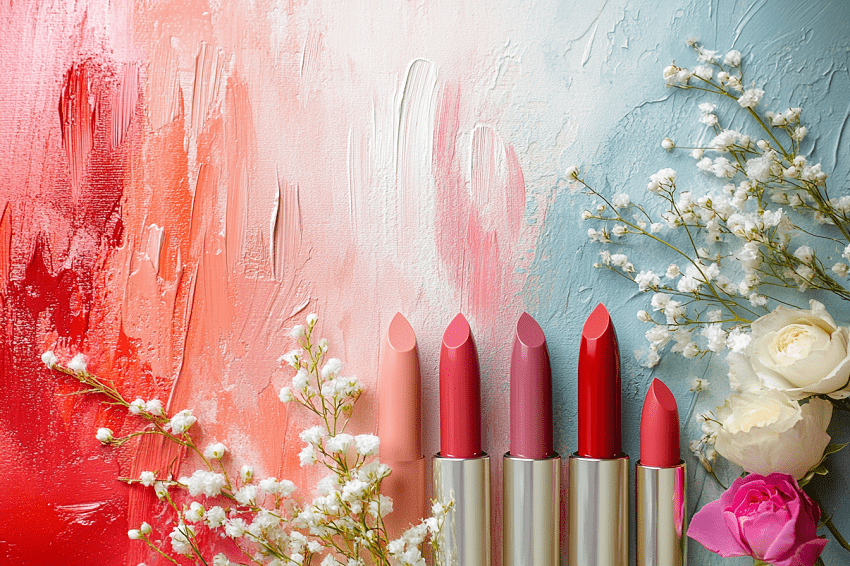
In the world of cosmetics photography, the ability to capture stunning images is essential for effectively showcasing beauty products and engaging potential customers. By implementing the tips discussed throughout this post—focusing on cleanliness, mastering lighting, choosing the right backgrounds, employing thoughtful composition techniques, utilizing props wisely, refining your editing skills, embracing experimentation, and establishing a solid technical setup—you can elevate your photography to new heights.
Each element plays a vital role in creating captivating visuals that not only highlight the intricacies of cosmetic products but also resonate with your audience. Remember that photography is both an art and a science; while technical skills are crucial, creativity and experimentation can lead to innovative results that set your work apart.
As you continue to practice and refine your techniques, don't hesitate to explore new ideas and push boundaries. The beauty industry is ever-evolving, and staying adaptable will help you remain relevant and inspired. With dedication and a willingness to learn, you can create compelling cosmetics photography that not only showcases products beautifully but also tells a story that connects with consumers on a deeper level.