How to Do Jewelry Photography
Updated on
In the world of e-commerce, first impressions are everything. When it comes to jewelry, high-quality photography can make or break a sale. Stunning images not only attract potential buyers but also convey the craftsmanship and beauty of each piece, instilling confidence in customers. Whether you're a professional photographer, a jewelry maker, or a hobbyist looking to showcase your collection, mastering the art of jewelry photography is essential.
This guide will walk you through the entire process of photographing jewelry like a pro—from selecting the right equipment and setting up your workspace to capturing and editing stunning images. By the end of this post, you'll have all the tools and knowledge needed to create captivating photographs that highlight the unique features of your jewelry pieces. Let's dive in!
Jewelry Photos Are Low Quality (Pixelated, Blurry, etc)?
Elevate Your Jewelry Photos to Crystal-Clear Masterpieces! Capturing jewelry photos can be challenging, often resulting in low-quality images due to many unexpected factors. Luckily, now you can easily enhance this with Aiarty Image Enhancer. This AI-driven image enhancer and upscaler uses deep-trained AI, allowing you to clear noise/blur and other imperfections in your jewelry photography while enhancing even finer details. Better yet, you can upscale your image to up to 32K stunning resolution for unparalleled clarity.


Part 1. Equipment Needed for Jewelry Photography
To achieve professional-quality jewelry photography, having the right equipment is crucial. Here's a breakdown of the essential tools you'll need to get started:
Camera: A high-quality camera is the foundation of good photography. For jewelry, a DSLR or mirrorless camera is recommended due to their superior image quality and versatility. Look for a camera with a high megapixel count to capture intricate details that make each piece unique.
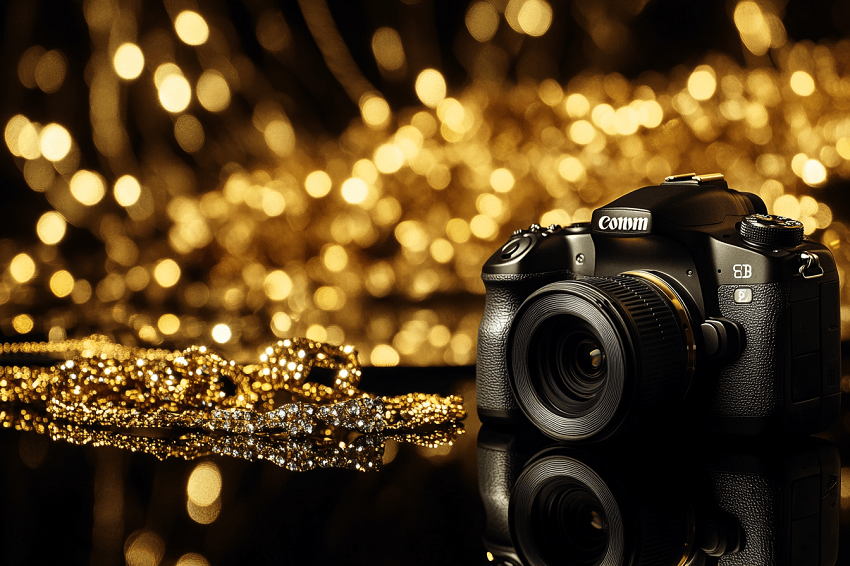
Lens: Investing in a macro lens is essential for jewelry photography. Macro lenses allow you to get up close and personal with your subjects, capturing fine details like engravings, textures, and gemstones. A lens with a focal length between 60mm and 100mm is ideal for this purpose.
Tripod: Stability is key when photographing jewelry, especially in low-light conditions. A tripod will help eliminate camera shake, ensuring sharp images. Look for a sturdy tripod that can be adjusted to various heights and angles for flexibility.
Lighting Equipment: Proper lighting can dramatically enhance your jewelry photographs. Here are some options:
- Softboxes: These provide diffused lighting that minimizes harsh shadows and highlights, creating a soft glow around your pieces.
- Light Tents: A light tent offers an enclosed space that evenly distributes light, making it easier to achieve consistent results.
- Natural Light: If you prefer working with natural light, choose a bright but diffused source (like near a window) to avoid direct sunlight, which can create harsh shadows.
Additional Accessories
- Reflectors: These can be used to bounce light onto your jewelry, enhancing brightness and reducing shadows.
- Diffusers: Placing diffusers in front of your light sources can soften the light further, creating a more flattering look.
- Cleaning Supplies: Don't forget tools like microfiber cloths and cleaning solutions to ensure your jewelry looks pristine before shooting.
With the right equipment in hand, you'll be well on your way to capturing stunning images that showcase the beauty and craftsmanship of your jewelry pieces.
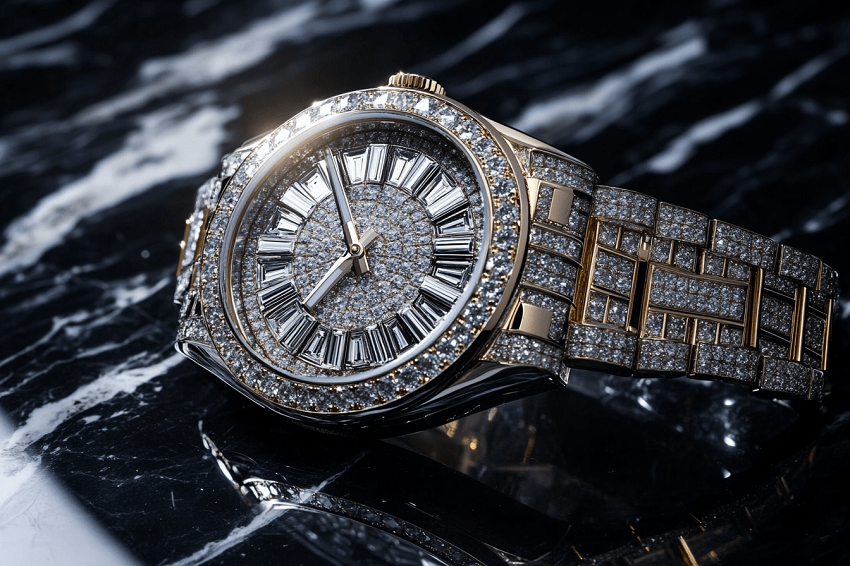
Part 2. Setting Up Your Workspace for Jewelry Photography
Creating an effective workspace is essential for achieving professional results in jewelry photography. A well-organized and thoughtfully designed environment will help you focus on capturing the beauty of each piece. Here's how to set up your workspace for optimal results:
1. Clean Background
The background plays a crucial role in highlighting your jewelry. Here are some tips for selecting and preparing your background:
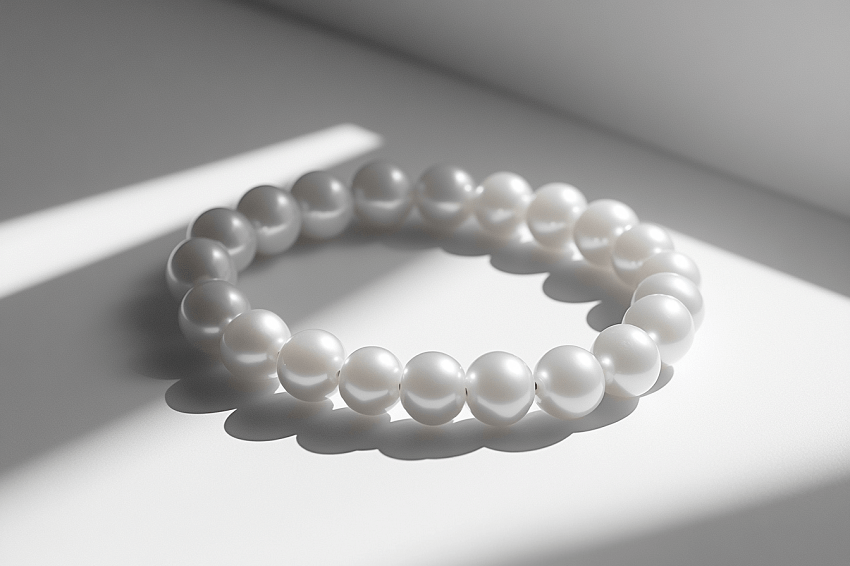
- Choose a Plain Color: A clean, neutral background—preferably white or light gray—will help your jewelry stand out. Avoid busy patterns or colors that might distract from the piece.
- Use a Backdrop: Consider investing in a seamless paper backdrop or fabric that can be easily changed to suit different pieces. This allows for versatility and consistency across your images.
2. Organizing Your Space
A tidy and organized workspace can enhance your workflow and creativity. Here are some steps to achieve this:
- Designate a Specific Area: Set aside a dedicated space for photography, free from clutter and distractions. This will help you focus on your work and streamline the process.
- Arrange Your Equipment: Keep your camera, tripod, lighting equipment, and accessories within easy reach. Organize them in a way that makes setup quick and efficient.
- Ensure Adequate Space: Make sure you have enough room to maneuver around your setup without bumping into anything. This will allow you to experiment with angles and lighting without hassle.
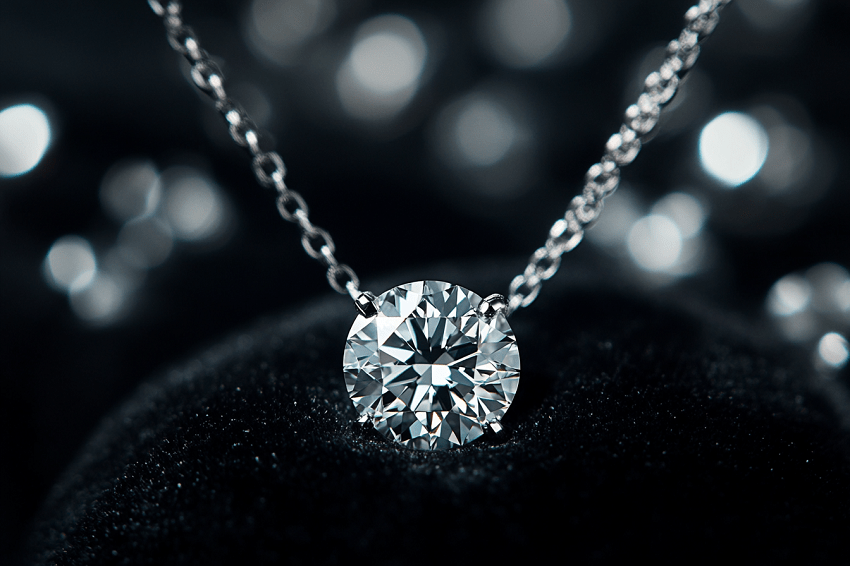
3. Lighting Setup
Proper lighting is one of the most critical aspects of jewelry photography. Here's how to set up your lighting effectively:
- Position Lights Strategically: Place your softboxes or light sources at 45-degree angles from the jewelry piece to create even lighting and minimize harsh shadows.
- Use Reflectors: Position reflectors opposite your light sources to bounce light back onto the jewelry, enhancing brightness and reducing shadows.
- Test Different Setups: Experiment with various lighting configurations and angles to find what works best for each specific piece.
4. Final Touches
Before you start shooting, take a moment to ensure everything is in place:
- Check for Clutter: Remove any unnecessary items from your workspace that could distract from the jewelry.
- Clean Your Equipment: Wipe down your camera lens, lights, and any surfaces that might affect the quality of your images.
- Have Cleaning Supplies Ready: Keep microfiber cloths and cleaning solutions handy to quickly polish any jewelry pieces before shooting.
By setting up an organized and efficient workspace, you'll create an environment that encourages creativity and helps you capture stunning images of your jewelry with ease.
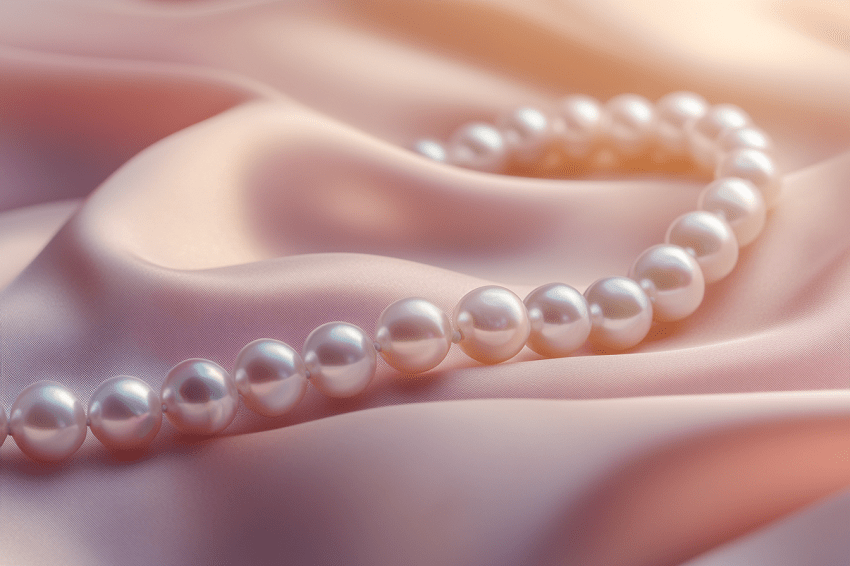
Part 3. Preparing the Jewelry for the Photography
Before you begin photographing your jewelry, proper preparation is essential to ensure that each piece looks its best. Here are some key steps to follow when getting your jewelry ready for the camera:
1. Cleaning
A clean piece of jewelry is crucial for achieving high-quality images. Here's how to prepare your items:
- Polishing: Use a soft, lint-free cloth to polish the jewelry and remove any fingerprints, dust, or smudges. For metal pieces, consider using a specialized jewelry cleaner to restore shine.
- Gemstone Care: If your jewelry features gemstones, ensure they are free of dirt and grime. Use a gentle brush or a soft cloth to clean around the stones without scratching them.
- Avoid Harsh Chemicals: Be cautious with cleaning solutions; some may damage certain materials. Always check the manufacturer's recommendations for care.
2. Styling
How you present your jewelry can significantly impact the final images. Here are some styling tips:
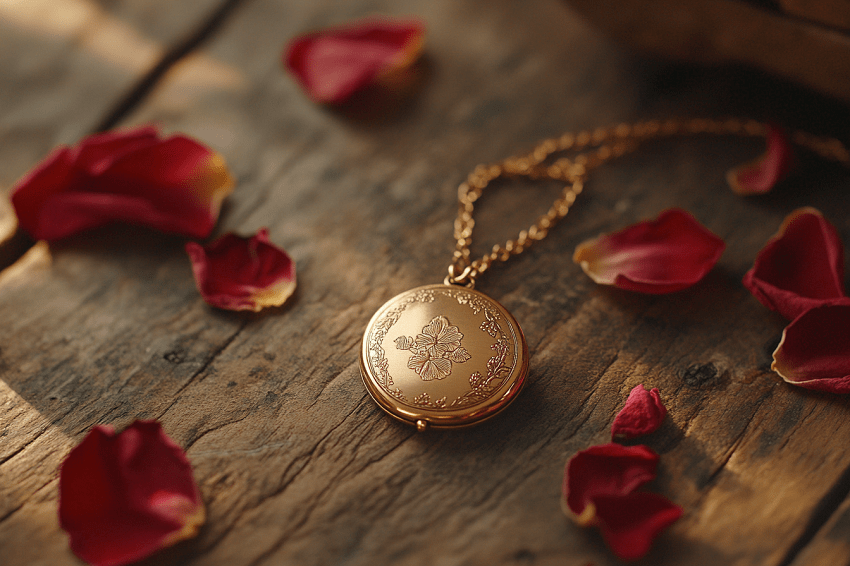
- Use Props: Consider incorporating props that complement the jewelry without overshadowing it. Simple stands, elegant fabric, or natural elements like flowers can enhance the visual appeal.
- Choose Appropriate Displays: Depending on the type of jewelry (rings, necklaces, earrings), select displays that highlight their features. For example, use a ring holder for rings and a bust for necklaces.
- Consider Scale: Ensure that any props or displays used do not distract from the jewelry itself. The focus should always remain on the piece being photographed.
3. Arranging the Jewelry
Once cleaned and styled, arrange the jewelry thoughtfully for photography:
- Positioning: Experiment with different angles and orientations to find the most flattering view. For necklaces, consider laying them flat or draping them elegantly.
- Layering: If photographing multiple pieces together, ensure they complement each other and are arranged in a way that doesn't create visual clutter.
- Highlighting Details: Focus on unique features of each piece—like intricate settings or unique clasps—by positioning them in a way that draws attention to these details.
4. Final Checks
Before you start shooting, take a moment to do a final inspection:
- Inspect for Flaws: Check each piece closely for any imperfections that may need addressing before photographing.
- Adjust Lighting as Needed: Ensure your lighting is set up to highlight the jewelry effectively. Adjust angles if necessary to avoid shadows or reflections.
By taking the time to prepare your jewelry properly, you'll set yourself up for success in capturing stunning images that showcase the beauty and craftsmanship of each piece.
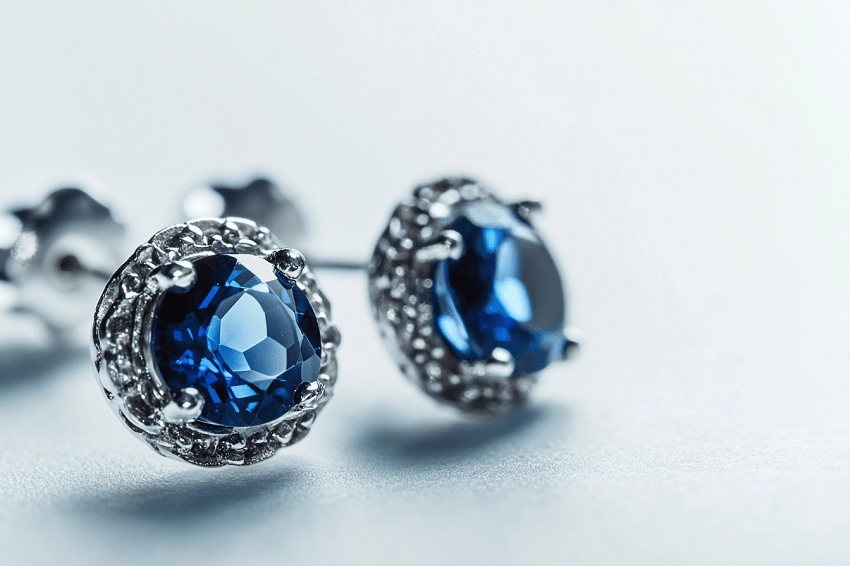
Part 4. Camera Settings for Jewelry Photography
Getting the right camera settings is crucial for capturing stunning jewelry photographs. These settings will help you achieve sharp, well-exposed images that highlight the details of each piece. Here's a breakdown of key camera settings to consider:
1. Aperture
- Choose the Right f-stop: For jewelry photography, a higher f-stop (between f/11 and f/16) is recommended. This setting increases the depth of field, ensuring that more of the piece is in focus, which is essential for capturing intricate details.
- Experiment with Depth of Field: While a higher f-stop is generally preferred, you can experiment with lower f-stops (like f/4 or f/5.6) for creative shots that blur the background and draw attention to specific features.
2. ISO
- Keep ISO Low: Use a low ISO setting (around 100) to minimize noise and maintain image quality. A lower ISO will also help produce cleaner images with better color accuracy.
- Adjust for Lighting Conditions: If you're shooting in low-light conditions and need to increase your ISO, be mindful of potential noise. Aim to keep it as low as possible while still achieving a well-exposed image.
3. Shutter Speed
- Use a Slower Shutter Speed: When using a tripod, you can afford to use slower shutter speeds (1/60 sec or slower) without introducing motion blur. This allows more light to reach the sensor, resulting in brighter images.
- Avoid Hand-Held Shots: If you're not using a tripod, ensure your shutter speed is fast enough to prevent camera shake—ideally at least 1/125 sec or faster, depending on your lens and focal length.
4. White Balance
- Set Correctly for Accurate Colors: Proper white balance is essential for accurately representing the colors of your jewelry. Use the custom white balance setting or select a preset based on your light source (e.g., daylight, tungsten).
- Test and Adjust: Take test shots and adjust the white balance as needed to ensure that the colors of metals and gemstones appear true to life.
5. Focus Mode
- Manual Focus Recommended: For jewelry photography, manual focus allows for precise control over what part of the piece is in focus. This is especially important for intricate designs where autofocus may struggle.
- Use Focus Peaking: If your camera has this feature, enable it to help you see which areas are in focus when using manual focus.
6. Additional Tips
- Shoot in RAW Format: If possible, shoot in RAW format instead of JPEG. This gives you greater flexibility in post-processing, allowing for adjustments without losing image quality.
- Use Grid Lines: Enable grid lines in your camera settings to help with composition and alignment when framing your shots.
By carefully adjusting these camera settings, you'll create a solid foundation for capturing high-quality jewelry photographs that showcase every detail beautifully.
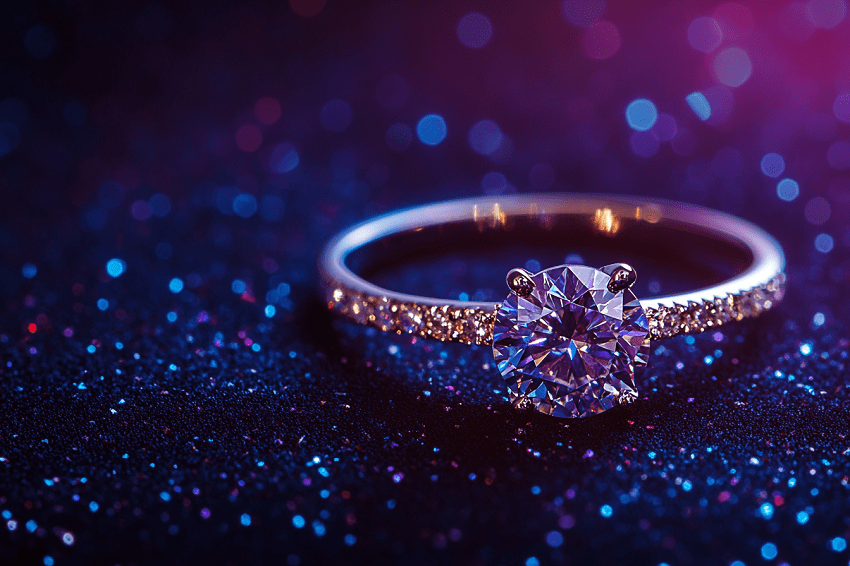
Part 5. Lighting Techniques for Jewelry Photography
Effective lighting is one of the most critical aspects of jewelry photography, as it can dramatically influence the final image quality. Here's how to master lighting techniques to showcase your jewelry beautifully:
1. Soft Lighting
- Why Soft Light?: Soft lighting is essential for jewelry photography because it minimizes harsh shadows and reflections, allowing the intricate details of the pieces to shine. This type of light distributes evenly across the surface, enhancing colors and textures without overwhelming glare.
- Using Softboxes: Incorporate softboxes into your setup to create a diffused light source. Position them on either side of the jewelry piece to achieve even illumination. You can also use a top light that is brighter than the sidelights to enhance depth.
2. Natural Light
- Harnessing Natural Light: Whenever possible, use natural light for photographing jewelry. It provides a soft, flattering glow that highlights the beauty of your pieces without introducing artificial color casts. Position your setup near a window to take advantage of indirect sunlight.
- Avoid Direct Sunlight: Direct sunlight can create harsh shadows and bright spots, so aim for diffused light by shooting during overcast days or using sheer curtains to soften the light.
3. LED Lighting
- Benefits of LED Lights: LED lights offer consistent and adjustable lighting, making them an excellent choice for jewelry photography. They allow you to control color temperature and intensity, ensuring that you capture the true colors and details of your pieces.
- Setup Options: Experiment with different setups, such as a double overhead lighting configuration or a 45-degree angle setup with reflectors to bounce light back onto the jewelry.
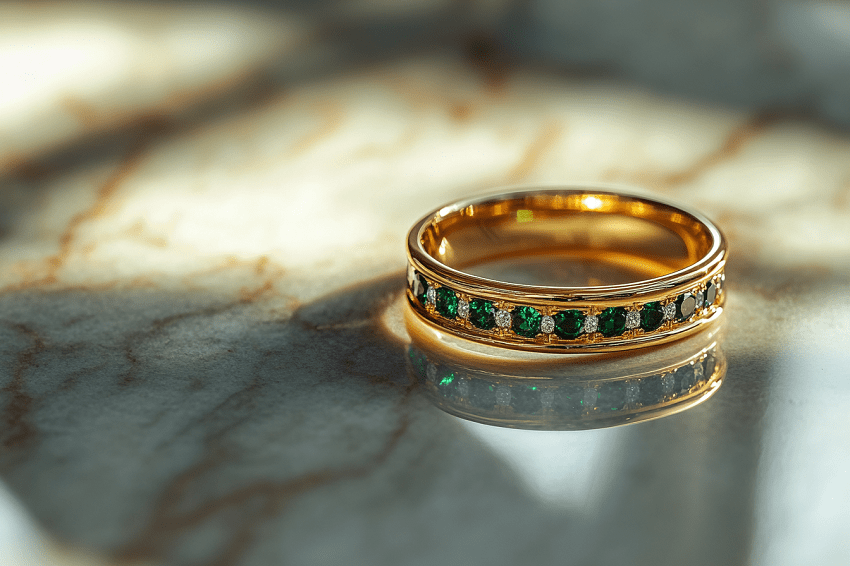
4. Backlighting
- Creating Depth with Backlighting: For glass-like or translucent jewelry, backlighting can create stunning effects. Illuminate the piece from behind to enhance its shape and add a beautiful glow, making it visually striking.
5. Avoiding Hard Light
- Dangers of Hard Light: Hard light can lead to unwanted reflections, high contrast, and deep shadows that obscure details. Avoid using on-camera flash or harsh artificial lights that can overwhelm the subject.
6. Consistency in Lighting
- Maintain a Consistent Style: Whatever lighting method you choose, consistency is key. Use similar setups across different shoots to create a cohesive look for your brand. This will help establish a recognizable style and make your images more professional.
7. Final Tips
- Use Reflectors: Incorporate reflectors to fill in shadows and balance out lighting on the opposite side of your light source. This will help achieve even illumination without introducing additional light sources.
- Experiment and Adjust: Don't hesitate to try different lighting setups and angles. Take multiple shots with varying settings until you find what works best for each piece.
By mastering these lighting techniques, you'll be well-equipped to capture stunning images that showcase the beauty and intricacy of your jewelry pieces effectively.
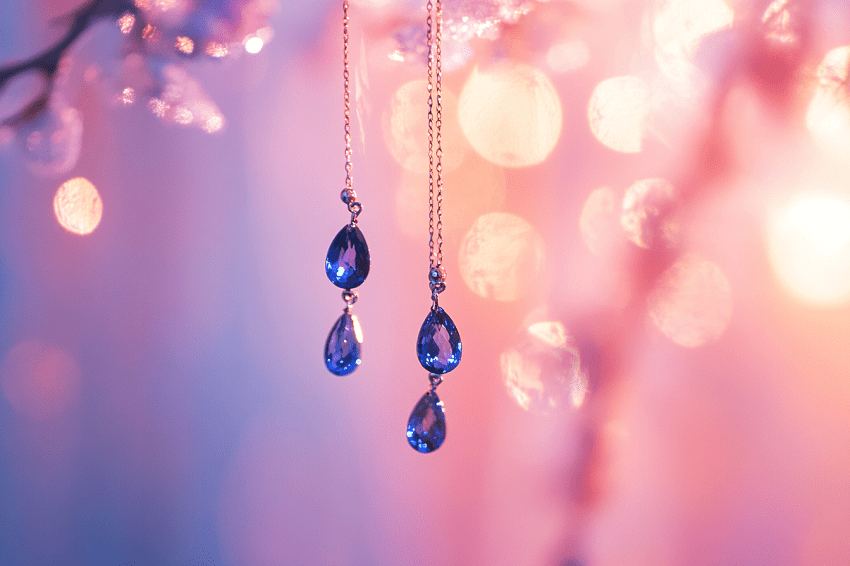
Part 6. Focusing Techniques for Jewelry Photography
Achieving sharp focus in jewelry photography can be challenging, especially given the small size and intricate details of many pieces. Here are effective focusing techniques to ensure that your jewelry photographs are crisp and clear:
1. Manual Focus
- Precision Control: For jewelry photography, manual focus is often preferred over autofocus. This allows you to precisely control which part of the piece is in focus, ensuring that the most important details are highlighted.
- Zoom In for Accuracy: Use your camera's zoom feature to check focus on specific areas, such as engravings or gemstones. This helps ensure that you capture the desired details sharply.
2. Focus Stacking
- What is Focus Stacking?: Focus stacking involves taking multiple images of the same jewelry piece, each with a different focal point. These images are then blended together in post-processing to create a single image where the entire piece is in focus.
How to Execute Focus Stacking?
1. Set Up Your Camera on a Tripod: This stabilizes your shots and ensures consistency across images.
2. Take Multiple Shots: Start by focusing on the front of the piece, then gradually shift your focus toward the back. Aim for three to five images covering various focal points.
3. Post-Processing: Use software like Photoshop to align and blend these images. The process typically involves opening all images as layers, auto-aligning them, and then blending them together for a final sharp image.
3. Depth of Field Considerations
- Aperture Settings: While a higher f-stop (like f/11 or f/16) increases depth of field, it can also lead to diffraction, which may soften the image. Balance your aperture setting with other factors like lighting and ISO to achieve optimal sharpness.
- Close-Up Challenges: When photographing small items up close, depth of field can become very shallow. Focus stacking is particularly useful here, as it allows you to maintain detail across the entire piece without sacrificing image quality.
4. Avoiding Common Focus Issues
- Check Your Settings: Before shooting, ensure your camera settings are optimized for jewelry photography—low ISO, appropriate aperture, and manual focus engaged.
- Use a Remote Shutter Release: This minimizes camera shake when taking the shot, especially important when using slower shutter speeds.
5. Final Tips
- Experiment with Angles: Different angles can yield varying results in terms of focus and detail visibility. Don't hesitate to try multiple perspectives.
- Review Your Shots: After taking a few images, zoom in on them to check for sharpness and clarity. If necessary, adjust your focus and retake the shots.
By employing these focusing techniques, you'll be able to capture stunning jewelry photographs that showcase every intricate detail beautifully, ensuring that your images stand out in any portfolio or e-commerce platform.
Part 7. Capturing the Photos of Jewelry
Now that you've set up your workspace, prepared your jewelry, and adjusted your camera settings, it's time to capture the photos. This section will guide you through the process of taking stunning images that effectively showcase your jewelry pieces.
1. Angles and Composition
- Experiment with Different Angles: Jewelry can look dramatically different depending on the angle from which it's photographed. Try shooting from various perspectives—overhead, eye level, and close-up—to find the most flattering view for each piece.
- Use the Rule of Thirds: When composing your shot, consider using the rule of thirds. Imagine dividing your frame into a 3x3 grid and placing key elements of the jewelry along these lines or at their intersections to create a balanced and visually appealing image.
2. Capturing Multiple Shots
- Take Several Photos: Don't settle for just one shot. Capture multiple images of each piece from different angles and with varying settings. This gives you options to choose from during post-processing.
- Focus on Details: Make sure to take close-up shots that highlight intricate details such as engravings, clasps, or gemstone settings. These details can be crucial in conveying the quality and craftsmanship of the jewelry.
3. Avoiding Reflections
- Control Your Lighting: Position your lights carefully to minimize reflections that can obscure details. Adjusting the angle of your lights or using diffusers can help achieve a glare-free shot.
- Use Polarizing Filters: If reflections are still an issue, consider using a polarizing filter on your camera lens. This can help reduce glare and enhance color saturation in your images.
4. Utilizing Props and Backgrounds
- Incorporate Props Thoughtfully: If you're using props or displays, ensure they complement rather than distract from the jewelry. Simple stands or elegant fabrics can enhance the visual appeal without overwhelming the piece.
- Maintain Consistency in Backgrounds: Use a consistent background across all your shots to create a cohesive look. A plain backdrop will keep the focus on the jewelry itself.
5. Lighting Adjustments
- Monitor Lighting During Shooting: As you capture images, pay attention to how lighting affects each piece. Adjust light positions or intensities as needed to achieve optimal illumination.
- Check for Shadows: Keep an eye out for unwanted shadows that may appear in your shots. If necessary, reposition lights or use reflectors to fill in shadows.
6. Final Checks Before Shooting
- Inspect Each Piece Again: Before taking your final shots, do a quick inspection of each piece to ensure it's clean and free of any dust or fingerprints.
- Review Camera Settings One Last Time: Double-check your camera settings—aperture, ISO, shutter speed, and white balance—before capturing images to ensure everything is set for optimal results.
7. Taking the Shot
- Use a Remote Shutter Release or Timer: To minimize camera shake when pressing the shutter button, use a remote shutter release or set a timer on your camera. This will help ensure sharp images.
- Breathe and Focus: Take a moment to breathe and center yourself before capturing each shot. A steady hand and focused mind will contribute to better photography outcomes.
By following these steps when capturing your photos, you'll be well-equipped to produce stunning jewelry images that highlight every detail and attract potential buyers effectively. Happy shooting!