How to Take Night Sky Photos: 8 Night Sky Photography Tips and Techniques
Updated on
Night sky photography, or astrophotography, is a mesmerizing art form that allows photographers to capture the beauty and vastness of the universe. From twinkling stars and majestic galaxies to breathtaking celestial events like meteor showers and the aurora borealis, the night sky offers an endless canvas for creativity.
As technology advances, more enthusiasts are drawn to this captivating field. However, capturing stunning images of the night sky requires more than just a good camera; it demands an understanding of specific techniques, equipment, and careful planning.
Whether you're a beginner eager to explore the cosmos or an experienced photographer looking to refine your skills, this guide will provide you with valuable tips and insights to elevate your night sky photography.
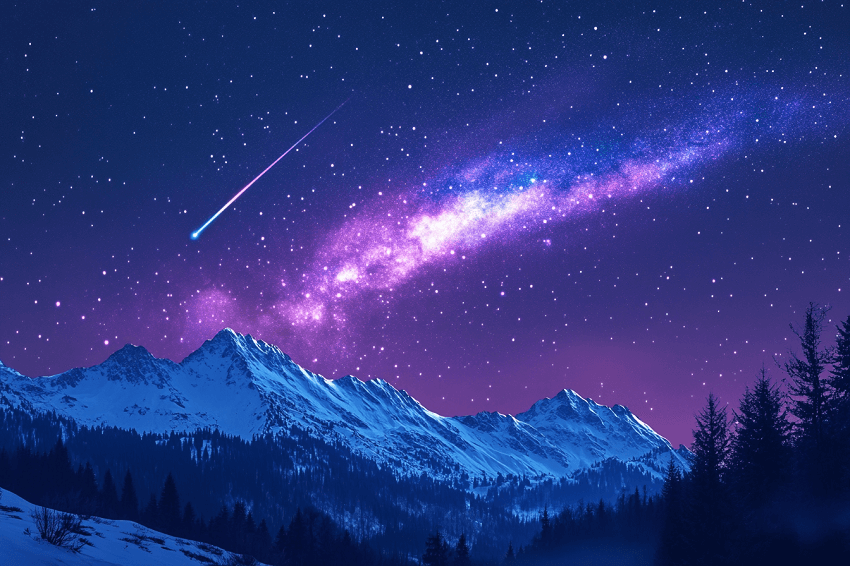
In this comprehensive guide, we will cover essential gear, camera settings, planning strategies, advanced techniques, post-processing tips, safety precautions, community engagement ideas, and troubleshooting common issues. By the end of this post, you'll be well-equipped to embark on your journey into the enchanting world of night sky photography.
1. Essential Gear for Night Sky Photography
Capturing the beauty of the night sky requires the right equipment to ensure you achieve the best possible images. A good is fundamental for night sky photography, with the best options being DSLR or mirrorless cameras. These types of cameras allow for interchangeable lenses and manual settings, which are crucial for astrophotography.
One of them is full-frame cameras, such as the Canon EOS Ra or Nikon D850, which excel in low-light conditions and offer superior high-ISO performance, making them ideal for capturing faint stars and intricate celestial details. While full-frame cameras are preferred, high-quality APS-C cameras can also be effective, especially those that perform well at higher ISOs (1600 or 3200) with minimal noise.
Choosing the right lens is equally critical for capturing expansive night skies. A wide-angle lens with a focal length of 14mm to 24mm is ideal for photographing wide views of the Milky Way and star fields. Look for lenses with a maximum aperture of f/2.8 or wider to allow more light to enter the camera.
For those looking to capture an even broader view, fisheye lenses can provide stunning results, although they may introduce some distortion that can enhance creative compositions.
A sturdy tripod is essential for stabilizing your camera during long exposures. This prevents camera shake, which can lead to blurry images. When selecting a tripod, choose one that is robust enough to withstand wind and uneven terrain.
Additionally, using a remote shutter release or intervalometer minimizes camera shake when taking long exposures. This accessory allows you to trigger the shutter without physically touching the camera, ensuring sharper images. While not strictly necessary, it significantly enhances image quality.
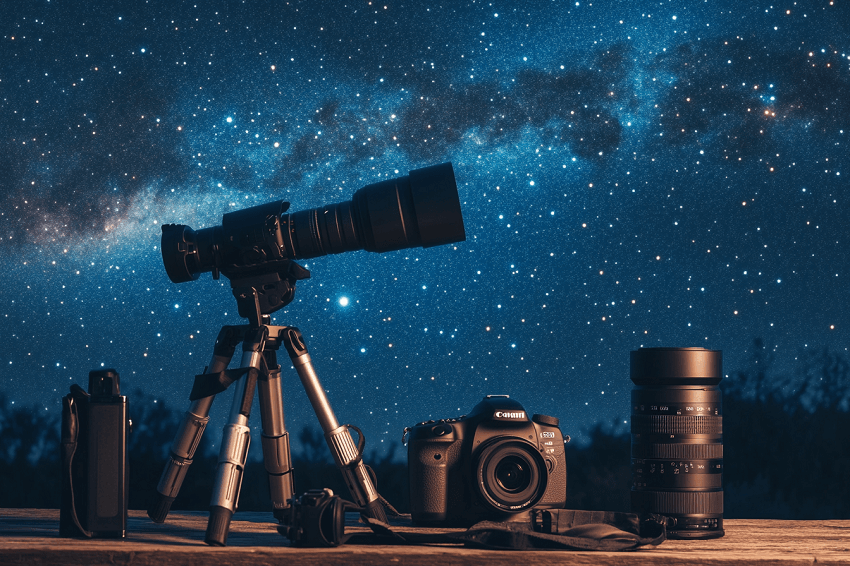
Other useful accessories include reliable memory cards that can store high-resolution images quickly without lag, as well as extra batteries since cold temperatures can drain battery life rapidly during night shoots. A red-light headlamp is also beneficial for navigating in the dark without ruining your night vision.
2. Camera Settings and Techniques for Night Sky Photography
When it comes to capturing the night sky, understanding camera settings is crucial for achieving stunning results. The first step is to set your camera to manual mode, allowing you full control over exposure settings.
Start by adjusting the aperture; using the widest aperture possible (typically between f/2 and f/2.8) will maximize light intake, which is essential for night photography. A wider aperture allows more light to reach the sensor, helping to create brighter images of stars and celestial objects.
Next, consider your shutter speed. To avoid star trails caused by the Earth's rotation, you must limit exposure time. A common guideline is the "500 Rule," which suggests calculating the maximum exposure time in seconds by dividing 500 by the focal length of your lens.
For example, if you are using a 24mm lens on a full-frame camera, your maximum exposure time would be approximately 20 seconds (500 / 24 ≈ 20.8). This rule serves as a starting point; however, experimentation may be necessary to find the optimal settings for your specific setup.
ISO settings play a critical role in night sky photography as well. A higher ISO increases your camera's sensitivity to light but can also introduce noise into your images.
For most night sky photography scenarios, starting with an ISO of around 1600 is advisable, adjusting upwards as needed based on lighting conditions and your camera's performance. Some photographers may find success using ISO settings as high as 3200 or even 6400, especially if their cameras handle noise well at these levels.
Focusing is another vital aspect of night sky photography. Switch your lens to manual focus and set it to infinity to ensure that stars appear sharp and clear in your images. It may take some trial and error to find the exact focus point that yields the best results, so be patient and test different settings.
Additionally, setting your camera's white balance can enhance the overall quality of your images. A good starting point is to use a white balance setting of around 4000K to 5500K (daylight or tungsten), which can be adjusted later in post-processing if needed. Shooting in RAW format is highly recommended as it provides greater flexibility for adjustments during editing.
3. Planning Your Shoot
Effective planning is essential for successful night sky photography, as it ensures that you make the most of your time under the stars.
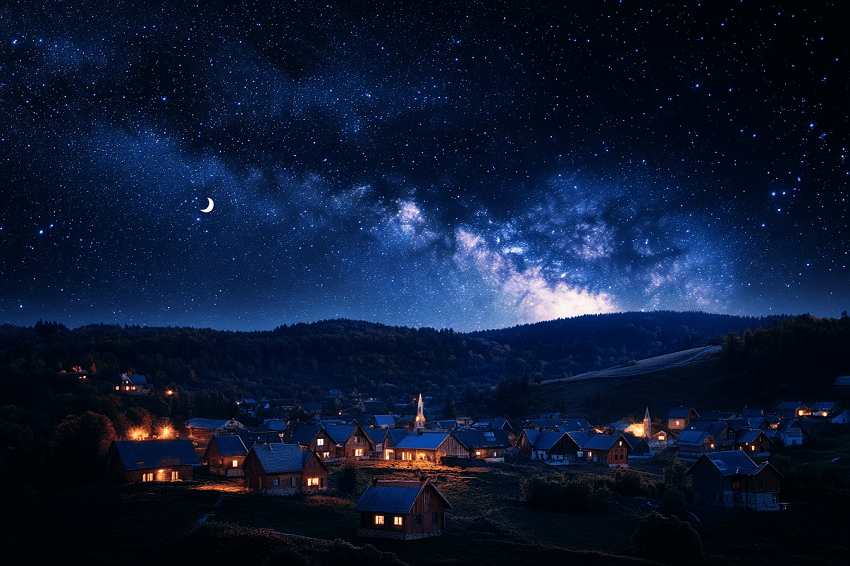
The first step in your planning process should be to calculate the moon phase. Dark skies are crucial for capturing stars, as even a small crescent moon can provide enough light to diminish visibility. Aim to schedule your shoot during the new moon phase or within five days before or after it, when the moon is not visible in the sky.
Finding a location with minimal light pollution is another critical factor in planning your shoot. Utilize resources like the Blue Marble Light Pollution Map, which can help you identify areas free from light pollution. Look for regions marked in dark colors on the map, as these areas will offer clearer views of the night sky. Additionally, consider scouting your shooting location during the day to familiarize yourself with the terrain and visualize potential compositions.
Weather conditions play a significant role in night sky photography as well. Ideally, you want to aim for nights with clear skies and low wind. While perfectly clear skies are not always necessary—some cloud cover can add interest to your images—strive for nights with 0-50% cloud cover for optimal results. Use weather forecasting tools and apps like Clear Outside and Windy to monitor cloud coverage and wind conditions leading up to your shoot.
Timing is also crucial when planning your photography session.
Knowing when celestial objects will rise and set can greatly enhance your composition opportunities. Use tools like The Photographer's Ephemeris (TPE) or PhotoPills to determine moonrise and moonset times, as well as the positions of stars and constellations throughout the night. Generally, shooting 1-2 hours after sunset or moonset provides the darkest skies for star photography.
4. Advanced Techniques for Night Sky Photography
Once you have mastered the basics of night sky photography, exploring advanced techniques can elevate your images and allow for greater creativity.
One popular method is capturing star trails, which involves taking long exposures to create beautiful streaks of light that illustrate the movement of stars across the sky. To achieve this effect, you can either use a single long exposure—typically ranging from 30 minutes to several hours—or take multiple shorter exposures and stack them in post-processing software like StarStax or Photoshop. The latter method often results in cleaner images with less noise.
Another captivating technique is time-lapse photography, which allows you to document the movement of stars over time. This involves taking a series of images at set intervals and then compiling them into a video sequence. Time-lapse can showcase not only star movement but also changes in the landscape as night transitions to dawn. Many cameras have built-in intervalometers, or you can use external devices to automate this process.
Light painting is another creative approach that can add a unique element to your night sky photographs. By using a flashlight or other light source, you can illuminate foreground subjects during long exposure shots.
This technique allows you to create dramatic contrasts between the illuminated foreground and the starry background, adding depth and interest to your compositions. Experiment with different light sources and colors to achieve various effects.
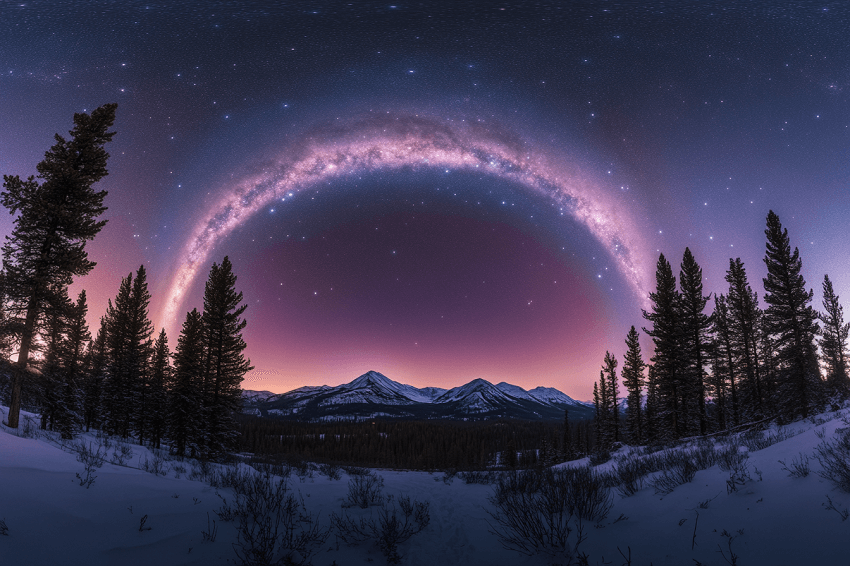
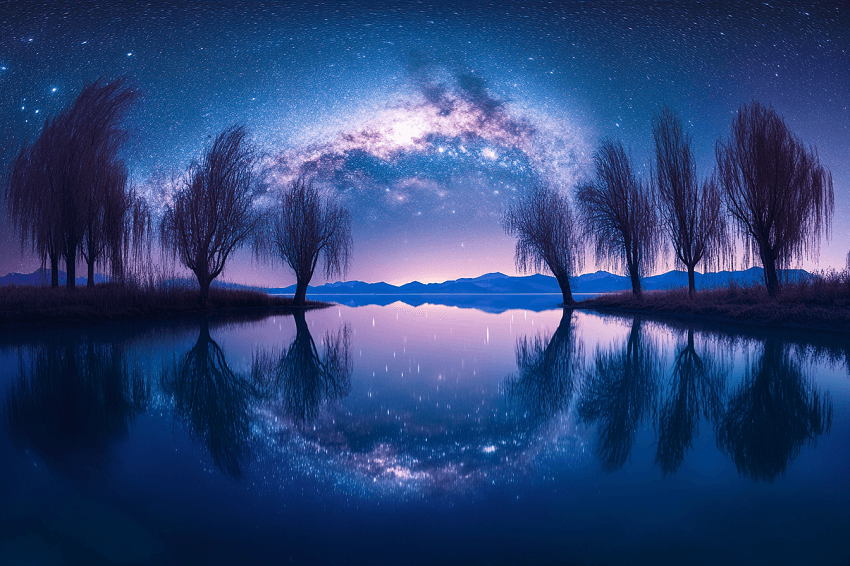
For those interested in panoramic photography, consider employing the vertorama technique. This involves taking multiple vertical shots of the night sky and stitching them together in post-processing to create an expansive view that captures both the sky and interesting foreground elements. This technique is particularly effective for showcasing wide vistas of the Milky Way or star fields.
Additionally, exploring different astrophotography styles can enrich your skill set. Deep-sky imaging focuses on capturing distant celestial objects such as nebulae and galaxies, often requiring specialized equipment like telescopes and dedicated cameras. On the other hand, wide-field photography emphasizes capturing vast expanses of the night sky along with terrestrial elements, making it more accessible for most photographers.
Finally, don't hesitate to experiment with multi-exposure techniques. By blending multiple exposures—such as combining a landscape shot with a starry sky—you can create dynamic compositions that tell a more compelling story. This approach allows for greater creative freedom while ensuring that both foreground and background elements are well-exposed.
5. Post-Processing Tips for Night Sky Photography
Post-processing is a crucial step in night sky photography that can significantly enhance the quality of your images. After capturing your photos, using editing software like Adobe Lightroom or Photoshop allows you to fine-tune various aspects of your images, bringing out the best in your night sky shots.
One of the first steps in post-processing is to adjust the exposure and contrast. Night sky images often benefit from increased contrast to make stars pop against the dark background. Use the histogram to guide your adjustments, ensuring that you maintain detail in both shadows and highlights. If your image appears too dark, consider increasing the exposure slightly, but be cautious of introducing noise, especially in shadow areas.
Noise reduction is another important aspect of post-processing for night sky images. High ISO settings can introduce unwanted graininess, so applying noise reduction techniques can help create smoother images. Most editing software has built-in noise reduction tools that allow you to adjust the luminance and color noise separately.
Be careful not to overdo it, as excessive noise reduction can lead to a loss of detail. So mostly we would highly recommend users applying for some AI tools to do this job and help you out of this potential trouble, for example, a popular option, Aiarty Image Enhancer.
Aiarty Image Enhancer excels in its denoising feature, particularly for night photography. Utilizing advanced AI algorithms, it effectively reduces noise commonly found in low-light images, resulting in clearer and more professional-looking photos. The software preserves intricate details while removing graininess, thanks to its specialized models like the "Real-Photo" model, which maintains the original characteristics of the image. Additionally, Aiarty supports batch processing, allowing users to enhance up to 3000 images simultaneously, making it efficient for large projects. With a user-friendly interface, both professionals and casual users can easily improve their nighttime shots without requiring extensive editing skills.
Color correction is essential for achieving accurate and vibrant colors in your night sky photographs. Adjusting the white balance can help eliminate any unwanted color casts and enhance the overall mood of the image.
For many astrophotographers, a cooler color temperature (around 4000K to 5500K) works well for night scenes, but feel free to experiment until you find a look that resonates with you.
If you've captured multiple exposures for star trails or panoramas, consider using layering techniques in Photoshop to blend these images seamlessly. This method allows you to combine different exposures for balanced highlights and shadows, resulting in a more dynamic final image. For star trails, stacking images can create a stunning visual effect that showcases the movement of stars across the sky.
Finally, consider sharpening your images selectively. Applying sharpening can enhance details in stars and foreground elements, but be cautious not to oversharpen, as this can introduce artifacts and noise. Use masking techniques to apply sharpening only where needed, preserving smooth areas like the night sky.
6. Safety Precautions for Night Sky Photography
Night sky photography opens up a world of creative possibilities, but it also presents unique challenges and risks that require careful consideration. Prioritizing safety is essential to ensure a smooth and enjoyable shooting experience.
Before heading out for a night shoot, it is crucial to scout your chosen locations during daylight hours. Familiarizing yourself with the area allows you to identify potential hazards, plan your route, and understand the terrain you will be navigating in the dark.
Do not forget to always let someone know your plans before embarking on a night photography adventure. Share details about your location, intended duration, and expected return time with a friend or family member. This simple precaution provides peace of mind, as someone will be aware of your whereabouts and can assist if anything unexpected occurs. Many smartphones offer real-time location sharing through apps, which adds an extra layer of security.
When shooting at night, maintaining awareness of your surroundings is paramount. Stay vigilant for potential hazards such as uneven terrain, slippery surfaces, or nearby bodies of water. Wildlife may also be more active after dark, so be cautious and prepared for any encounters. In urban environments, trust your instincts if something feels off; avoid secluded areas and stay in well-lit, populated spaces whenever possible.
Securing your valuable camera equipment is another critical safety measure. Use a non-branded, low-key bag that doesn't draw attention to your gear, and avoid displaying multiple lenses or expensive equipment openly. Keep your gear within sight or reach at all times to prevent theft or accidental damage. When setting up your tripod and camera, ensure everything is secure to avoid falls caused by wind gusts or uneven ground.
Bringing essential safety gear can make a significant difference in staying safe during a night shoot. A reliable flashlight or headlamp is crucial for navigating in the dark and adjusting camera settings. Carry extra batteries to ensure your gear remains powered throughout the night. It's also wise to keep your phone fully charged and consider bringing a portable power bank as a backup.
Lastly, familiarize yourself with local laws and regulations regarding nighttime photography. Some locations may require permits for nighttime shoots, while others may have restrictions related to park hours or wildlife protection. Understanding these rules ensures you can enjoy your photography without interference or legal issues.
7. Engaging with the Photography Community
Engaging with the photography community can greatly enhance your experience and skills in night sky photography. Connecting with like-minded individuals not only provides opportunities for learning but also fosters a sense of camaraderie among enthusiasts.
One of the best ways to get involved is by joining local astronomy clubs or organizations. The Night Sky Network, for example, is a nationwide coalition of amateur astronomy clubs that offers numerous events and activities. Participating in these gatherings can provide access to telescopes, expert guidance, and valuable networking opportunities.
Online forums and social media groups are also excellent resources for connecting with fellow photographers and sharing experiences. Websites like Cloudy Nights and TheSkySearchers host vibrant communities where you can discuss techniques, seek advice, and showcase your work. Engaging in these platforms allows you to learn from others' experiences and gain insights into different approaches to astrophotography.
Participating in photography challenges or contests can further enhance your skills while providing motivation to improve your craft. Many organizations, such as DarkSky International, host annual photo contests that celebrate night sky photography. These competitions not only encourage creativity but also offer a platform for recognition among peers.
Attending workshops or meetups focused on night sky photography can be particularly beneficial for hands-on learning. These events often feature experienced photographers who share their knowledge on techniques, equipment, and post-processing tips.
Additionally, they provide opportunities to practice shooting in a supportive environment alongside fellow enthusiasts.
Engaging with the community also extends beyond just learning; it involves sharing your journey and inspiring others. Whether through social media platforms like Instagram or personal blogs, showcasing your work can motivate others to explore night sky photography. Using relevant hashtags can help you reach a broader audience and connect with individuals who share your passion.
8. Troubleshooting Common Issues of Night Photography
Even experienced photographers encounter challenges when shooting the night sky. Understanding common issues and knowing how to address them can significantly improve your results and enhance your overall experience.
One of the most prevalent problems in night sky photography is noise, especially when using high ISO settings. While increasing ISO is necessary for capturing faint stars, it can introduce unwanted graininess into your images.
To mitigate this, consider using noise reduction techniques during post-processing. Most editing software, like Adobe Lightroom, includes noise reduction tools that allow you to adjust luminance and color noise separately. Be careful not to overdo it, as excessive noise reduction can lead to a loss of detail.
Another common issue is achieving proper focus on stars.
Autofocus systems often struggle in low-light conditions, making manual focus essential for night photography. If you find that your images are consistently out of focus, take the time to practice focusing on bright stars or distant lights before it gets dark. Some photographers use live view mode to zoom in on a star and fine-tune focus more accurately. If your lens has an infinity mark, remember that it may not always be perfectly accurate; fine adjustments are often necessary.
Star trails can also pose a challenge if you inadvertently exceed the recommended exposure time. If you notice unwanted trails in your images, consider reducing your exposure time or utilizing shorter intervals between shots for stacking techniques. Remember the "500 Rule" as a guideline for maximum exposure times based on your lens focal length.
Light pollution can significantly impact the quality of your night sky images, washing out fainter stars and celestial objects. If you find yourself in a location with excessive light pollution, try using filters designed to reduce light pollution or seek out darker locations for future shoots. Apps that provide light pollution maps can help you identify areas with minimal interference from artificial lights.
Lastly, equipment failure can occur at the most inconvenient times. To minimize this risk, always check your gear before heading out—ensure batteries are charged, memory cards are empty, and all equipment is functioning properly. Carrying backup batteries and additional memory cards can save you from missing out on precious moments under the stars.
Conclusion
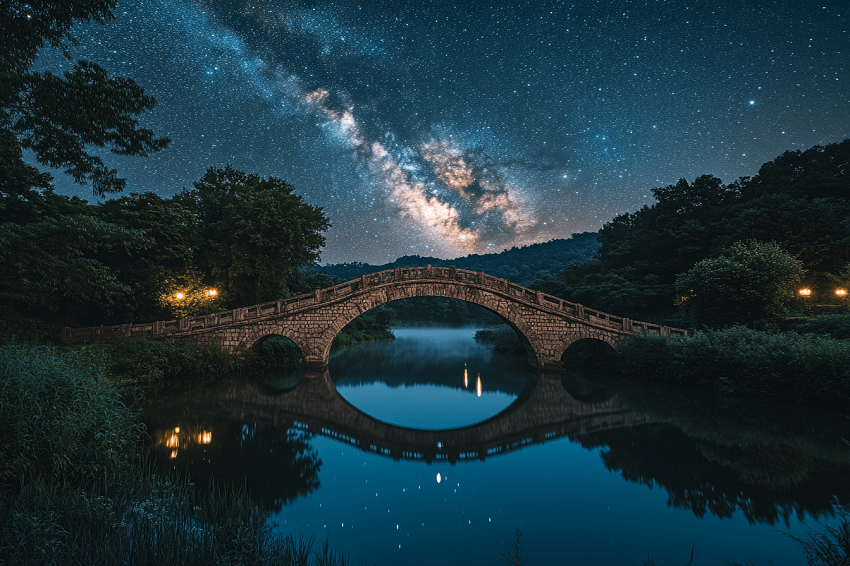
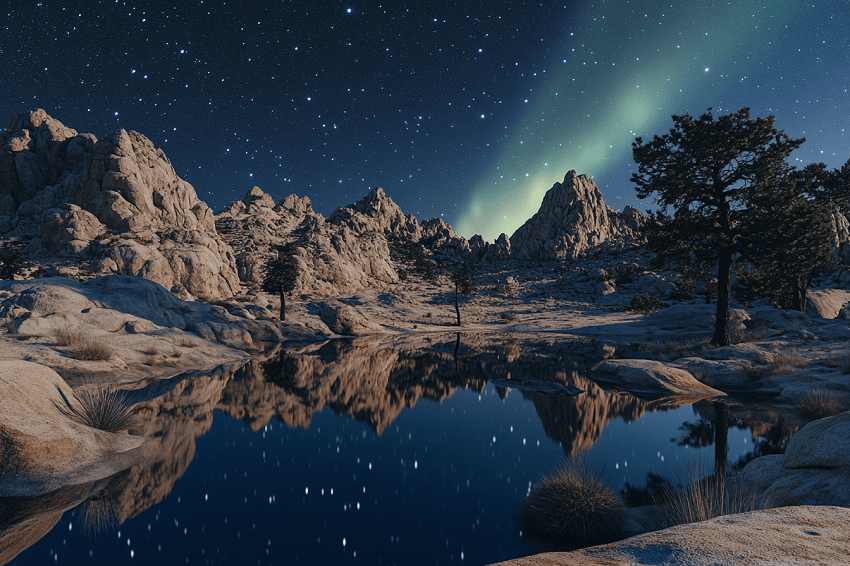
Night sky photography is a rewarding and captivating pursuit that allows you to explore the beauty of the cosmos while honing your photographic skills. It is also about more than just technical proficiency; it's about connecting with nature, appreciating the vastness of the universe, and sharing your vision with others. Whether you're capturing the Milky Way arching over a serene landscape or documenting a meteor shower, each photograph tells a story and invites viewers to marvel at the wonders above.
So grab your gear, venture into the night, and let your creativity shine as you capture the enchanting beauty of the night sky.