“How can I sharpen part of an image in Photoshop that is out of focus?” -- Reddit
“One of the pictures in the design is of a really low quality. How can I easily sharpen the image in Photoshop?” -- Reddit
Ever taken a great shot, only to realize later that it’s just a bit too soft? Maybe it’s a slightly blurry portrait, a product photo that lacks crisp edges, or a low-res image that needs a little extra punch. Here's the good news: Photoshop's sharpening tools can work wonders... when used correctly. But as countless users on r/photoshop and Adobe forums have discovered the hard way, there's a fine line between "perfectly crisp" and "over-sharpened disaster."
In this guide, we’ll break down the steps on how to sharpen photos in Photoshop, using Unsharp Mask, Smart Sharpen, High Pass, and AI-powered tools, while avoiding common pitfalls. Ready to give your images the perfect sharpness without the ugly side effects? Keep reading.
![]() Are You Struggling with Sharpening Images in Photoshop?
Are You Struggling with Sharpening Images in Photoshop?
- Over-sharpening Artifacts: Halos, harsh edges, and unnatural textures often appear.
- Noise Boost: Sharpening low-light or compressed images amplifies grain and ruins clarity.
- Complex Workflow: Multiple sliders, masks, and filters make sharpening slow and confusing.
- Inconsistent Results: Sharpening one image takes time—batch processing is even harder.
![]() Skip the Frustration: Achieve Clean, Crisp Sharpening with Aiarty Image Enhancer
Skip the Frustration: Achieve Clean, Crisp Sharpening with Aiarty Image Enhancer
Sharpen your images with precision and clarity, without the manual guesswork. Aiarty uses AI-powered enhancement to intelligently sharpen edges, preserve skin tones, textures, and product details, while eliminating noise and blur. Sharpen up to 3,000 images per hour in one click.
Download Aiarty Image Enhancer to bypass complex settings and achieve professional-grade sharpness quickly and easily.

How to Sharpen an Image in Photoshop Detailed Steps
You might be surprised at how simple Photoshop image sharpening can be. However, achieving that perfect balance requires tweaking the right settings. Let's learn how to sharpen photos in Photoshop together, ensuring you get the sharpest, most detailed images possible.
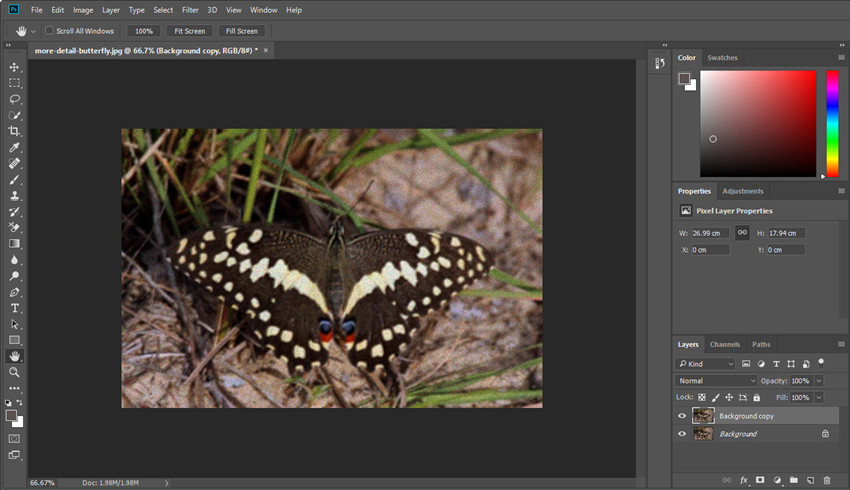
Step 1. Import your image to Photoshop
Open Photoshop, go to File > Open and select the image you want to sharpen. Once the image is loaded, right-click on the layer and choose Duplicate Layer. This keeps the original image intact. You can also do it by pressing Ctrl + J (Windows) / Cmd + J (Mac).
Step 2. Sharpen the photo in Photoshop
Now you can start to sharpen your picture in Photoshop. There are different sharpen tools, including Unsharp Mask, Smart Sharpen, High Pass, Camera Raw, and even AI-powered tools. Let’s check them one by one.
Also learn: best photo sharpen software
Method 1. Unsharp Mask
Unsharp Mask is good for slightly soft images, portrait photography, and product shots. For example, if you have a portrait photo that looks slightly soft, and you want to use Photoshop to sharpen the image’s features without making the skin look too rough, you can try Unsharp Mask.
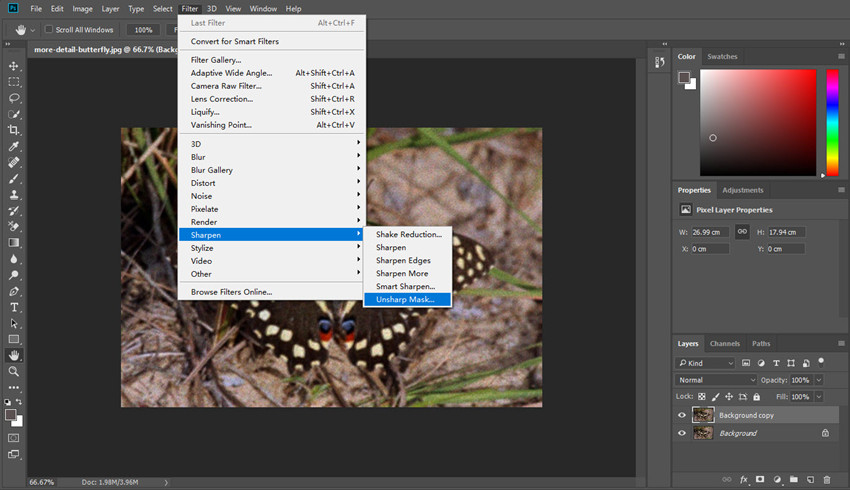
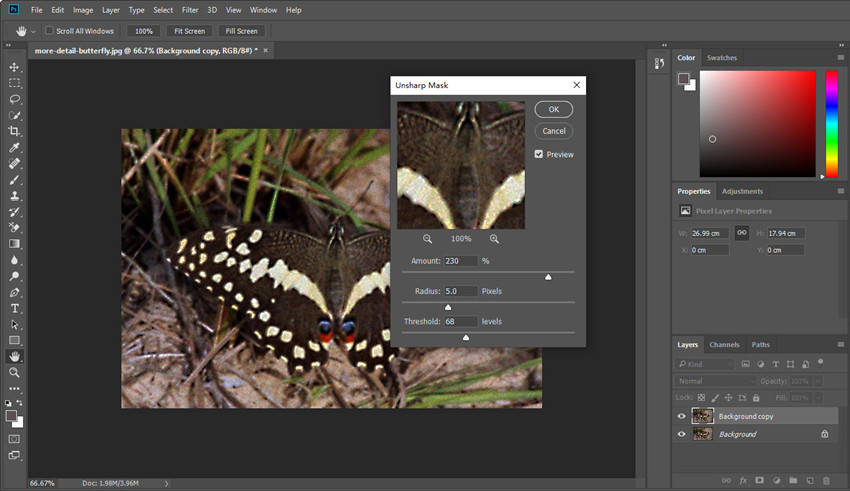
Go to Filter > Sharpen > Unsharp Mask. There are few settings to adjust:
- Amount: This setting controls how much sharpening is applied. Start with 50-100% for natural sharpening. Use up to 150% for low-res images.
- Radius: It determines how many pixels around edges are affected. Keep it at 1.0-1.5 px for small images and up to 2.0 px for high-res images.
- Threshold: This can help prevent Photoshop sharpening from affecting smooth areas like skin. Use 1 for detailed images and up to 5 for noise reduction.
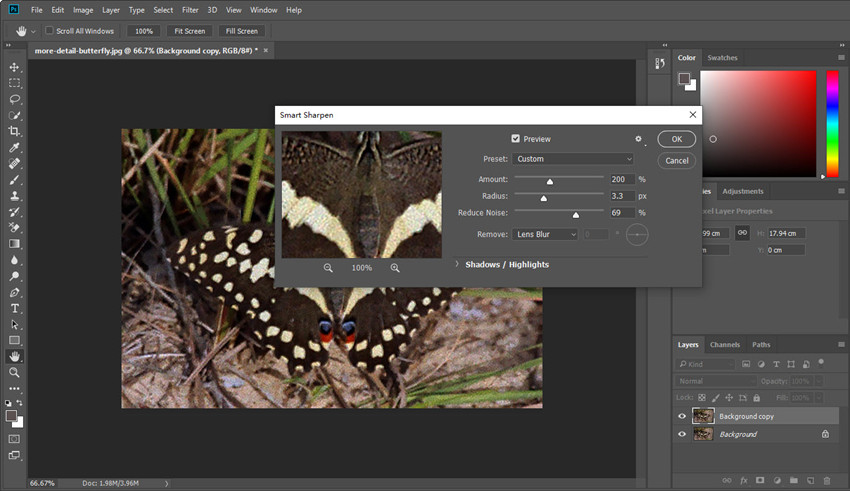
Method 2. Smart Sharpen
The Smart Sharpen filter in Photoshop provides more advanced sharpening than Unsharp Mask, allowing you to target motion blur, lens softness, and low-light noise. If your image has slight motion blur or was shot in low light, Smart Sharpen can help recover details while minimizing noise and artifacts.
Go to Filter > Sharpen > Smart Sharpen and adjust these key settings:
- Amount: Use 50-100% for light sharpening, up to 150% for strong sharpening or low-res images.
- Radius: Use 1.0-1.5 px for detailed images, up to 2.5 px for larger images.
- Reduce Noise: This can help remove noise caused by sharpening. Use higher values for low-light images.
- Remove: Choose Lens Blur (for general sharpness) or Motion Blur (to fix slight movement).
Method 3. High Pass
To use Photoshop to sharpen a product photo with soft edges for crisp, well-defined lines without affecting the smooth background, try High Pass. It excels at sharpening only important details like eyes, textures, or product edges.
- Go to Filter > Other > High Pass.
- The Radius setting can help enhance fine details during sharpening. Use 1-1.5 px for small images, and 2-3 px for high-res images. For larger product images or architectural photos with strong edges, you can increase it to 3-5 pixels.
- Click OK, then change the blending mode of the layer to Overlay or Soft Light.
- Adjust the Opacity to fine-tune the sharpness.

Method 4. Camera Raw
If you’re sharpening RAW images in Photoshop or want a more natural-looking sharpening effect, the Camera Raw Filter is the best option. It offers fine-tuned control over sharpening, reducing noise while enhancing details—perfect for photographers who want to enhance images without making them look over-processed.
Also learn: how to make picture clear
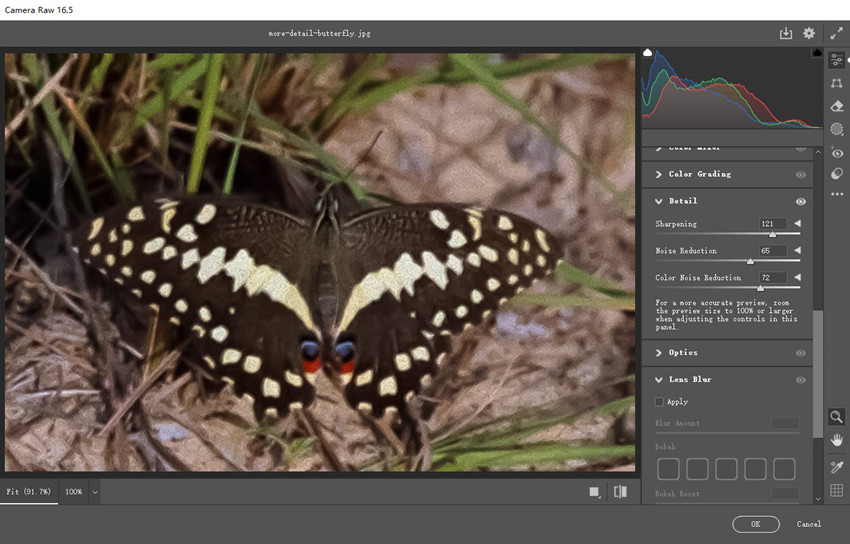
Go to Filter > Camera Raw Filter. Then on the right panel, scroll down and choose Detail. Then you need to the "Sharpening" sliders and adjust these key settings:
- Amount: Controls the overall sharpening. Start with 50 for subtle sharpening and increase up to 100 for stronger effects.
- Radius: Determines the edge width. Use 0.5-1 px for portraits and 1-1.5 px for landscapes or product shots.
- Detail: Controls the sharpening of fine details. Use lower values (25-30) for soft textures and higher values (40-50) for detailed subjects.
- Masking: Limits sharpening to edges, reducing noise in smooth areas. Use 30-50 for general sharpening and 60-70 for high-ISO images to avoid noise.
Step 3. Export the Sharpened Image from Photoshop
Once you’re satisfied with the sharpened picture quality, click File > Save As. Then adjust the quality to the maximum.
Photoshop Sharpening Struggles: You're Not Alone
When users try to sharpen images in Photoshop, they often encounter common issues and frustrations. Based on feedback from Reddit, Adobe forums, and photography communities, here are the most common real-world user pain points and problems:
1. Over-Sharpening and Artifacts
"My image looks terrible after sharpening in Photoshop. It's so grainy!"
"I can't seem to get rid of those ugly halos around the edges."
Over-sharpening is arguably the most common mistake Photoshop users make. In their quest for crispness, they often push the sharpening sliders too far, leading to a host of undesirable artifacts. One of the most noticeable is the appearance of 'halos,' which are bright or dark lines that form around the edges of objects. These halos create an artificial, almost glowing effect, making the image look unnatural.
Furthermore, over-sharpening can distort fine textures, turning skin into an unnatural, plastic-like surface and making fabrics appear overly harsh. The result is an image that looks heavily processed, losing its natural appeal and appearing jarring to the viewer.
2. Too Much Noise after Sharpening
“My low-light photo looks sharper but also grainy—how do I reduce noise?”
“Why does Photoshop sharpening make my image look worse?”
A significant drawback of Photoshop sharpening is its tendency to amplify noise, particularly in images shot with high ISO settings or those heavily compressed. This often results in a final image that appears worse than the original, as the sharpening process indiscriminately enhances both desired details and unwanted noise artifacts.
To counteract this, it's crucial to employ sharpening techniques that offer noise reduction capabilities or to selectively sharpen areas while masking out those prone to noise amplification. Careful adjustment of sharpening parameters and the use of noise reduction filters either before or after sharpening can help mitigate this common issue, ensuring a cleaner, more refined final image."
3. Loss of Fine Details
“Sharpening my image makes it look fake—how do I sharpen without losing detail?”
“My textures look unnatural after sharpening in Photoshop, what should I do?”
While sharpening can enhance image clarity, excessive application often damages fine textures - particularly in skin tones, fabric patterns, and soft gradients. This common mistake leads to unnatural, exaggerated details where subtlety matters most. The key lies in balanced application: using targeted sharpening methods that respect the image's natural texture while selectively enhancing only the most important edges.
4. Not Knowing Which Sharpening Method to Use
“Should I use Unsharp Mask, Smart Sharpen, or High Pass?”
“Which sharpening tool is best for my photo?”
Photoshop offers multiple sharpening tools (Unsharp Mask, Smart Sharpen, High Pass, etc.), and users are often confused about which one to use and when. They lack clarity on the differences between these tools and their optimal applications.
- For general sharpening: Smart Sharpen (most control over noise and motion blur).
- For product images & textures: High Pass Filter (sharpens edges without affecting smooth areas).
- For RAW files & professional work: Camera Raw Filter (best balance between sharpening and noise reduction).
Sharpen Images to 4K/Higher Simpler Than Photoshop
Tired of complex Photoshop sharpening? Aiarty Image Enhancer offers a revolutionary, AI-driven approach to achieving stunning image crispness and sharpness.
Forget manual adjustments and intricate settings. Aiarty intelligently sharpen any blurry, noisy, pixelated images to as crisp as 32K. Its 5 specialized AI models ensure optimal results across various image types, delivering sharpened photos with exceptional detail and professional-grade clarity. Imagine effortlessly transforming your images for e-commerce, print, web, or any design project, simpler and faster without the steep learning curve.
Start to Sharpn Images Easier and Faster than Photoshop
Before getting started, you need to download and install Aiarty Image Enhancer.
Step 1. Upload Your Image for Sharpening
Begin by launching the Photoshop alternative sharpen tool and simply drag and drop your low-resolution image into the tool for immediate sharpening. It supports a wide range of formats, including JPG, PNG, and more, and features batch processing for efficiently sharpening multiple images simultaneously.
Step 2. Choose an AI Model
Aiarty provides five specialized AI models, each meticulously optimized for distinct image types to ensure the best sharpening results. For detail-rich images and AIGC creations, select the appropriate model (e.g., More-Detail GAN V3/2, AIGCsmooth v3) to intelligently sharpen and enhance clarity.

Step 3. Select Upscaling Level
In the Upscale dropdown menu, specify your desired sharpening and upscaling level by selecting a preset resolution (1K, 2K, 4K, or 8K) or scaling factor (1x, 2x, 4x, or 8x). For precise sharpening, use the Custom Resolution option to set your preferred dimensions.

Preview the sharpened and upscaled result to ensure it meets your expectations before proceeding.
Step 4. Adjust Export Settings and Save the Image
In the Export Settings section, customize the format, DPI, and quality of your final sharpened image. Once you've finalized your settings, click Single Export or Batch Export to save your enhanced, crisply sharpened images.
Conclusion
In this guide, we've explored the ins and outs of sharpening images in Photoshop, from the detailed steps to the common pitfalls users encounter. While Photoshop remains a powerful tool, it's clear that achieving optimal sharpness often requires a delicate balance and a deep understanding of its various features.
For those seeking a more streamlined and efficient approach, AI-powered tools like Aiarty Image Enhancer offer a compelling alternative. With its ability to intelligently sharpen and upscale images while preserving crucial details, Aiarty simplifies the process and delivers stunning results. Whether you're a seasoned Photoshop user or a newcomer to image editing, understanding these techniques and exploring alternative solutions can help you achieve the sharp, clear images you desire.
 FAQ
FAQ
While Photoshop offers a range of tools to sharpen blurry images, the process often involves delicate adjustments and a thorough understanding of its features. Techniques like Unsharp Mask, Smart Sharpen, and High Pass can enhance clarity, but they also carry the risk of introducing unwanted artifacts like noise and halos. As thoroughly discussed within this articles body, the key to successful sharpening lies in careful parameter control and selective application.
You'll find several sharpening tools within Photoshop, each with its own strengths. As mentioned before, Smart Sharpen is a great option for increasing image sharpness. Just follow the steps we've covered to make your images sharper and more vibrant.
It's tricky to declare one single "best" sharpening technique in Photoshop, as the optimal approach heavily depends on the specific image and the desired outcome. However, here's a breakdown of commonly used and highly effective methods:
- For general sharpening, "Smart Sharpen" often provides the most control and the best results.
- Smart Sharpen offers more advanced controls, particularly for reducing noise and artifacts.
- "High pass" is great for very controlled sharpening.
You May Also Like
This post was written by Brenda Peng who is a seasoned editor at Digiarty Software who loves turning ordinary photos into extraordinary works of art. With AI assistance for brainstorming and drafting, the post is reviewed for accuracy by our expert Abby Poole for her expertise in this field.