A Comprehensive Guide on Shoe Photography: Tips and Techniques for Stunning Results
Updated on
In the world of eCommerce and fashion marketing, captivating visuals are essential for standing out in a crowded marketplace. Shoe photography, in particular, plays a pivotal role in influencing consumer decisions and shaping brand perception. With the rise of online shopping, customers rely heavily on high-quality images to evaluate products before making a purchase.
A well-executed photograph can highlight the unique features of a shoe, evoke emotions, and create a desire to own the product. Whether you're a professional photographer, a brand owner, or an enthusiast looking to improve your skills, understanding the nuances of shoe photography can elevate your work and enhance your storytelling.
In this blog post, we will explore essential tips and techniques for mastering shoe photography. From choosing the right equipment and lighting to styling your shots and perfecting post-production edits, you'll discover how to create stunning images that not only showcase footwear beautifully but also resonate with your target audience. Let's dive into the art and science of capturing shoes in their best light!
- Accurate subject separation with transparent details and fine edges in a click
- Produce smooth, gradient-based alpha edges for natural background blending
- Obtain the original quality. Upscale/enhance images to maximize quality with AI
- Provide an AI-powered brush for quick, easy, and flexible manual adjustments
- Bulk processing. Run entirely locally to ensure user data privacy and security
Part 1. Understanding Your Audience
Before embarking on a shoe photography project, it's crucial to have a clear understanding of your audience and the purpose behind your photographs. This foundational knowledge will guide your creative decisions and help tailor your approach to meet specific needs and preferences.
1.Identifying Your Target Audience: Consider who will be viewing your images. Are they potential customers browsing an online store, fashion enthusiasts reading a blog, or retailers looking for high-quality visuals to market their products? Each audience has distinct expectations and interests. For instance:
- E-commerce Shoppers: They prioritize clarity and detail, seeking images that accurately represent the product. High-quality visuals can reduce uncertainty and increase confidence in their purchasing decisions.
- Fashion Bloggers: They may look for more stylistic and artistic representations of shoes that tell a story or fit into a broader fashion context.
- Retailers: They require professional-grade images that highlight the unique features of the shoes, helping them stand out in a competitive market.
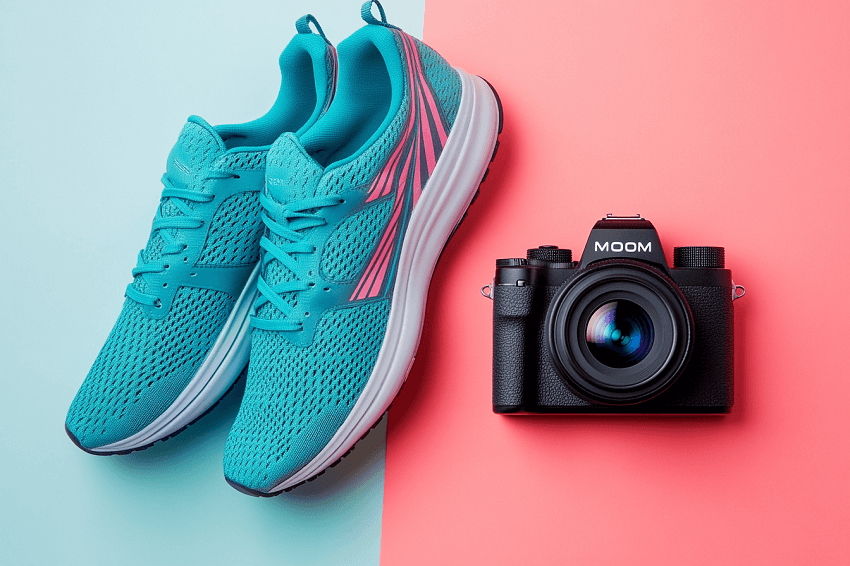
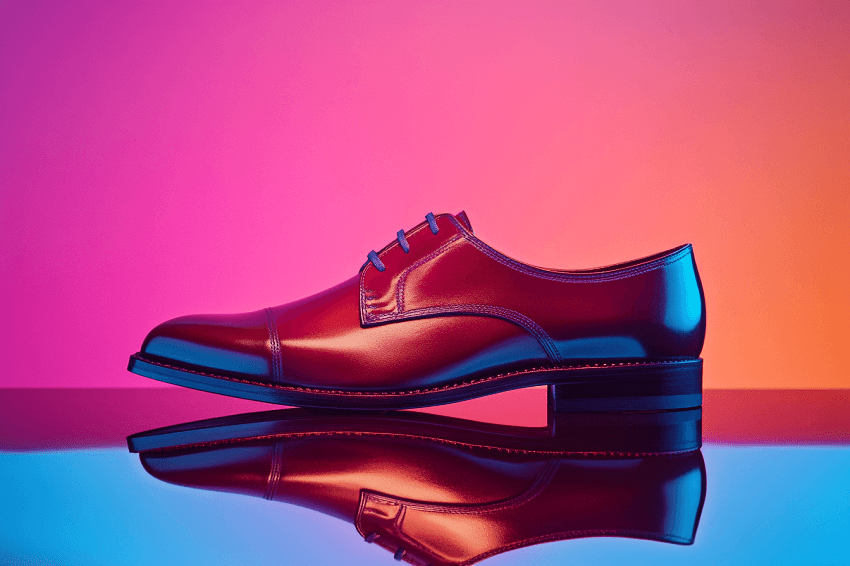
2.Tailoring Your Approach: Understanding your audience allows you to customize your photography style accordingly. For example, if your target demographic is young, trendy consumers, you might opt for vibrant backgrounds and dynamic poses that reflect current fashion trends. Conversely, if you're photographing classic or luxury footwear, a more minimalist approach with neutral backgrounds may be more appropriate to convey sophistication.
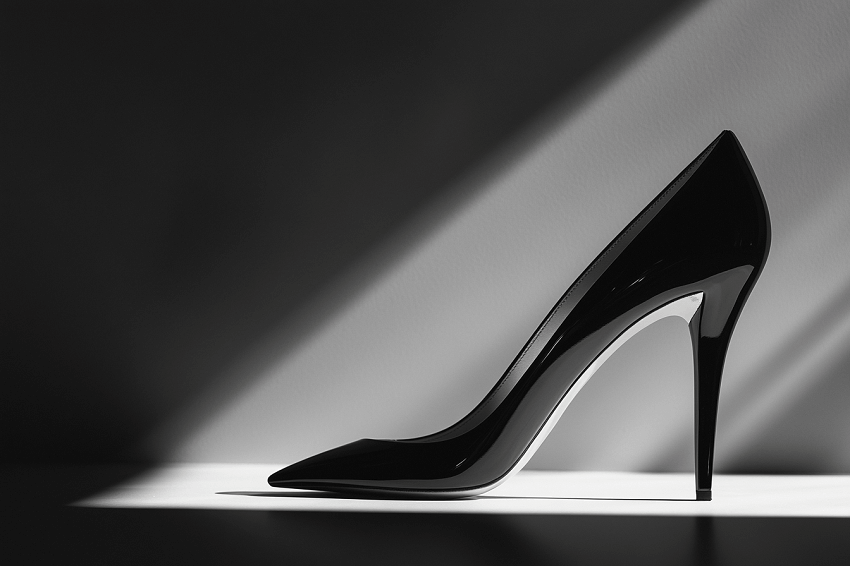
3.Purpose of the Photographs: The purpose behind your shoe photography also plays a significant role in shaping your approach:
- Commercial Advertising: Images should be eye-catching and persuasive, designed to drive sales.
- Online Catalogs: Focus on clarity and detail to provide customers with all necessary information about the product.
- Social Media Content: Creative and engaging images are key to capturing attention and encouraging shares.
Part 2. Equipment Essentials for Shoe Photography
To capture stunning images of shoes, having the right equipment is crucial. While you don't need to invest in the most expensive gear, understanding the essential tools can significantly enhance your photography quality. Here's a breakdown of the key equipment you should consider:
1. Camera: A good camera is the foundation of any photography setup. For shoe photography, a DSLR or mirrorless camera is recommended for its versatility and image quality. Some popular models include:
- Canon EOS 5D Mark IV
- Nikon D3500
- Sony A6100
- Canon EOS M50 Mark II
These cameras allow for manual settings, which are essential for achieving the desired exposure and depth of field.
2. Lenses: Choosing the right lens can make a significant difference in how your images turn out. For shoe photography, consider the following types:
- Standard Zoom Lens (e.g., 24-70mm): Great for versatility and capturing full shots of shoes.
- Macro Lens (e.g., 100mm): Ideal for close-up shots that highlight intricate details such as stitching and textures.
- Prime Lens (e.g., 50mm or 85mm): Known for sharpness and clarity, these lenses are excellent for product photography.
Using a lens with a low aperture (like f/2.8 or f/1.8) can help achieve a shallow depth of field, making the shoes stand out against a blurred background.
3. Tripod: A sturdy tripod is essential for maintaining stability during your shoot, especially in low-light conditions or when using slower shutter speeds. It helps eliminate camera shake, ensuring your images are sharp and clear. A tripod also allows you to experiment with different angles without having to hold the camera manually.
4. Lighting Equipment: Proper lighting is critical in shoe photography to showcase colors and textures accurately. Consider these lighting options:
- Softbox or LED Lights: These provide soft, even lighting that reduces harsh shadows and highlights.
- Reflectors: Use reflectors to bounce light onto the shoes, enhancing details and minimizing shadows.
- Natural Light: Shooting near windows during golden hour can create beautiful, natural-looking images.
Avoid harsh lighting, as it can create unwanted reflections and distort colors.
5. Backgrounds and Props: The background plays a vital role in shoe photography. A clean, neutral background (like white or gray) helps keep the focus on the shoes. You can also use textured surfaces or props that complement the footwear without distracting from it. Experimenting with different backgrounds can add depth and context to your images.
Part 3. Setting Up Your Shoot for Shoe Photography
Once you have your equipment ready and your shoes prepared, the next step is to set the scene for your photography session. The environment in which you photograph your shoes can significantly impact the final images, so consider these key elements when setting up your shoot.
1. Choosing the Right Background: The background is crucial in shoe photography, as it can either enhance or detract from the product being showcased. Here are some popular options:
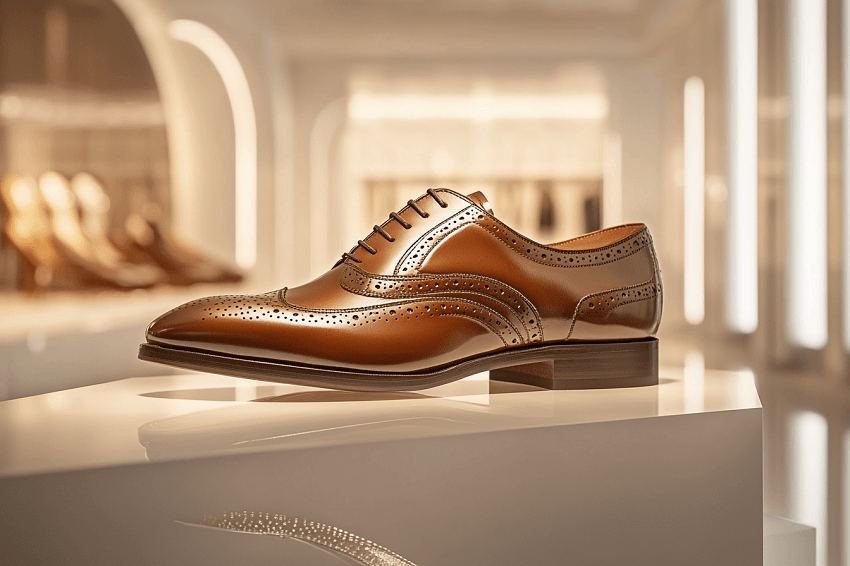
- White Background: A clean, white backdrop is a classic choice that emphasizes the shoes without distractions. It's ideal for eCommerce and product catalogs, as it allows customers to focus solely on the footwear.
- Flat-Lay Photography: This technique involves placing shoes on a flat surface and shooting from directly above. It mimics the perspective customers have when looking down at their feet and is particularly effective for casual or lifestyle shots.
- Lifestyle Settings: Capturing shoes in real-life contexts can create a narrative that resonates with viewers. For example, photographing running shoes on a trail or high heels in a chic urban setting can help potential buyers visualize how they might wear the shoes.
2. Staging Your Shoes: Properly staging your shoes can elevate your images significantly. Here are some tips:
- Maintain Shape: Stuffing shoes with crumpled paper or using shoe trees can help them retain their shape during the shoot. This is especially important for styles like boots or high heels.
- Use Props Wisely: Incorporating props can add context and interest to your images. For instance, using athletic gear for sports shoes or elegant accessories for formal footwear can enhance the storytelling aspect of your photographs.
- Avoid Clutter: Ensure that the area surrounding your shoes is free from distractions. A cluttered background can draw attention away from the product itself, so keep it simple and focused.
Part 4. Lighting Techniques for Shoe Photography
Lighting is one of the most critical elements in shoe photography, as it can dramatically affect the mood, texture, and overall quality of your images. Mastering various lighting techniques will help you create stunning visuals that showcase the shoes in their best light. Here are some essential lighting methods to consider:
1. Natural Light: Utilizing natural light can produce beautiful, soft images that highlight the textures and colors of shoes. Here are some tips for using natural light effectively:
- Window Light: Position your setup near a window to take advantage of diffused sunlight. The golden hour—shortly after sunrise or before sunset—provides warm tones that enhance the overall aesthetic.
- Avoid Direct Sunlight: While natural light is beneficial, direct sunlight can create harsh shadows and overexposed highlights. Opt for shaded areas or use sheer curtains to diffuse the light.
2. Artificial Lighting: For more control over your lighting conditions, consider using artificial sources:
- Softboxes and LED Panels: These create soft, even lighting that reduces harsh shadows and highlights. Position them at angles to illuminate the shoes without flattening their appearance.
- Key Light and Fill Light: Use a key light as your main source of illumination, positioned at a slight angle to create depth. A fill light can be used to soften shadows and provide balance.
3. Reflectors: Reflectors are invaluable tools for enhancing your lighting setup:
- Bouncing Light: Use reflectors to bounce light onto the shoes, filling in shadows and adding subtle highlights. This technique can help emphasize details and create a three-dimensional look.
- DIY Reflectors: You can create reflectors using white foam boards or aluminum foil to redirect light effectively.
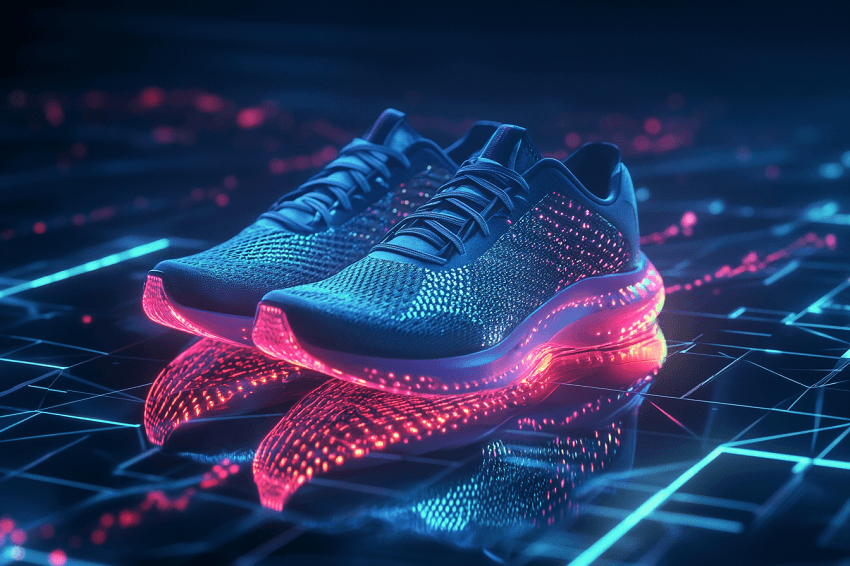
4. Backlighting: Backlighting can add drama and depth to your shoe images:
- Silhouette Effects: Position a light source behind the shoes to create a silhouette effect, emphasizing their shape and design. This technique works particularly well for transparent or glossy materials.
- Rim Lighting: Use backlighting to create rim lights around the edges of the shoes, which adds dimension and separates them from the background.
5. Diffused Lighting: Diffused lighting is essential for achieving flattering images:
- Softboxes and Umbrellas: These tools help soften harsh light sources, creating a more even distribution of light across the product. This technique is particularly effective for capturing intricate details without overwhelming reflections.
- Experiment with Angles: Adjusting the angle of your lights can help you find the perfect balance between shadow and highlight, ensuring that all aspects of the shoe are well-lit.
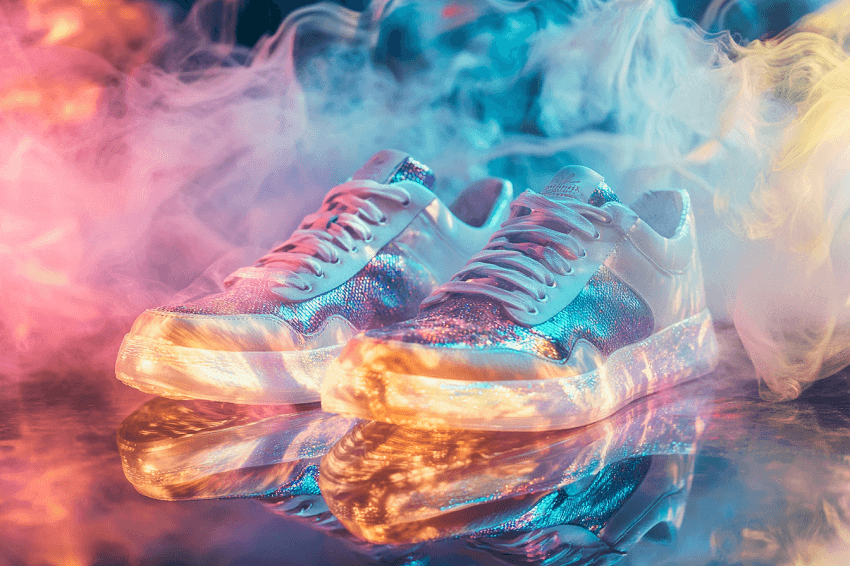
6. Consistency in Color Temperature: Maintaining consistent color temperature is crucial for accurate representation:
- Color Rendering Index (CRI): Aim for lights with a CRI above 95 to ensure true-to-life color reproduction. This is especially important when showcasing products where color accuracy matters.
- White Balance Settings: Adjust your camera's white balance settings according to your lighting conditions (e.g., daylight or tungsten) to achieve accurate colors in your images.
Part 5. Composition and Angles for Shoe Photography
The composition and angles you choose in shoe photography play a crucial role in how the product is perceived by viewers. Thoughtful framing and perspective can enhance the visual appeal of your images, making them more engaging and informative. Here are some key principles and techniques to consider when composing your shots:
1. Rule of Thirds: The rule of thirds is a fundamental principle of composition that can help create balanced and visually appealing images:
- Grid Method: Imagine dividing your frame into nine equal sections with two horizontal and two vertical lines. Position the shoes along these lines or at their intersections to create a more dynamic composition.
- Focal Points: Use the rule of thirds to guide the viewer's eye toward the most important elements of the shoe, such as branding or unique design features.
2. Framing Your Subject: Effective framing draws attention to your shoes while providing context:
- Negative Space: Incorporate negative space around the shoes to create a clean, uncluttered look. This technique emphasizes the product and allows it to stand out.
- Layering Elements: Use props or backgrounds to create layers within your composition, adding depth and interest without overwhelming the main subject.
3. Experimenting with Angles: Capturing shoes from various angles can provide potential buyers with a comprehensive view of the product:
- Front View: A straightforward shot that showcases the design and branding prominently.
- Side View (3/4 Angle): This angle provides depth and highlights unique features like curves or embellishments, making it one of the most popular choices in product photography.
- Back View: Important for styles where details at the back are significant, such as ankle boots or sandals.
- Top View (Flat-Lay): This perspective mimics how customers might see shoes in real life. It's particularly effective for lifestyle shots that include accessories or outfits.
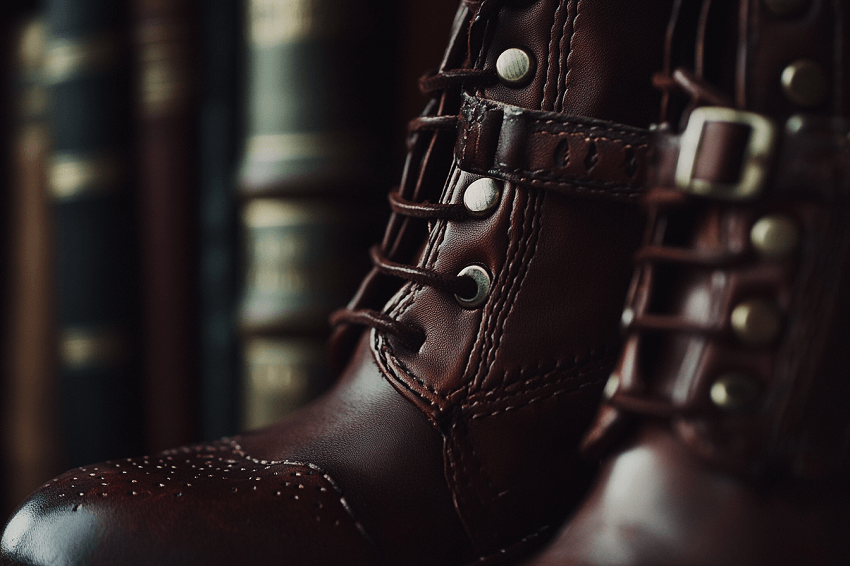
- Close-Ups: Focus on specific details like stitching, materials, or logos to showcase quality and craftsmanship. Close-up shots can evoke a sense of intimacy and connection with the product.
4. Creating Depth: Adding depth to your images can make them more engaging:
- Foreground Elements: Incorporate elements in the foreground to lead the viewer's eye into the scene. This could be part of a prop or even a blurred object that adds context without distracting from the shoes.
- Depth of Field: Use a shallow depth of field (wide aperture) to blur backgrounds while keeping the shoes sharp and in focus. This technique helps isolate the product and adds a professional touch.
5. Consistency Across Shots: When photographing multiple pairs of shoes, strive for consistency in composition:
- Similar Angles: Maintain similar angles and framing across different products to create a cohesive look in your portfolio or catalog.
- Lighting Consistency: Ensure that lighting remains consistent throughout your shoot for uniformity in color and tone.
Part 6. Styling Tips for Shoe Photography
The styling of your shoes can significantly enhance the overall impact of your photographs. Thoughtful styling not only showcases the footwear but also conveys a lifestyle or mood that resonates with your target audience. Here are some effective styling tips to elevate your shoe photography:

Tip 1. Color Coordination: Choosing the right colors can make a substantial difference in how shoes are perceived. You can select backgrounds and props that complement the shoe colors. For example, neutral tones work well with vibrant shoes, while bold colors can create a striking contrast. You can also consider the season when styling your shoot. Warm, earthy tones are perfect for fall, while bright, lively colors suit summer styles. Aligning your color palette with seasonal trends can make your images more relevant and appealing.
Tip 2. Incorporating Props: Props can add context and interest to your shoe photography. You can incorporate items like bags, hats, or jewelry that match the style of the shoes. This helps create a cohesive look and tells a story about how the shoes fit into an overall outfit. And using props that reflect the intended use of the shoes is also a popular option. For example, running shoes might be styled with fitness gear or water bottles, while formal shoes could be paired with elegant accessories like cufflinks or watches.
Tip 3. Creating a Lifestyle Context: Lifestyle shots can help potential buyers envision how they might wear the shoes: Try hotographing shoes in settings that reflect their intended use—such as outdoor scenes for hiking boots or urban environments for streetwear sneakers. This approach helps customers visualize themselves using the product. If possible, include models wearing the shoes in various poses and settings. This adds a human element to your photography and allows viewers to see how the shoes look when worn.
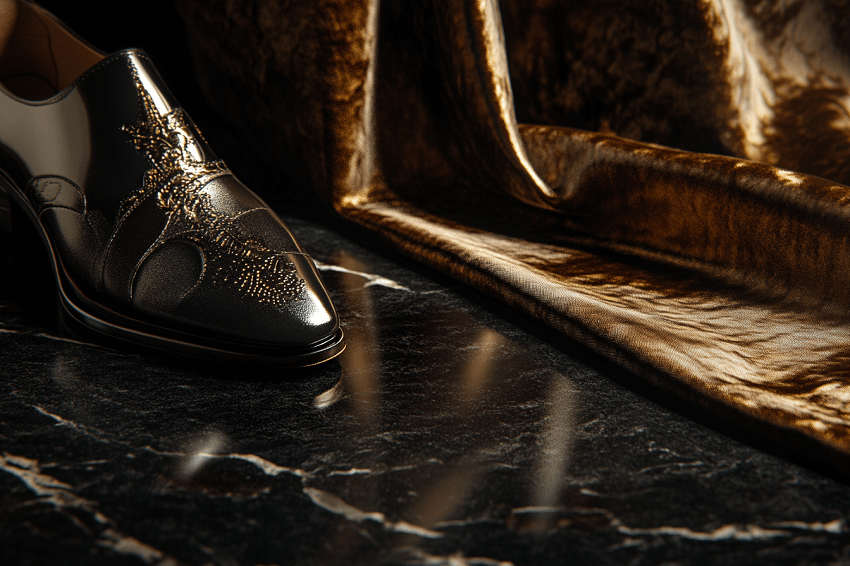
Tip 4. Attention to Detail: Highlighting intricate details can set your images apart. What you can try is capture close-ups of unique features such as stitching, textures, or embellishments that showcase craftsmanship. These details can help convey quality and attract discerning customers. Also experiment with different surfaces in your setup—like wood, fabric, or stone—to create visual interest and highlight the shoe's materials.
Tip 5. Seasonal and Thematic Styling: Aligning your styling with current trends or seasonal themes can enhance relevance. Please stay updated on fashion trends and incorporate elements that reflect current styles—whether it's summer florals or winter cozy vibes. And consider creating themed shoots around holidays or events (e.g., beachwear for summer vacations or elegant styles for holiday parties) to attract specific audiences.
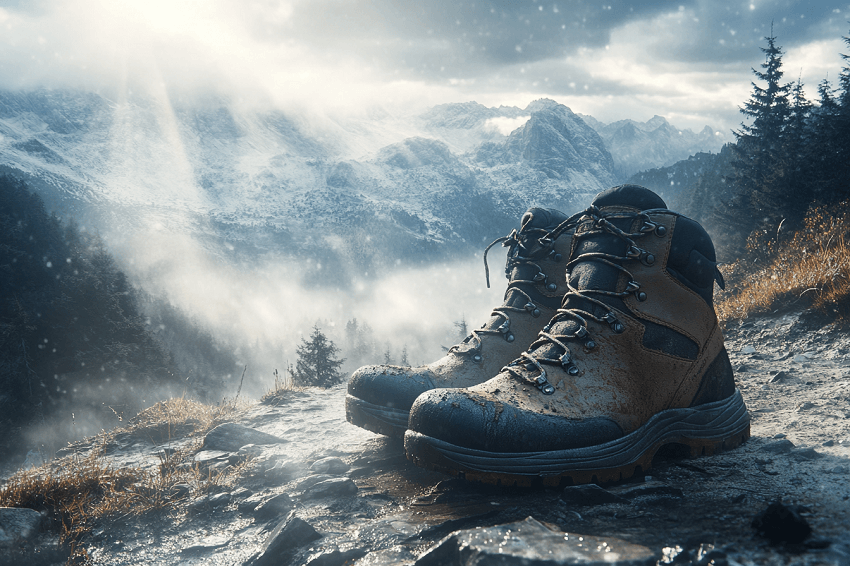
Tip 6. Experimenting with Layouts: Try different layouts to find what works best for each shoe. Arrange shoes alongside complementary items in a flat-lay style for a clean, organized look that captures attention. Or experiment with different angles and poses when using models or props to create dynamic compositions that draw the viewer's eye.
Part 7. Post-Production Techniques for Shoe Photography
Post-production is a vital stage in shoe photography, serving as the bridge between raw images and polished, professional-quality photos. This phase involves a variety of editing techniques aimed at enhancing the visual appeal of the shoes. By focusing on aspects such as color correction, exposure adjustments, and retouching, photographers can ensure that the shoes are showcased in their best light, ultimately influencing potential buyers' perceptions.
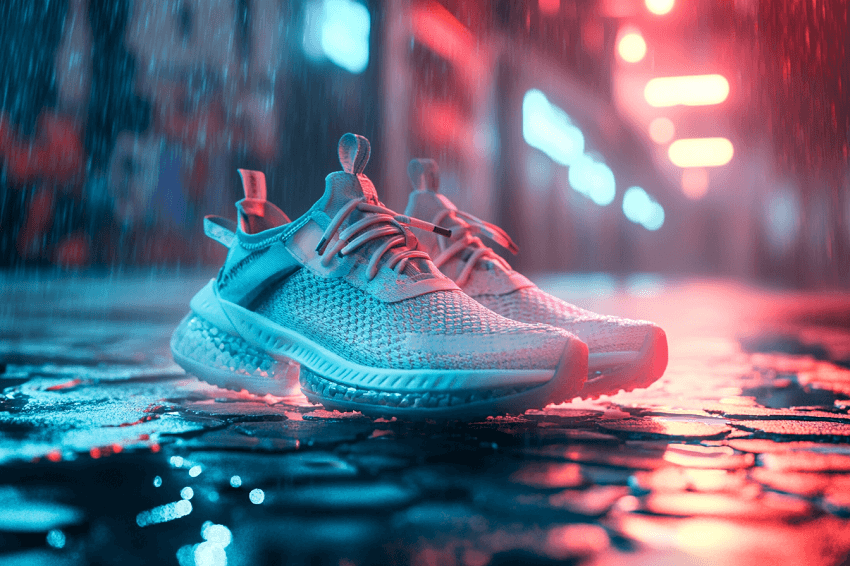
Technique 1. One of the first techniques to consider in post-production is adjusting exposure and contrast. Proper exposure ensures that all details of the shoes are visible without overexposure, which can obscure important features. Additionally, increasing contrast can help the shoes stand out against their backgrounds, adding depth and dimension to the images. However, it is crucial to find a balance; excessive contrast can lead to loss of detail, which detracts from the overall quality of the photograph.
Technique 2. Color correction and enhancement are also essential for achieving accurate color representation in product photography. Adjusting the white balance is critical, as it ensures that colors appear true to life, which is particularly important for shoes where color accuracy can significantly impact purchasing decisions. Enhancing color vibrancy can make the shoes visually appealing without making them look unnatural, especially for those with bright or intricate patterns.
Technique 3. Removing distractions from the image is another important post-production technique. Utilizing retouching tools in software like Photoshop or Lightroom allows photographers to eliminate dust spots, scratches, or unwanted reflections that could detract from the shoe's appeal. Additionally, if the background is not suitable or distracting, selection tools can be employed to either remove it or replace it with a more fitting option that complements the shoes.
Technique 4. Sharpening details is crucial for highlighting intricate features of the shoes. Selective sharpening can be applied to specific areas of interest—such as logos or textures—while avoiding over-sharpening other parts of the image that could introduce noise. For photographers who capture multiple shots at different focal points, focus stacking techniques can be utilized in post-production to create a single image that maintains sharpness throughout.
Technique 5. Cropping and framing are effective ways to improve composition and focus on the shoes themselves. By reframing shots through cropping, unnecessary space around the shoes can be eliminated, directing attention squarely on them. Adjusting the aspect ratio based on intended use—whether for social media or eCommerce listings—can further optimize how these images are presented.
Technique 6. Finally, maintaining consistency across multiple images is essential for creating a cohesive look in a portfolio or catalog. Editing presets can be created or utilized to ensure uniformity in color grading and adjustments across a series of photos. Batch editing features in photo editing software allow for efficient application of these adjustments, ensuring that all images fit within a consistent aesthetic framework. This attention to detail in post-production not only enhances individual images but also strengthens overall brand presentation.
Part 8. Common Mistakes to Avoid
Even seasoned photographers can encounter pitfalls that diminish the quality of their shoe photography. Being aware of these common mistakes can help you avoid them and ensure that your images are as compelling and professional as possible. By recognizing these traps, you can elevate your photography and better showcase the products you're passionate about.
Mistake 1. One significant mistake is poor lighting choices. Lighting plays a crucial role in product photography, and inadequate lighting can result in dull or unappealing images. To avoid harsh shadows, steer clear of direct sunlight or intense artificial lights that create unwanted highlights. Instead, consider using diffused lighting sources or shooting during the golden hour, when natural light is softer and more flattering. Additionally, inconsistent lighting can lead to unnatural-looking images; aim for a uniform lighting setup to maintain accurate color representation.
Mistake 2. Another common issue is cluttered backgrounds. A busy or distracting backdrop can divert attention from the shoes themselves. To keep the focus on your product, opt for clean, neutral backgrounds that allow the shoes to stand out. Avoid settings filled with unnecessary elements that could confuse viewers or detract from the product's appeal. Experimenting with various backgrounds can also help you discover what best complements your shoes without overwhelming them.
Mistake 3. Neglecting composition is another mistake that can lead to unbalanced images that fail to engage viewers. Ignoring basic composition principles, such as the rule of thirds, can make your photographs feel static or uninteresting. Take the time to frame your shots thoughtfully, ensuring that the shoes are positioned in a way that draws the eye. Additionally, shooting from only one angle can make your portfolio monotonous; varying your angles and compositions will keep your work fresh and engaging.
Mistake 4. While post-production is an essential part of photography, overediting images can lead to unrealistic results. Excessive sharpening or saturation can make your photos look unnatural, so strive for a balanced approach that accurately represents the shoes. It's also important not to overlook minor imperfections or distractions in your rush to enhance images; take the time to retouch carefully and ensure every detail is polished.
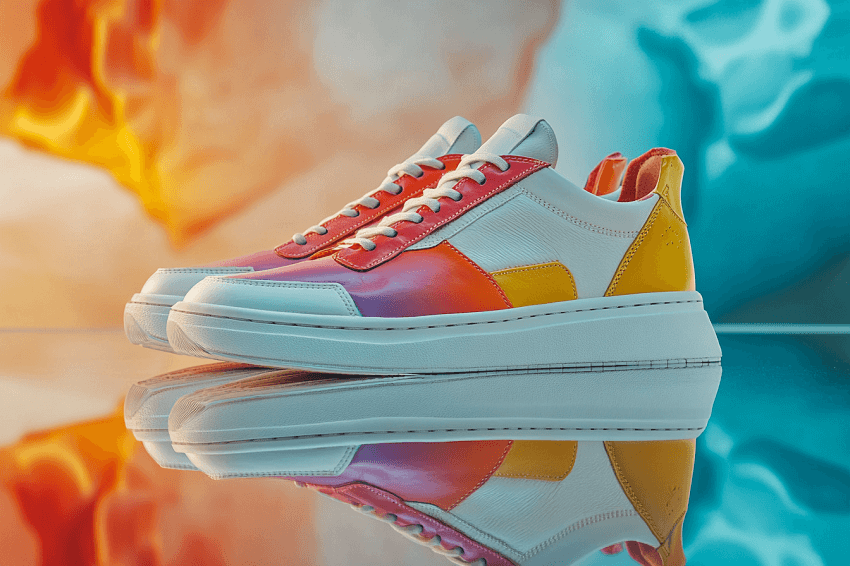
Mistake 5. Failing to showcase details is another common oversight in shoe photography. Shoes often feature unique characteristics that should be highlighted through close-up shots of stitching, materials, or distinctive design elements. Neglecting these details may leave potential buyers wanting more information about the product. Additionally, providing only one perspective limits customers' understanding; capturing multiple angles gives a comprehensive view of the shoes and enhances their appeal.
Mistake 6. Lastly, ignoring your audience can lead to missed opportunities in connecting with potential buyers. If your styling choices do not resonate with your target demographic, they may fail to engage effectively. Researching current trends and styles that appeal to your audience is essential for creating relevant content. Furthermore, placing shoes in relatable contexts—such as lifestyle shots—can help customers envision how they would use the product, making it more appealing and relatable.
Conclusion
Shoe photography is an art that combines technical skill, creativity, and an understanding of your audience. By mastering the various elements discussed in this blog post—from preparing your equipment and setting up your shoot to applying effective lighting techniques and thoughtful styling—you can create stunning images that not only showcase footwear beautifully but also resonate with potential buyers.
Remember that successful shoe photography goes beyond just capturing a product; it's about telling a story and evoking emotions that connect with your audience. Whether you're photographing for eCommerce, fashion blogs, or personal projects, keeping your audience in mind and avoiding common pitfalls will enhance the effectiveness of your work.

