The Ultimate Guide to Beautiful Nature Photography
Updated on
Capturing the beauty of nature through photography is a rewarding yet challenging endeavor that requires a combination of technical skill, creativity, and a deep appreciation for the natural world. Whether you're aiming to photograph towering mountains, serene lakes, or vibrant wildlife, understanding the essentials of shooting beautiful nature photography is key to bringing those breathtaking scenes to life. The right techniques can transform an ordinary landscape into an extraordinary image, one that tells a story and evokes emotion. In this guide, we'll walk you through essential tips and tricks that will help you improve your photography skills and capture the stunning beauty of the outdoors like a pro.
Get Noisy and Low-quality Nature photoshoots?
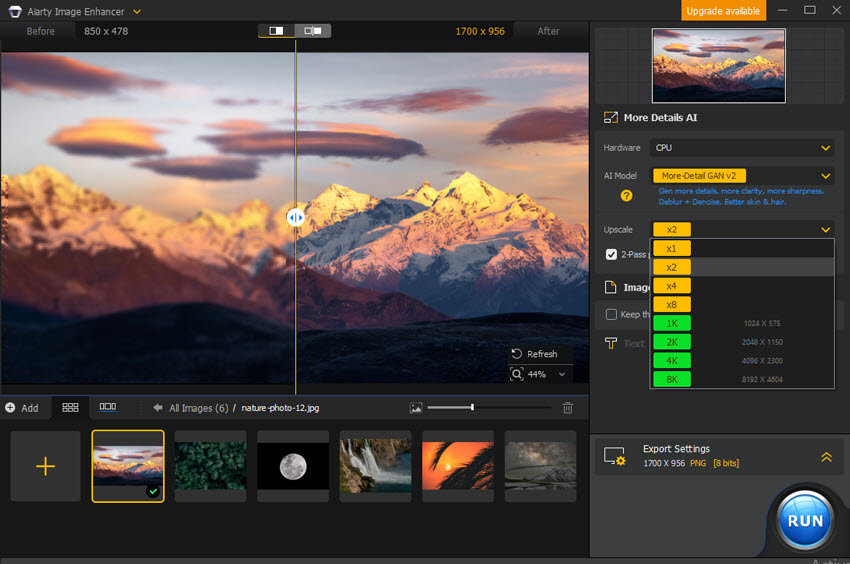
Capturing the beauty of nature through photography can be a rewarding yet challenging experience. Factors like unpredictable lighting, natural lens flares, or atmospheric conditions such as mist or rain can often compromise the quality of your images. These elements may introduce unwanted noise, blur, or grain. Thankfully, Aiarty Image Enhancer can help elevate your nature shots to the next level.
With its cutting-edge AI technology, Aiarty is designed to refine your photos by reducing noise, correcting blur, and eliminating pixelation. It excels in optimizing images affected by difficult lighting, such as overexposure or low light, as well as motion blur from fast-moving subjects. Whether you're shooting expansive landscapes or intricate wildlife close-ups, Aiarty can upscale your images to a breathtaking 32K resolution, restoring fine details and ensuring your nature photographs maintain their vivid clarity and true-to-life beauty.
Part 1. Best Gear for Beautiful Nature Photography
When it comes to capturing stunning nature photography, the gear you use plays a crucial role in achieving high-quality images. Here are some of the best gear options to consider for beautiful nature photography:
1. Camera Body
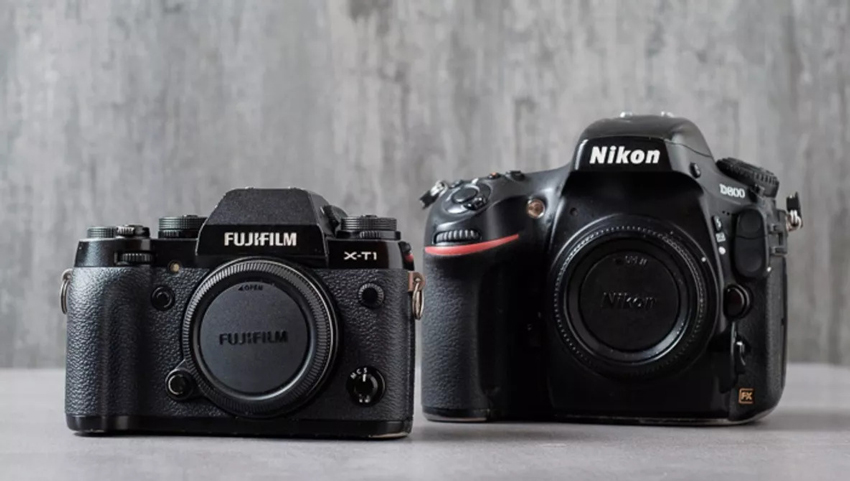
The camera body is the heart of your nature photography gear. You’ll want a camera that excels in low light, offers fast autofocus, and delivers high-quality resolution. Full-frame cameras are often preferred for their superior image quality and depth of field control, especially in landscapes.
- Canon EOS 5D Mark IV (DSLR) – This camera provides fantastic dynamic range and sharpness, ideal for capturing rich details in both bright and shadowed areas. Its durable build makes it perfect for outdoor conditions.
- Sony A7R IV (Mirrorless) – With its 61-megapixel sensor, the A7R IV captures incredibly sharp images, making it ideal for both wide landscapes and fine details in nature. The real-time autofocus is perfect for fast-moving wildlife photography.
- Nikon Z7 II (Mirrorless) – Known for its vibrant color reproduction and incredible resolution, this mirrorless camera is highly adaptable, with strong performance in both low light and bright conditions.
2. Lenses
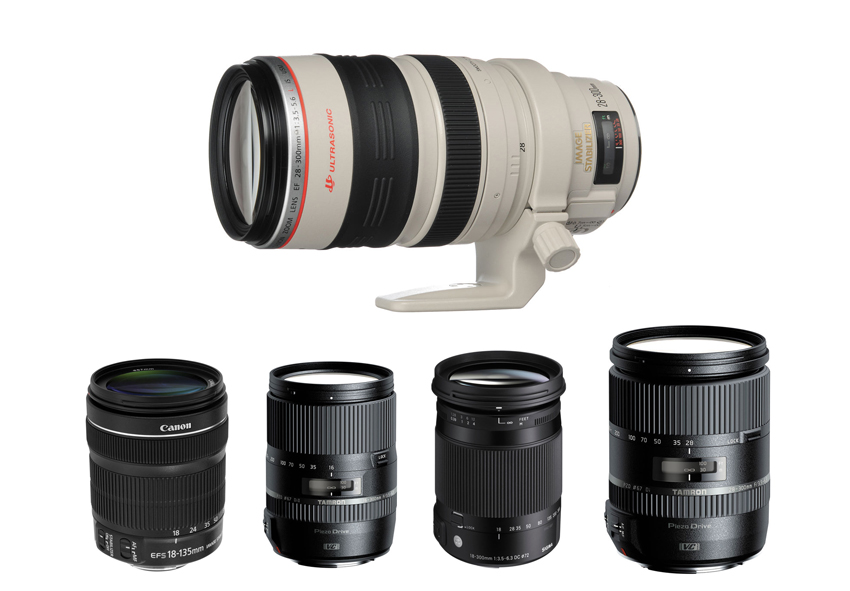
Your choice of lens will dictate the perspective of your shots. Each type of lens serves a unique purpose depending on what you are photographing.
- Wide-Angle Lens (14-24mm) – A wide-angle lens allows you to capture expansive landscapes, sweeping vistas, and vast skies. It’s also great for dramatic close-up shots of natural features like mountains or trees.
- Standard Zoom Lens (24-70mm) – This versatile lens covers a wide range of focal lengths, making it perfect for everything from sweeping landscapes to detailed wildlife shots. It’s ideal for photographers who want a "one lens solution" for various situations.
- Telephoto Lens (100-400mm) – A telephoto lens is essential for wildlife photography, allowing you to capture animals from a distance without disturbing them. It also helps isolate specific details in landscapes or distant subjects, offering beautiful compression effects.
3. Tripod
A solid tripod is an essential tool for stabilizing your camera, especially for long-exposure shots or when working with heavy lenses. A tripod keeps your camera steady during shots, reducing camera shake and ensuring sharp, clear images.
- Manfrotto BeFree Advanced – Compact and lightweight, this tripod is perfect for nature photographers on the move. Despite its portability, it offers excellent stability for your gear.
- Peak Design Travel Tripod – Known for its innovative design, this tripod packs down small enough to carry on hikes yet still provides reliable stability for long exposures and wildlife shots.
4. Filters
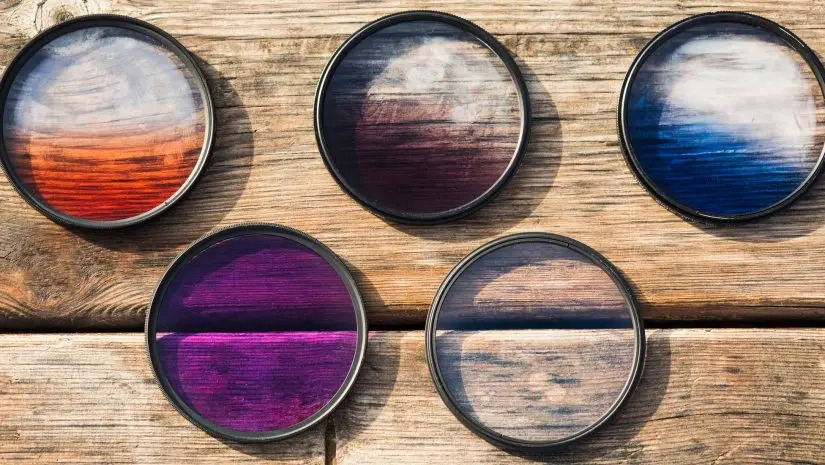
Filters are key accessories that enhance the colors, contrast, and sharpness in your photos. They allow you to control light and eliminate unwanted reflections, giving your images a polished look.
- Polarizing Filter – This filter reduces reflections and glare, making it ideal for photographing water, wet surfaces, or the sky. It also deepens blue skies and enhances the colors of foliage, making your landscape photos more vivid.
- ND Filter (Neutral Density) – ND filters are invaluable for long-exposure photography, helping to slow down the shutter speed even in bright conditions. This is great for capturing motion, such as waterfalls or flowing rivers, without overexposing your image.
5. Other Accessories
In addition to your main gear, there are several small but essential accessories that can make your nature photography shoot smoother and more efficient.
- Extra Batteries – Nature photography often involves long hours in the field, so having extra batteries ensures you don’t miss out on a great shot when your camera runs out of power.
- Memory Cards – Always bring extra high-speed memory cards with ample storage, especially when shooting in RAW, which takes up more space. It’s better to have a few extra cards than risk running out of space during an important moment.
- Camera Bag – A well-organized camera bag with weather protection is vital for safeguarding your gear, especially in unpredictable outdoor conditions. Look for bags with adjustable compartments and easy access to your equipment.
Each of these gear essentials plays a crucial role in ensuring you’re prepared to capture the best nature photography possible, whether you’re shooting in the mountains, on the beach, or in a dense forest.
Part 2. Best Camera Settings for Beautiful Nature Photography
Getting the right camera settings is essential for capturing the beauty of nature in its truest form. Proper settings can help you preserve the vivid colors, sharp details, and dynamic lighting of your natural surroundings. Below are the best camera settings to consider for beautiful nature photography:
1. Aperture (f-stop)
The aperture controls the depth of field in your image, determining how much of the scene is in focus. For landscapes, a smaller aperture (higher f-stop number) is often preferred to keep both the foreground and background sharp.
Best setting: f/8 to f/16 – This range provides a large depth of field, ensuring that both close-up and distant elements in your nature shots are crisp and detailed. For shallow depth of field (such as focusing on a single flower or animal), use a larger aperture like f/2.8 to f/5.6.
2. Shutter Speed
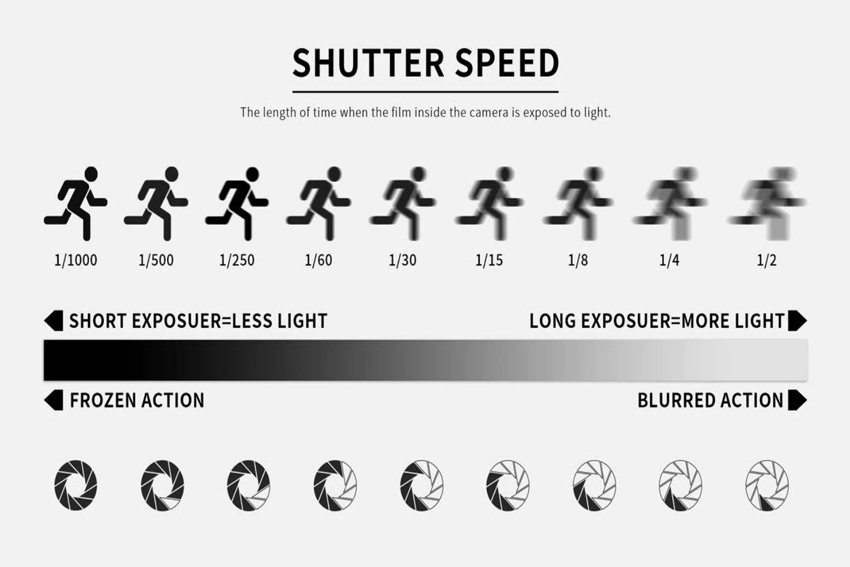
Shutter speed affects the amount of motion captured in your image. For static landscapes, a slower shutter speed can be used, while for wildlife, faster shutter speeds are essential to freeze motion.
Best setting for landscapes: 1/125 to 1/250 sec – Slower shutter speeds work well to capture motion in elements like flowing rivers, waterfalls, or wind-blown grasses; Best setting for wildlife: 1/500 to 1/1000 sec – To freeze the motion of animals, birds, or fast-moving subjects, use a faster shutter speed.
3. ISO
ISO determines your camera’s sensitivity to light. In bright daylight, you’ll want to use a low ISO to avoid graininess, but in low-light conditions, you’ll need a higher ISO.
Best setting for daylight: ISO 100 to 400 – Lower ISO values will result in sharper images with less noise; Best setting for low light: ISO 800 to 1600 – When shooting during the golden hour or at dawn/dusk, you may need to increase the ISO. Be mindful not to push it too high to avoid too much grain or noise.
In nature photography, low light situations often require increasing ISO levels, which can introduce unwanted noise and grain into your images. This is especially common in early mornings or dusk when natural light is limited. If your nature shots are compromised by these issues, Aiarty Image Enhancer offers a powerful solution. It can effectively reduce noise and grain, helping to restore the clarity and sharpness of your images. With Aiarty, you can retain essential details in your photos, ensuring that the natural beauty of your landscapes or wildlife subjects shines through, free from distracting artifacts.
4. White Balance
White balance ensures that colors in your photos appear natural. The wrong white balance can make the scene look too warm (yellowish) or too cool (bluish).
Best setting: Daylight or Cloudy – For nature scenes, use the Daylight setting to keep colors true to life. If you want warmer tones, especially for sunrises or sunsets, switch to the Cloudy setting.
5. Focus Mode
For nature photography, accurate focus is essential, especially when shooting landscapes or wildlife.
Best setting for landscapes: Single-Point Autofocus (AF-S) – This is great for landscapes, where you’ll usually be focusing on a specific point in the scene, such as the horizon or a key object; Best setting for wildlife: Continuous Autofocus (AF-C) – This setting allows the camera to track moving subjects, ensuring they remain sharp even as they move.
6. Metering Mode
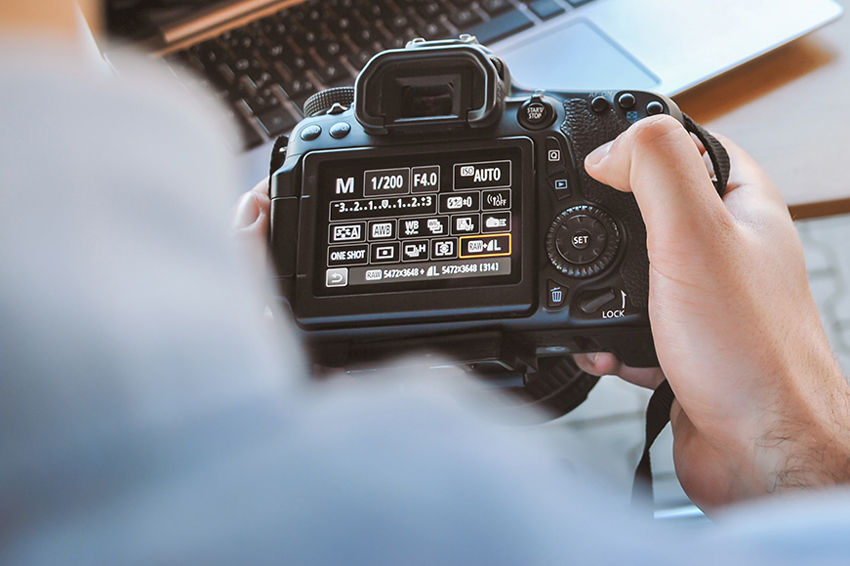
Metering mode helps your camera determine the proper exposure by analyzing the scene’s lighting.
Best setting for landscapes: Evaluative/Matrix Metering – This setting considers the entire scene to provide a balanced exposure, ideal for landscapes with a variety of lighting conditions; Best setting for wildlife: Spot Metering – For wildlife photography, this setting helps you expose for a specific subject, such as an animal, even if the background is very bright or dark.
7. Drive Mode
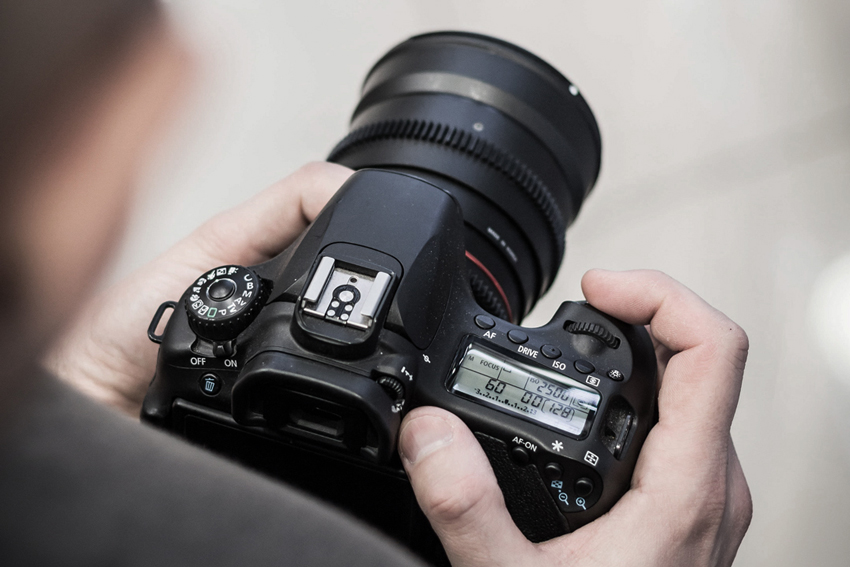
Drive mode allows you to decide how many frames your camera takes per second. This is especially useful for capturing movement or multiple shots of a subject.
Best setting for wildlife: Continuous or Burst Mode – This setting helps you capture rapid movements, such as a bird in flight or an animal in motion; Best setting for landscapes: Single Shot – Landscapes typically don’t require burst mode, as you only need one well-composed shot.
8. Exposure Compensation
Sometimes, your camera's exposure settings might not get the perfect exposure due to tricky lighting (like bright skies or dark foregrounds). Exposure compensation allows you to make adjustments.
Best setting: +0.3 to +1 EV – This is especially helpful when photographing scenes with backlighting, where the camera might underexpose the subject. You can adjust the exposure to brighten up shadows or bring out highlights.
Bonus Tip: Use the RAW Format
Shooting in RAW allows you to capture more data and gives you greater flexibility in post-processing. You can adjust exposure, white balance, and sharpness without losing quality, making it ideal for nature photography where lighting can vary widely.
With these settings in mind, you'll be better equipped to capture the intricate details, vibrant colors, and dynamic lighting that make nature photography so stunning. Remember to adjust your settings based on the lighting conditions and type of nature shot you're aiming for.
Part 3. 11 Tips for Beautiful Nature Photography
Nature photography is both a rewarding and creative endeavor, yet capturing its true essence can be a challenge. While having the right camera and settings is crucial, the techniques and approaches you use can truly elevate your images. Whether you're photographing vast landscapes, delicate details, or wildlife in motion, these 11 essential tips will help you refine your skills and produce stunning photos that authentically capture the beauty of the natural world.
1. Shoot During Golden and Blue Hours
The best lighting for nature photography occurs during the golden hour (shortly after sunrise and before sunset) and the blue hour (just before sunrise and after sunset). The soft, warm light of the golden hour adds a magical glow to landscapes, while the cooler tones of the blue hour create dramatic, serene moods. Try to schedule your shoots around these times for the best natural light.
2. Use the Rule of Thirds
The rule of thirds is a fundamental compositional technique that divides your image into nine equal parts with two horizontal and two vertical lines. Position key elements of your scene (like a tree, mountain, or river) along these lines or at their intersections to create a balanced and visually appealing composition.
3. Incorporate Leading Lines
Leading lines guide the viewer's eye through the photograph, creating depth and directing attention to the main subject. Look for natural lines in the environment, such as rivers, roads, paths, or tree lines, and use them to lead the viewer’s gaze into the frame.
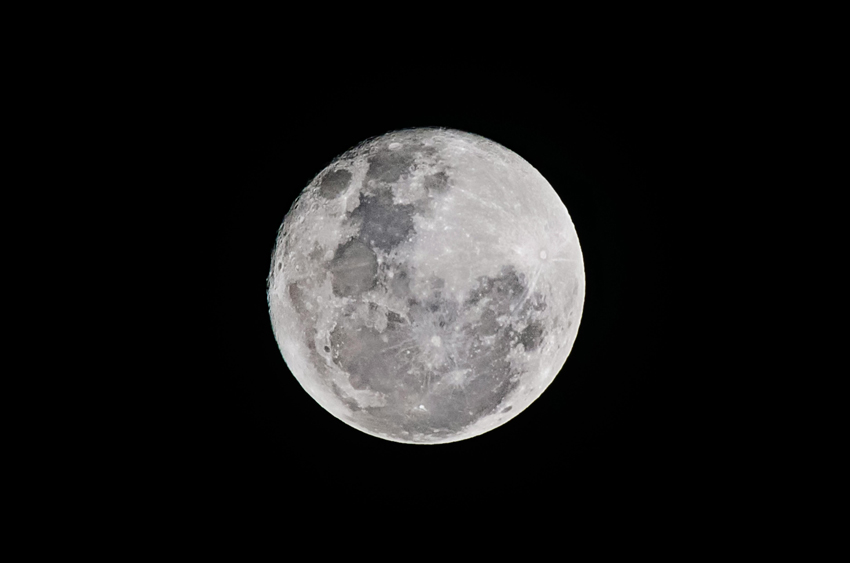
4. Focus on the Details
While wide landscapes are breathtaking, don't forget about the beauty of the smaller details in nature. Close-up shots of flowers, leaves, or textures like tree bark or rocks can reveal intricate patterns and vibrant colors. Use a macro lens or a wide aperture (low f-stop) to isolate the subject and create a soft background blur.
5. Embrace Weather Conditions
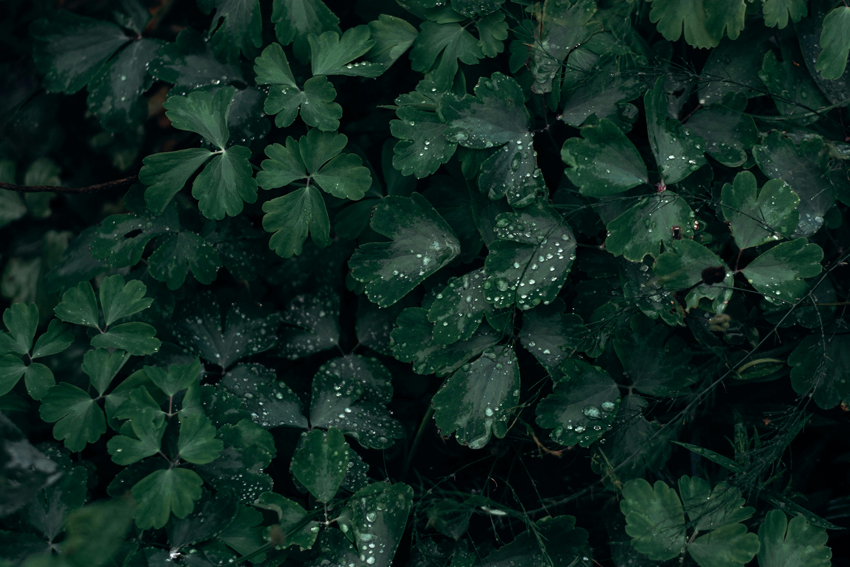
The weather plays a huge role in creating mood and atmosphere in your photos. Misty mornings, rainy days, or dramatic skies can add drama and intrigue to your images. Don’t shy away from shooting in less-than-ideal weather conditions—these moments often create the most striking and unique photographs.
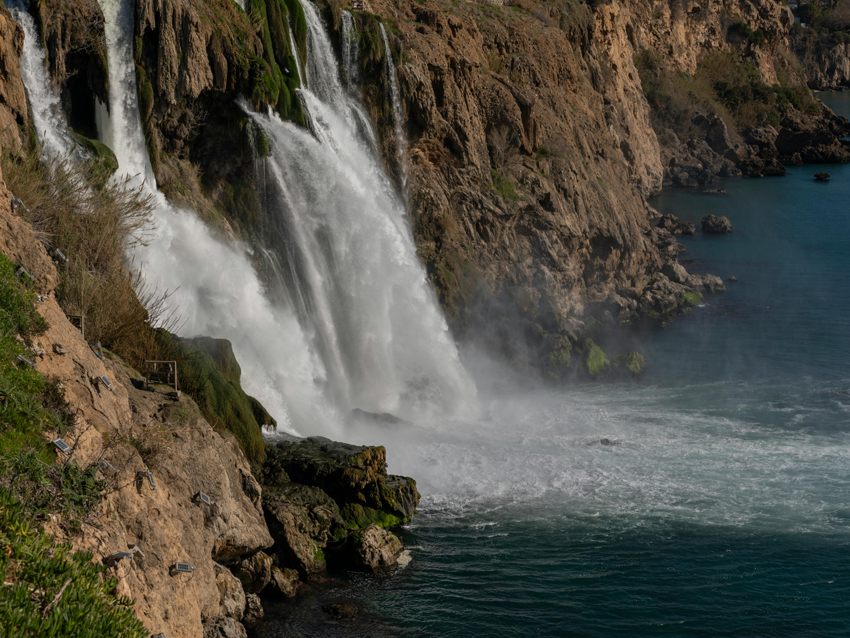
6. Capture Movement
Nature is full of motion, whether it’s a waterfall, a bird in flight, or swaying grasses. Use a slower shutter speed to create a sense of movement in your landscape or wildlife shots. For waterfalls or rivers, try a long exposure to achieve a smooth, silky water effect, while capturing the energy of flowing water.
7. Experiment with Perspective
To make your nature photos stand out, try changing your perspective. Shoot from a lower angle to emphasize foreground details, or get higher for an aerial view of the scene. Don’t be afraid to get creative with your composition by looking for unusual angles or framing through objects like trees or rocks.
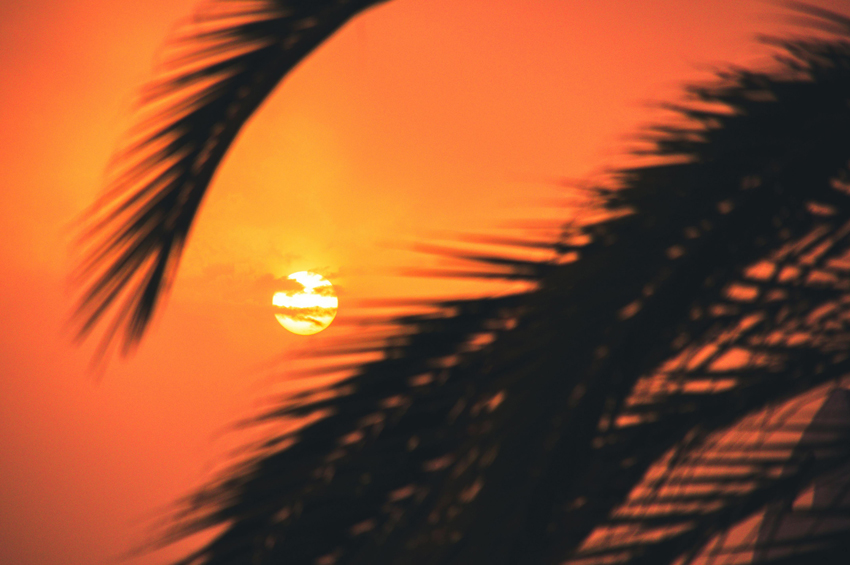
8. Wait for the Right Moment
Patience is key in nature photography. Wildlife photography, in particular, often requires waiting for the right moment, whether it's an animal coming into view or the perfect light hitting a landscape. Taking your time to observe your surroundings can lead to better compositions and more memorable images.
9. Use a Polarizer Filter
A polarizing filter is an essential tool for nature photographers. It reduces reflections on water, wet surfaces, or leaves, and enhances the colors of the sky, clouds, and foliage. If you’re photographing bodies of water or shiny objects, this filter will make a huge difference in reducing glare and bringing out richer colors.
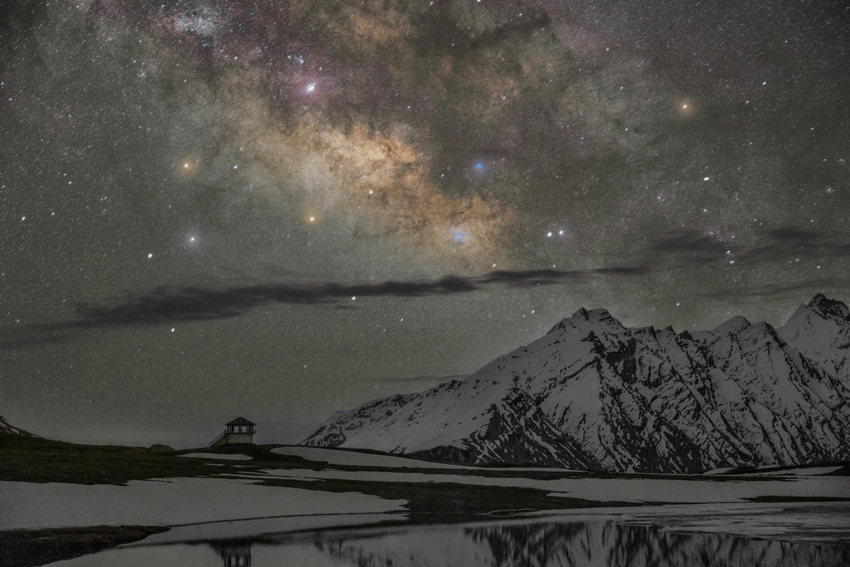
10. Avoid Over-editing
While post-processing is important, it’s essential to maintain the natural beauty of the scene. Over-editing can make your photos look artificial. Aim for subtle adjustments, like enhancing contrast, sharpening details, and fine-tuning colors, but avoid heavy filters or excessive saturation that may detract from the authenticity of your shot.
11. Learn to Read the Light
Understanding how natural light interacts with your surroundings is a skill that can transform your nature photos. Pay attention to how light shifts throughout the day, how shadows fall, and how it affects the mood of your scene. The right light can highlight textures, enhance colors, and bring out the best in your subject.
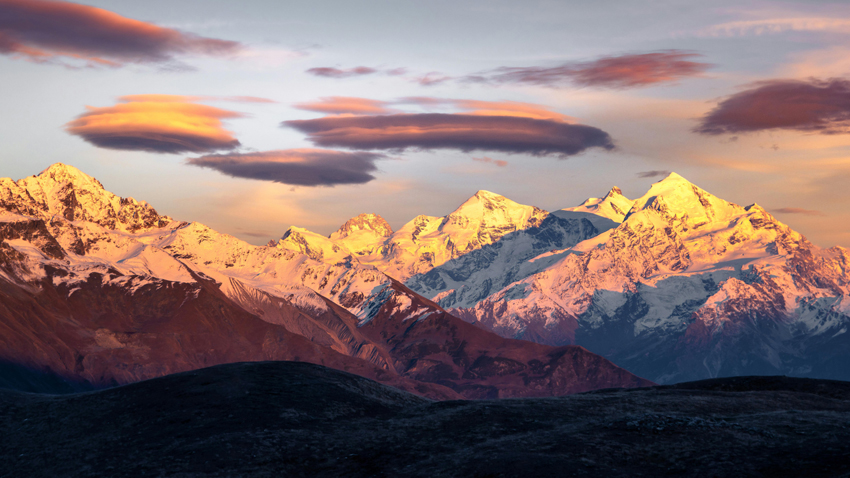
By combining these tips with the right settings and equipment, you’ll be able to capture nature’s beauty in all its glory, creating stunning and memorable photographs. Keep experimenting and refining your technique—each nature photography session is an opportunity to learn and improve.